Mmm-hmm. Oh, yeeeeeah.
This is exactly what I said to myself the minute the cartoon lightbulb lit up above my head.
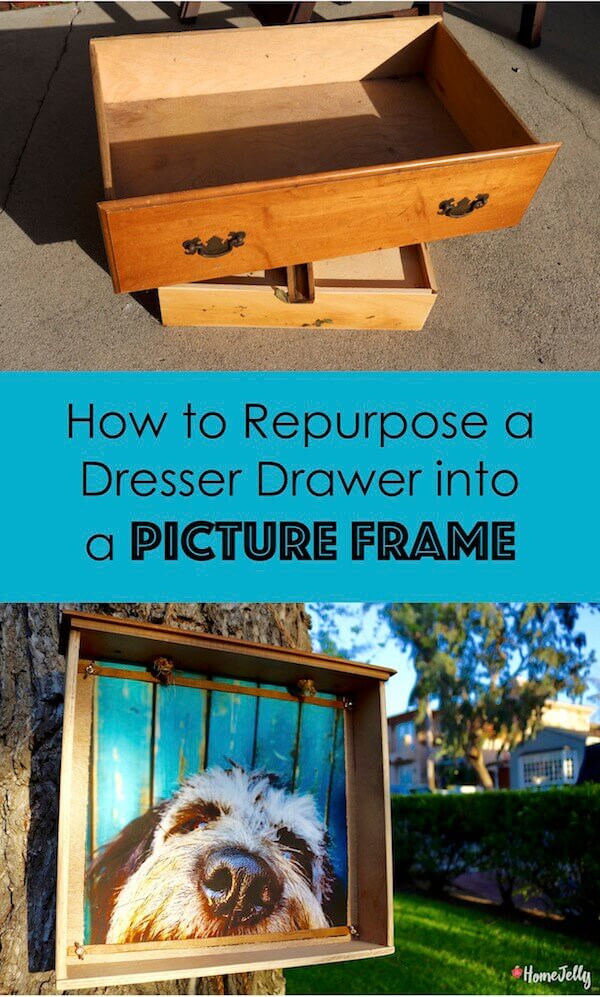
Photo frames!
Yep! I was determined NOT to waste the five drawers I had left over after upcycling a curbside dresser into our home gym cabinet. Nooooo way!
So, after a bit of hampster-on-the-wheel thinking, I knew I had it. Here now, is the super-duper easy how-to tutorial to repurpose leftover dresser drawers into a picture frame.
Ding!
(That’s that lightbulb turning on above my head again.)
Supplies:
• dresser drawer (hopefully, one you can repurpose!)
• sand paper (medium – P60 and fine – P120)
• hand sander and a sanding block
• drill w/screwdriver bit and drill bit
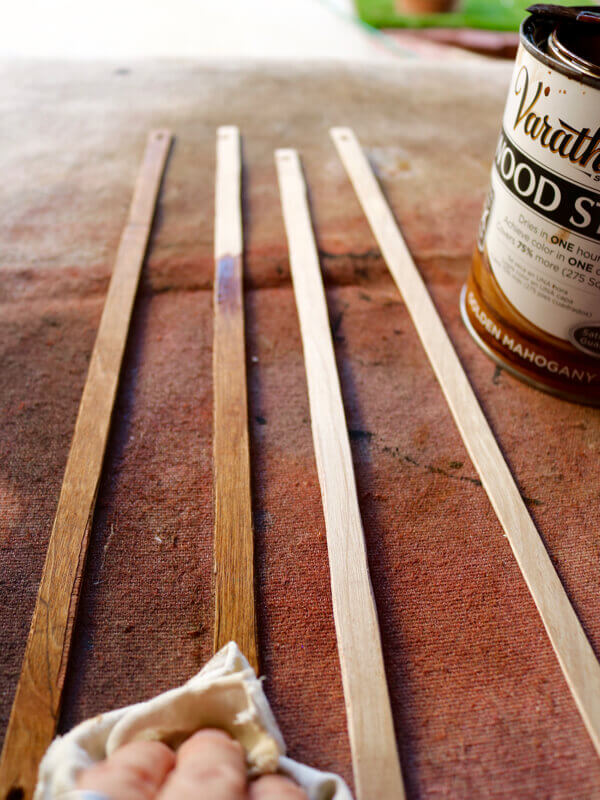
• paint or stain (I used Varathane wood stain, golden mahogany)
• hand saw or jigsaw (or miter – whichever is easiest to use)
• scrap wood
• wing nuts and bolts
• 1/2″ thick rope or heavy twine
• optional: adhesive photo corners
Instructions:
1. Remove hardware, then sand front and any rough edges (inside and out). For detailed edges, use a sponge or block sander.
Remove hardware.
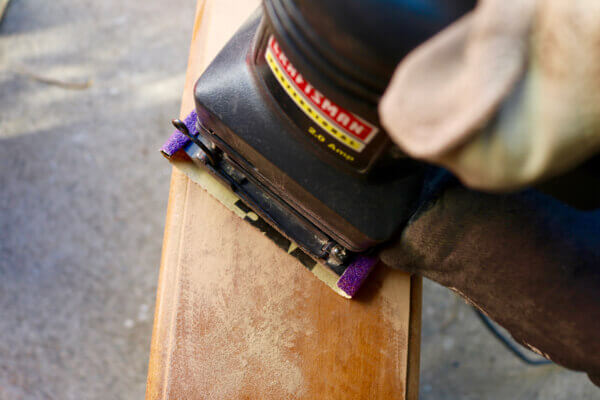
Sand front and all rough edges.
2. Paint or stain the front of the drawer. Or, do whatever makes you happy! Add wallpaper, washi tape, decoupage wrapping paper, etc. outside and/or inside! Go nuts and get creative!
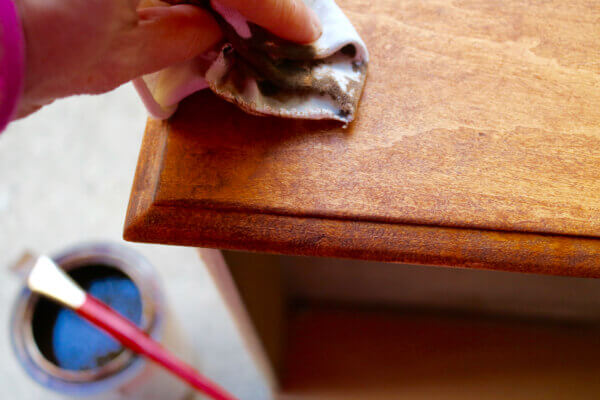
Paint or stain surfaces.
3. For the wooden photo holder, cut 2 pieces of scrap wood 3/4″ wide by the width of your drawer, then drill a hole ONE SIZE LARGER than the diameter of your bolt. Drill the hole 3/4″ – 1″ from each end to allow the wing nut to spin.
Note: you want the wood piece to be able to slide up and down on the bolt to easily place and replace your photo.
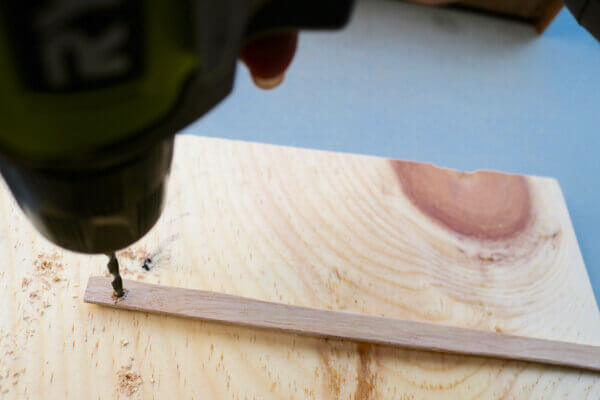
Drill hole in wooden photo holder pieces.
——————————————————–
EASY TIP: If you want to make this project much easier – use adhesive photo corners. Note: the reason I used the wing nuts is because it offered a more industrial look with a bit more detailing.
——————————————————–
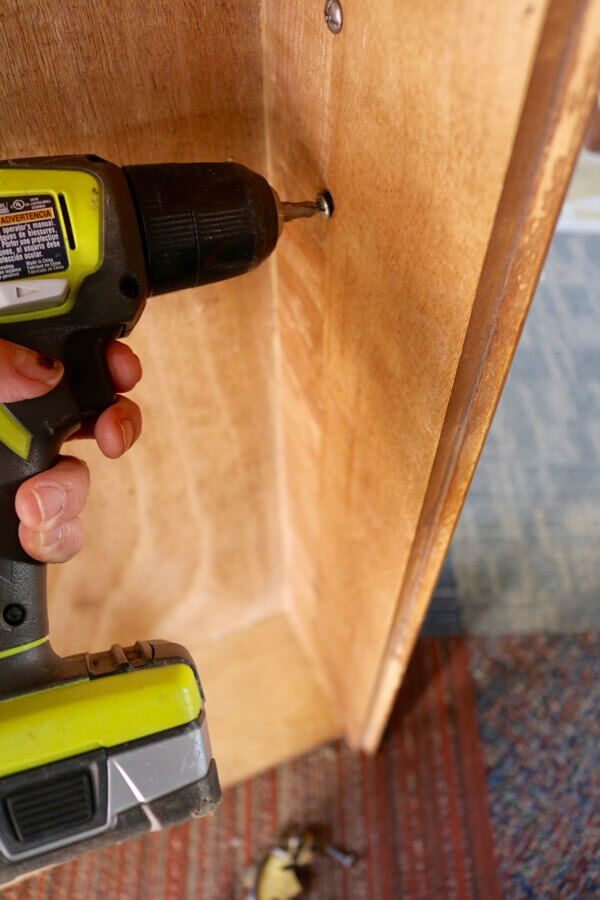
4. Place your wood piece photo holder inside your drawer, then using a pencil, mark through its newly drilled hole to indicate where to drill the hole into the drawer.
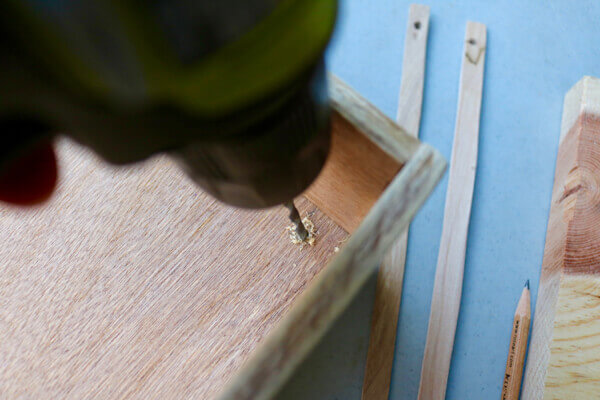
Measure, then drill hole in drawer.
5. Leave raw, stain or paint the wood holders, then attach with your wing nuts. You’re now ready to insert your photo!
Stain or paint wooden photo holder pieces.
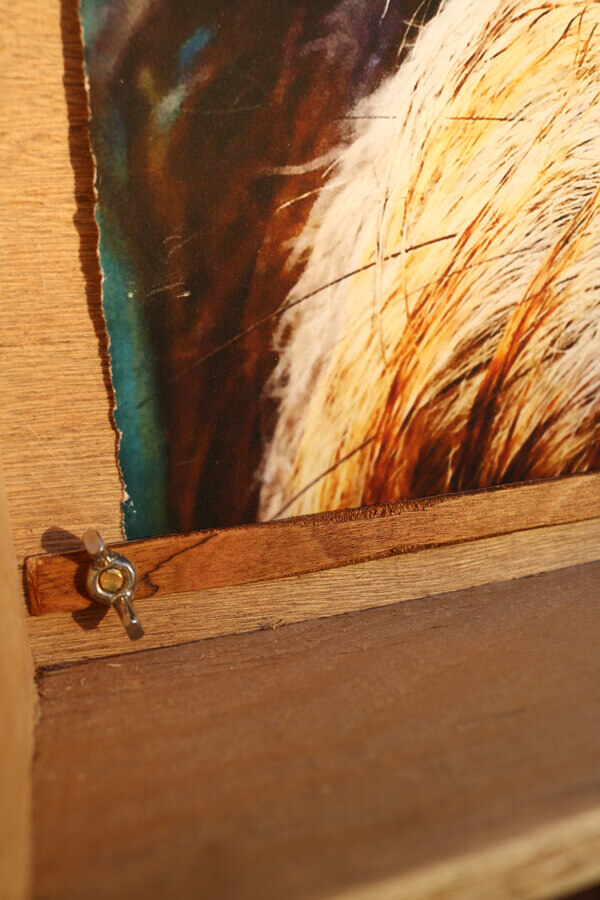
Loosen wing nuts, insert photo, then tighten.
6. Attach rope or twine through old hardware holes, knotting it to stay in place.
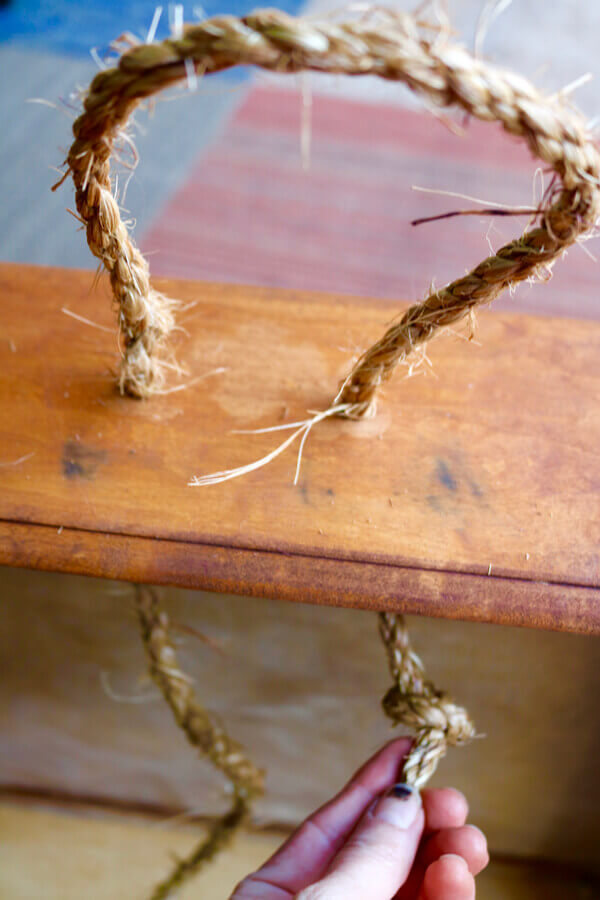
Attach rope or heavy twine.
DONE! Well…almost.
Now that you’ve got a super awesome frame, your photo needs to be up to par! Invest a little extra money in a GOOD print.
I found a great independent shop here in town called, Manhattan Postal Center. Owner Zack Schwartz did an amah-zing job on my prints and even suggested some great papers that would last.
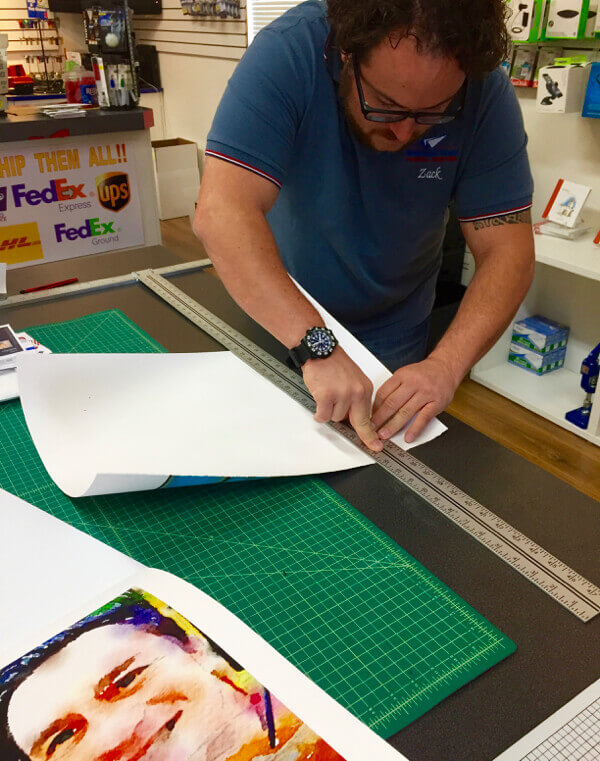
Zack Schwartz, of Manhattan Postal Center in Manhattan Beach, CA, creates a hand-torn deckled edge.
I ended up using a high-quality product called Hahnemuhle photo rag paper. The photos turned out super crisp and luscious! He hand tore the edges of the paper called “deckled edging” for a more organic look that also adds an unexpected texture.
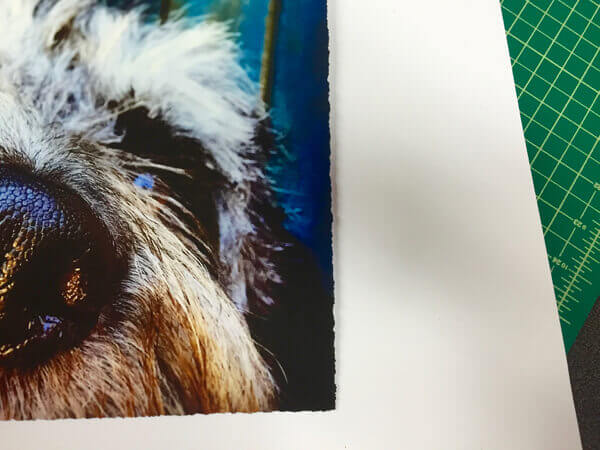
Deckled edging close-up.
Finished! Whadday think?
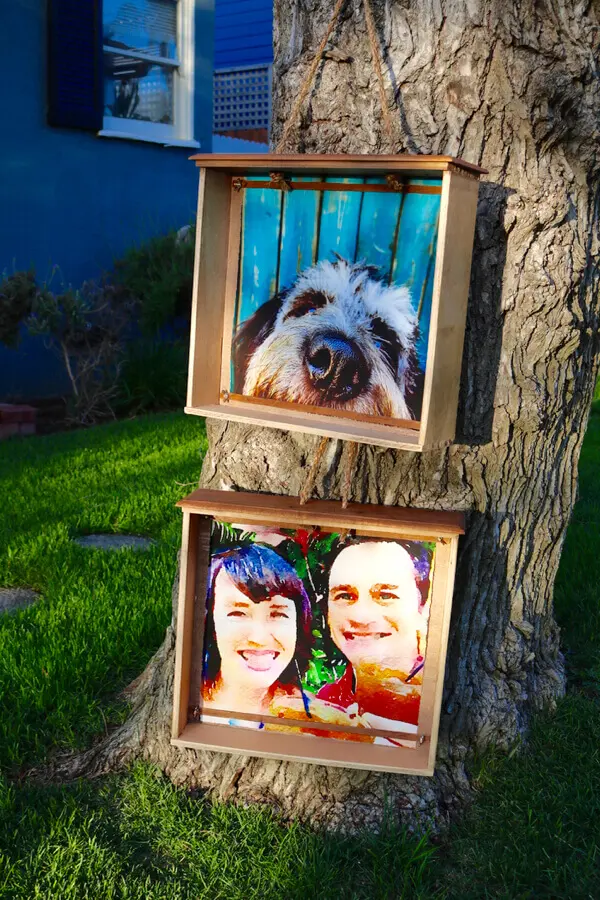
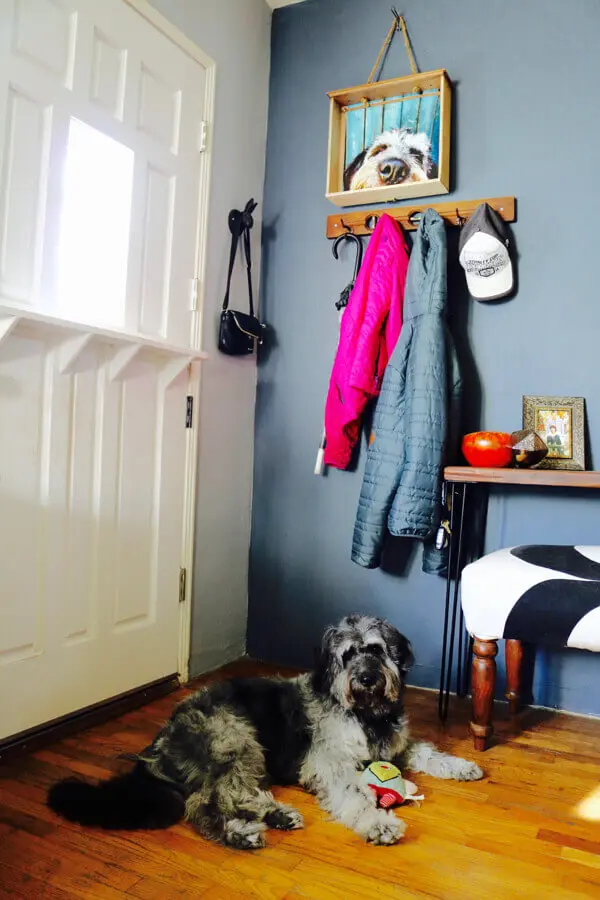
Repurposed photo and picture frames! Hang as is…OR…

Add trinkets and what-nots to the drawer shelves!
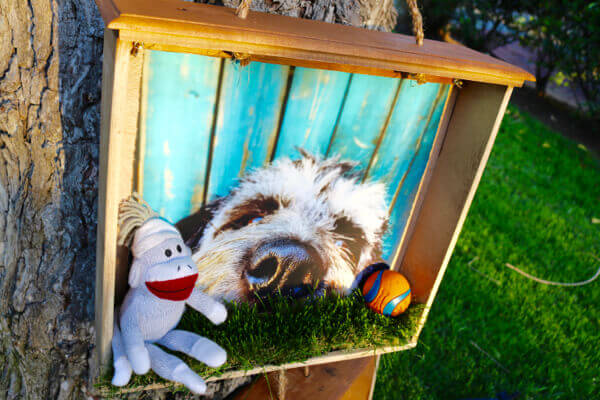
Dressed drawers! I added some of our leftover Synthetic Grass Warehouse’s turf to Krinkles picture!
See Also: Artificial Grass is a Dog’s (and Our) Best Friend
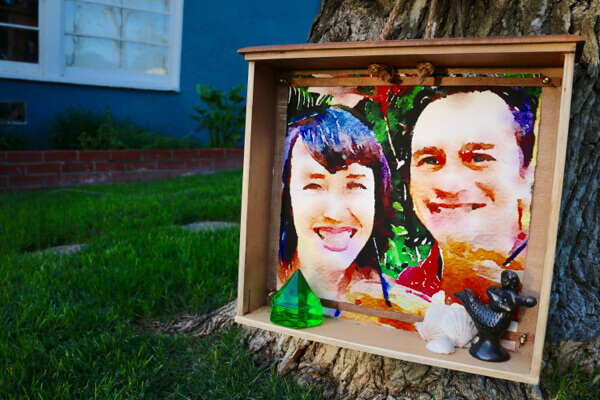
A unique gift any time of year!
Krinkles approved.
All photography by Skaie Knox, HomeJelly