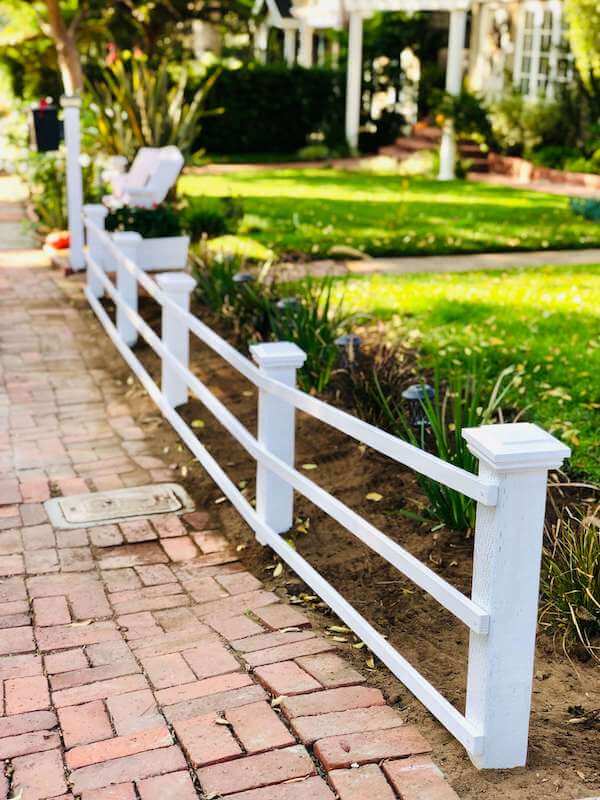
Finished garden fence…it took only a weekend to build!
This is a sponsored post and contains affiliate links.
It happened again. I had a thought to build something in my head and, low and behold, I made it happen! Who knew?!?
Yes, our beloved beach bungalow rental is small, but packs a punch in cuteness. I decided to add a touch more to its quaintness quotient by building a garden fence this past weekend. And, thanks to our sponsor, HomeRight and their Finish Max Extra paint sprayer, the task of painting all that wood was a cinch! If you’re on the fence (eh-hem) about purchasing a sprayer due to the upkeep, read our handy post that offers 3 Easy Ways to Clean Your HomeRight Finish Max Paint Sprayer.
If you’re like us, and long to recycle that flimsy green wire garden “fence” and upgrade to a truly charming wooden one, here’s how you can DIY one yourself in just one weekend.
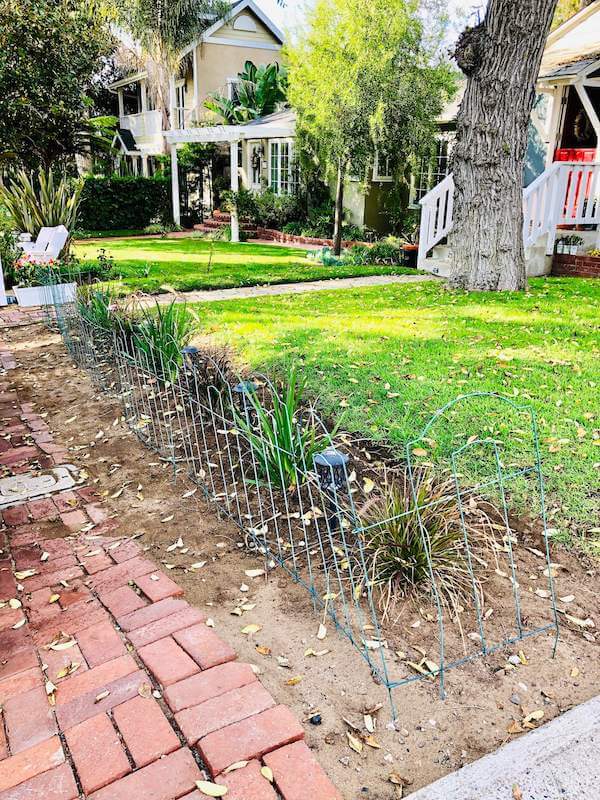
Our garden fence before…ugh, that green wire thing.
Supplies:
• 4″ x 4″ x 8′ pressure-treated timber
• 1″ x 2″ x 8′ select pine board
• 4″ x 4″ fence post caps
• P120 sandpaper
• exterior paint and primer
• 1″ wood screws
Tools:
• HomeRight Finish Max Extra paint sprayer or brush
•HomeRight Finish Max Extra paint sprayer
Instructions:
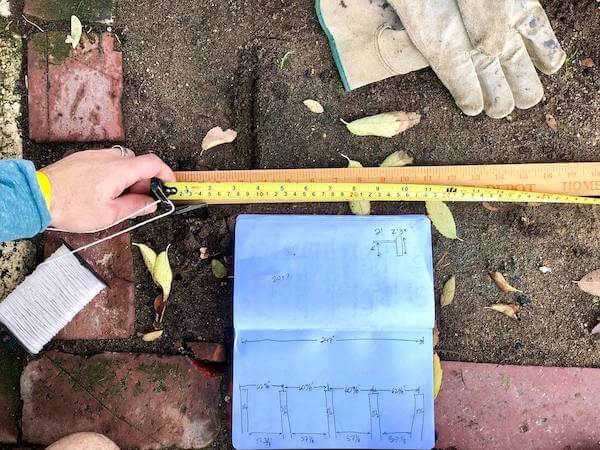
1. Measure = length of garden area + length of posts. Generally, you’ll want to place posts no further than 6 feet apart. We made ours approximately 5 feet apart and we wanted the height to be 2 feet high – a small garden-type fence. There are lots of calculations to the depth vs. height of fences, so we cut ours 3 feet long = 1′ underground.
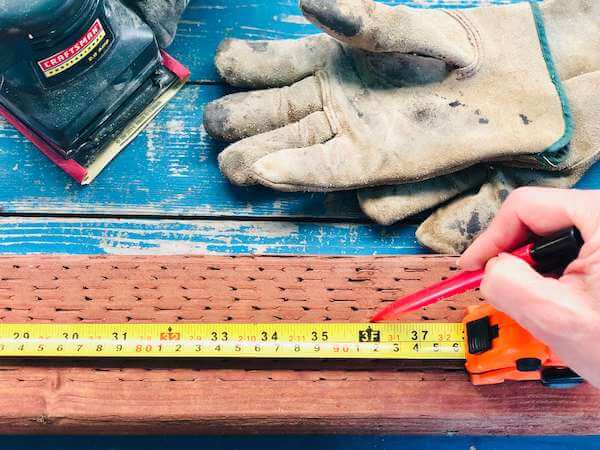
Measure length of post.
Note: according to the California Building Code fence requirements, fences under 6 feet high do not require a building permit.
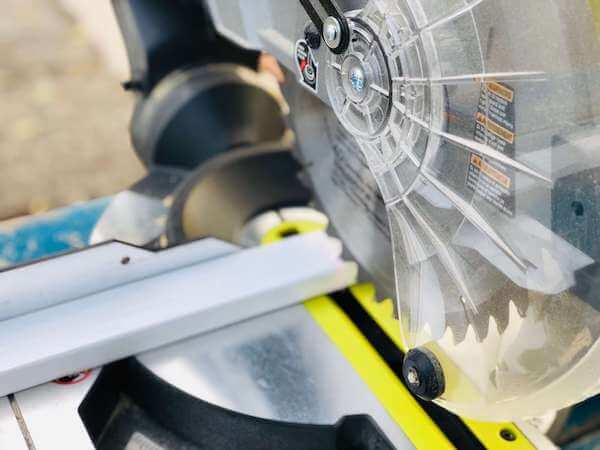
2. Cut posts.
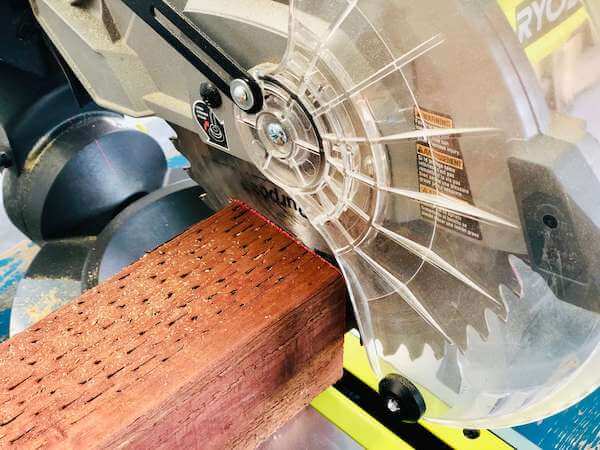
Cut posts. Using a sliding miter saw makes everything easier!
3. Sand fence slats. Simply break the sharp edges. DO NOT cut your slats yet! Wait to do so after posts have been installed. This is a super HELPFUL TIP!
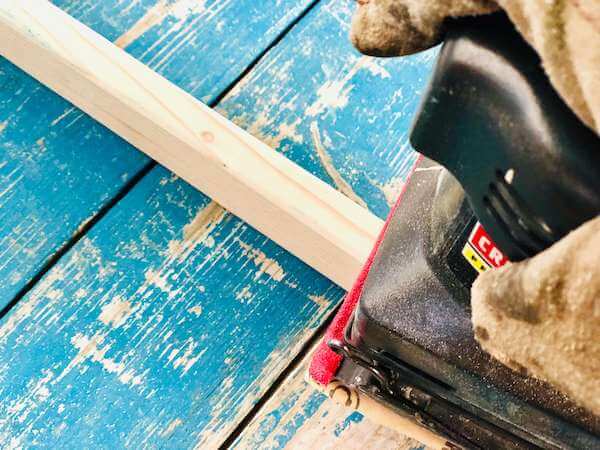
Sand fence slats – simply break the edges…no need to sand all surfaces. You’re not gonna sit on this fence!
4. Paint posts, slats and post caps. Using a paint sprayer will save a TON of time…and totally worth the small investment.
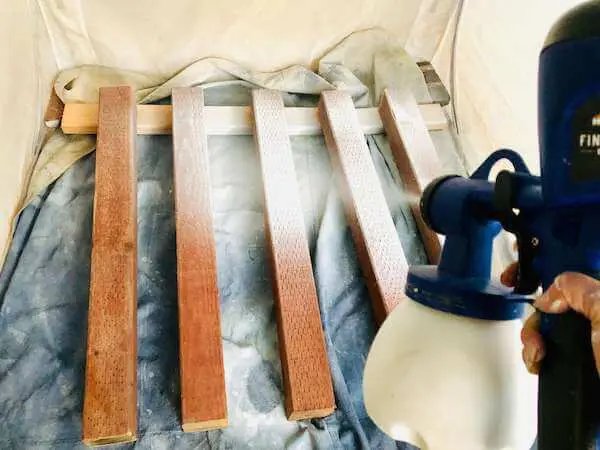
Paint posts, slats and post caps.
5. Measure and mark where to dig post holes. Tip! Use chalk to mark the center of where your post should go if installing next to a hard surface. Otherwise, use a wooden dowel or metal stake.
Measure and mark where to dig post holes.
6. Use string and stakes to line up your posts. This step will insure your fence lines up so you can easily install the slats.
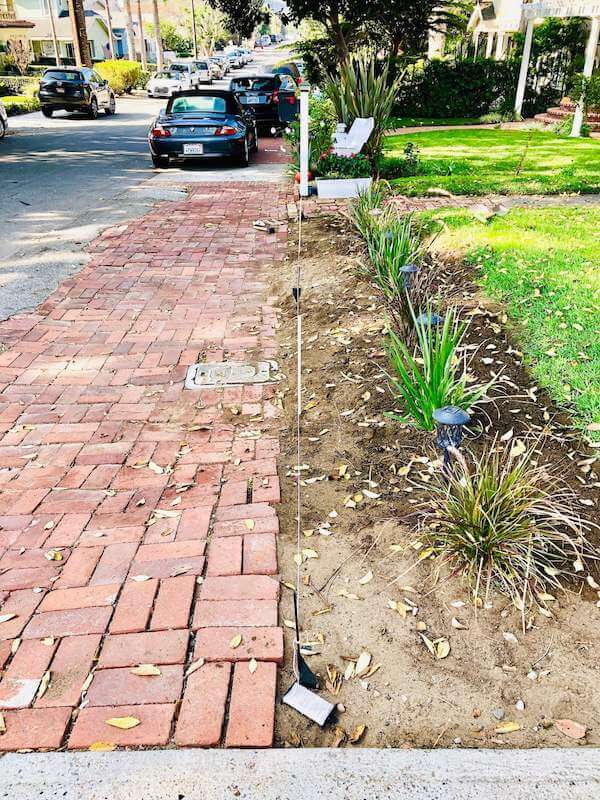
Insert and line up stakes.
7. Dig holes, then make sure they are at desired depth.
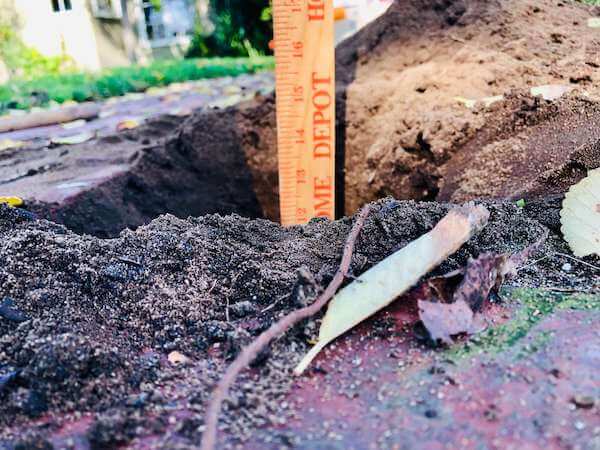
Make sure post hole is at desired depth.
8. Add cement. We filled our holes about 3/4 full.
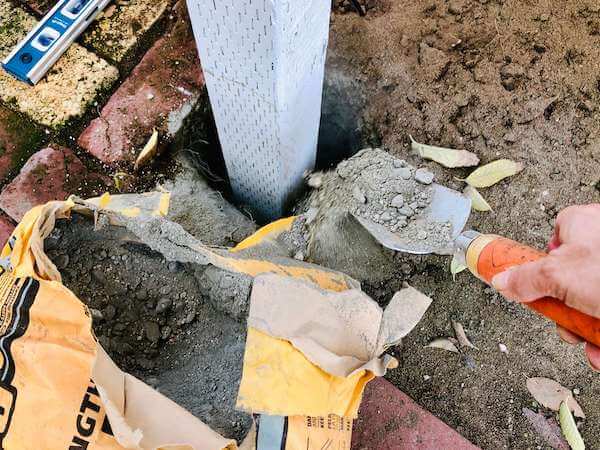
Add cement to post hole.
9. Add water. Simple, just make sure all the cement is saturated.
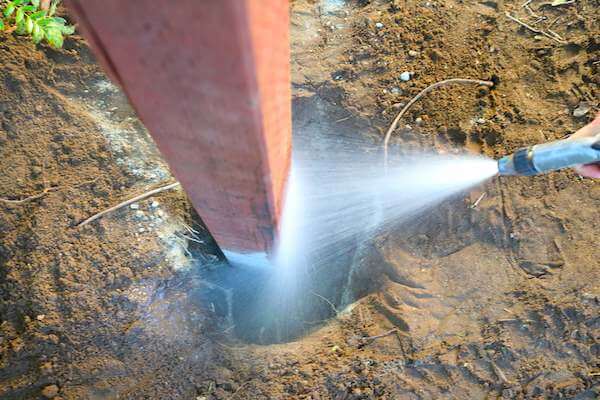
Add water to cement. Full disclosure…this photo is from the first fence I built. I just forgot to take one this time. You get the picture.
10. Level posts. The cement will dry quickly, so make sure to level. We checked the level about 2 – 3 times as we continued installing our other posts. Usually, you can adjust up to about 20 – 30 minutes. I used my boot to push down the cement as it hardened, making sure post was still level.
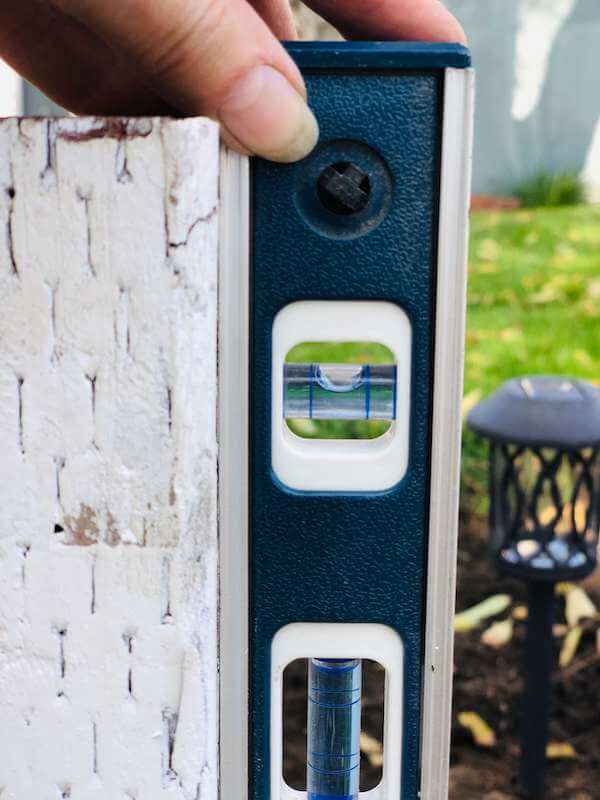
Level posts.
11. Measure, then cut fence slats. We measured from the outside of the first post to the middle of the second. On the second post, we measured from the installed slat to the middle of the third post. For the last post, we measured from the one before it (from where the installed slat was) to the end of the last post.
Cut fence slats after posts have been installed.
12. Drill pilot hole, then screw into place on post. We installed the top slat 2″ from the top of the post. We then installed the bottom slat 2″ from the bottom of the post. We found the center of both and installed the center slat accordingly.
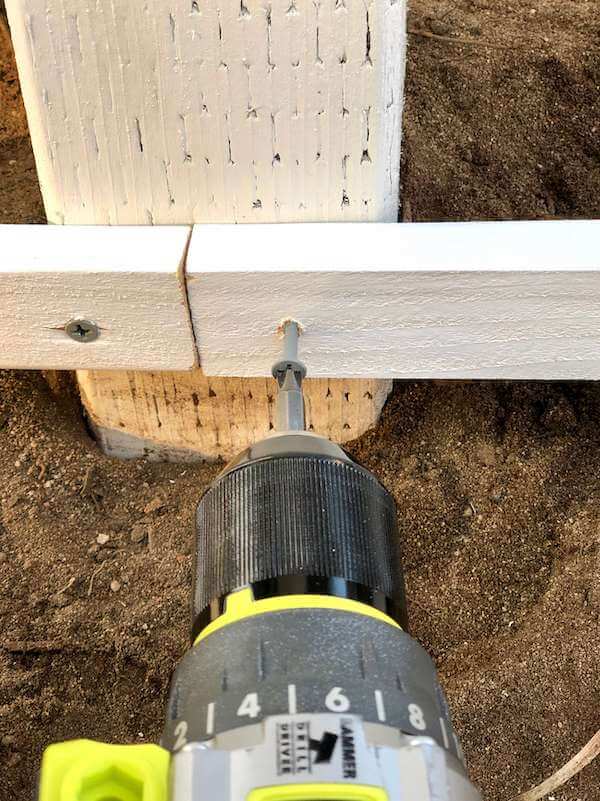
Drill pilot hole, then screw into place.
13. Attach post caps. So easy! The ones we used had an adhesive strip. Done! Optional: use solar post caps. We already had in-ground solar lights, so we opted for the cheaper, yet still super finished-looking option.
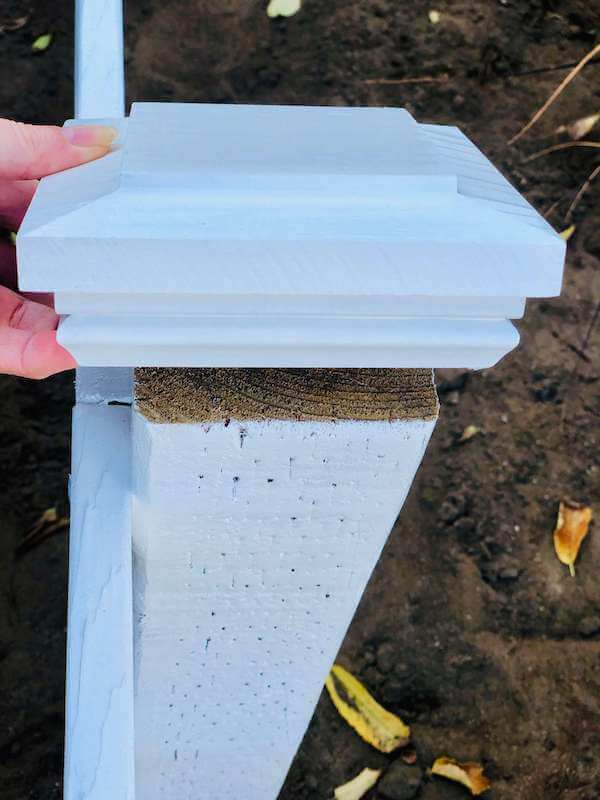
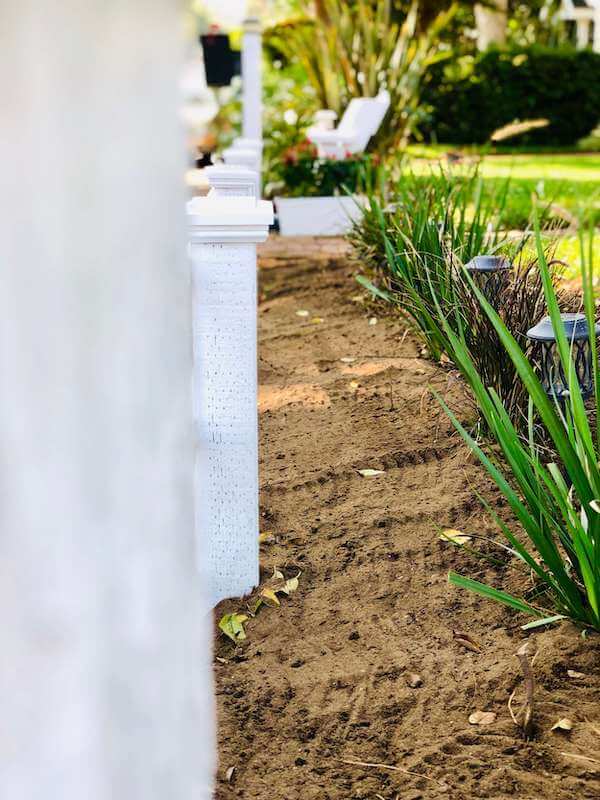
Attach fence post caps. The finishing touch!
14. Touch up paint + paint screws.
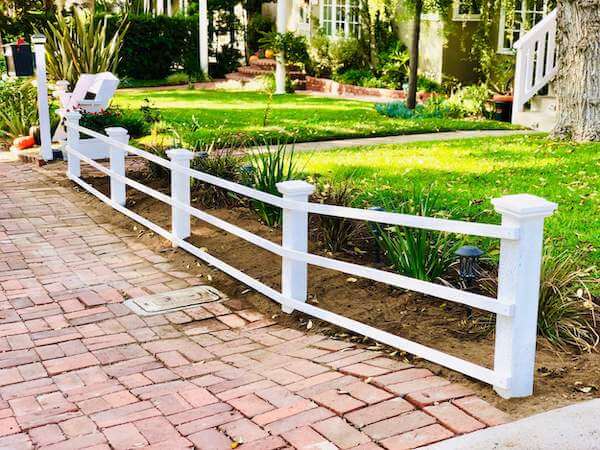
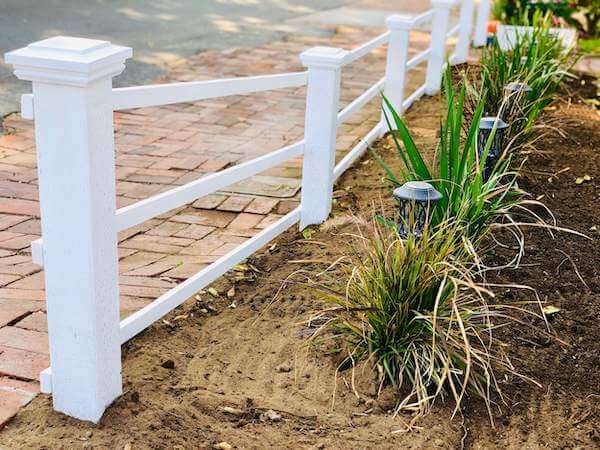
Finished garden fence – so cute!
Fence with view of railing.
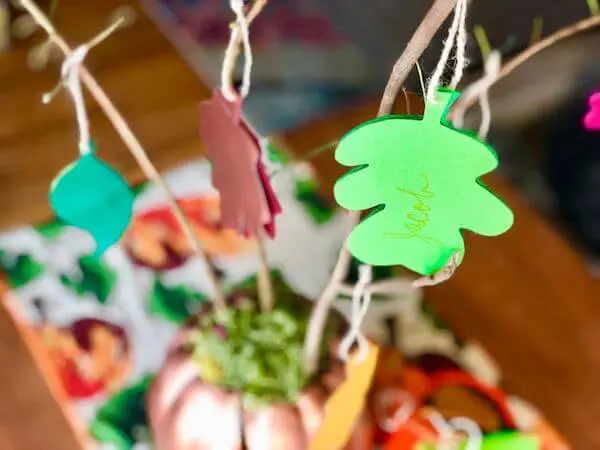
15. Optional: decorate to your heart’s content for the holidays!
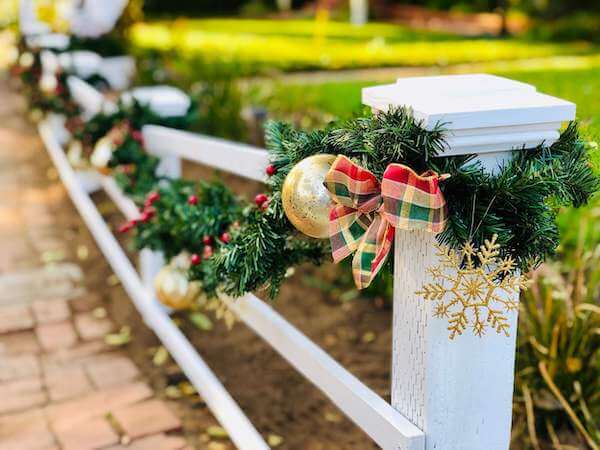
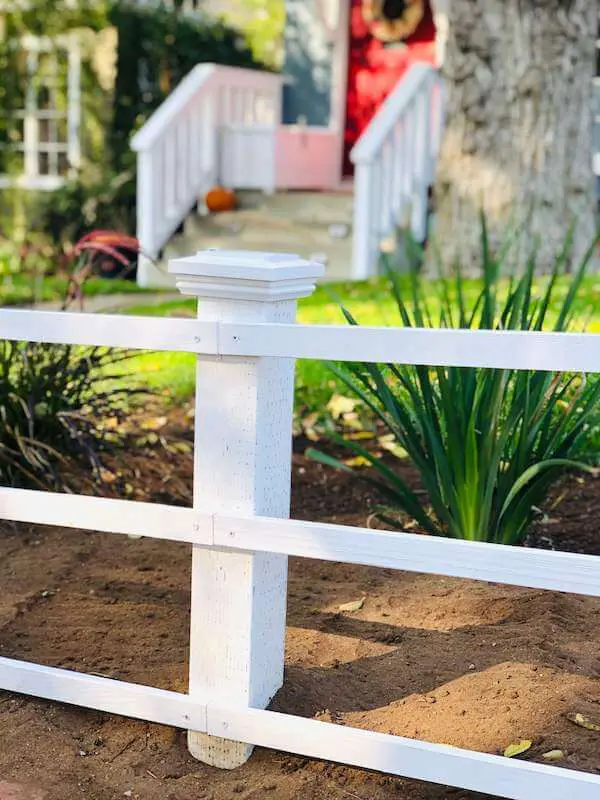
Decorated garden fence close-up.
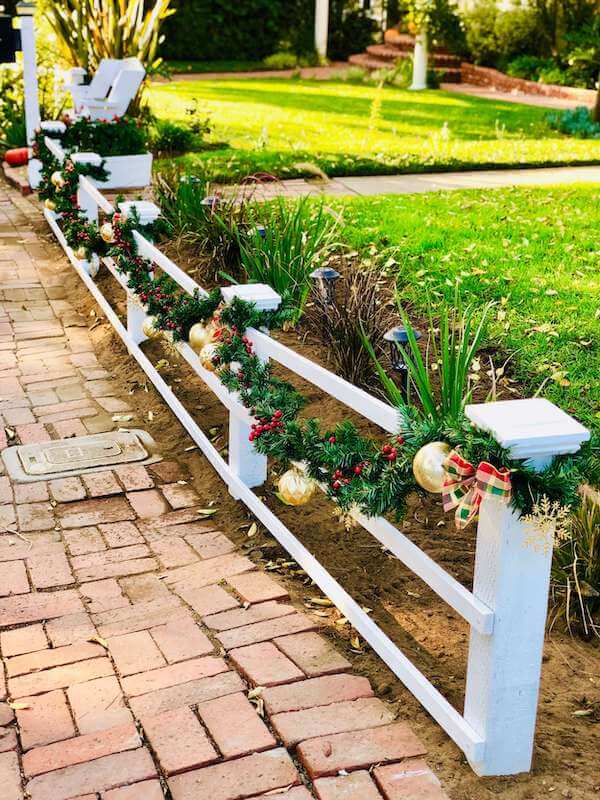
Decorated garden fence full view.
Back of fence area.
Back of fence line.
Watch the Slide Show Video!
[mv_video key=”ikchr5ld3qhvvkdwns6p” sticky volume=”70″ aspectRatio title=”Build a Garden Fence & Decorate in ONE Weekend” thumbnail=”https://mediavine-res.cloudinary.com/video/upload/ikchr5ld3qhvvkdwns6p.jpg”]
This post was sponsored by We’ve teamed up with HomeRight and are proud to be one of their paid brand ambassadors. We also received a HomeRight product sample to use in this post and have included affiliate links to the tools and supplies we used in this project which helps fund these posts and projects. Our personal opinions are completely our own based on our experience. We wouldn’t have it any other way!