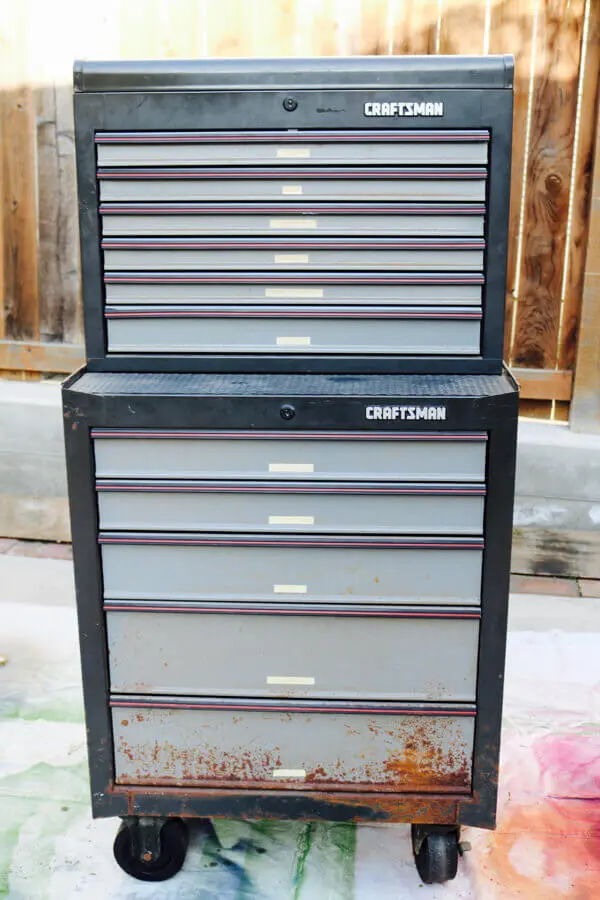
Weathered and worn hand-me-down toolbox before.
Hand-me-downs.
Some people might think of them like this:
Meh.
Others (like me) think like this:
WOOOOOOHOOOO!
Why?
Well…today’s post should pretty much speak for itself. With a little scrub ‘n paint, I turned a hand-me-down, Craftsman toolbox from faded and worn, into a “Back-in-Black”, perfect-for-my-newly-made-over-workshop centerpiece.
Okay, so there’s still a bit of rust at the bottom, but, let’s just call that wabi-sabi character!
The good news? If I could transform this kinda worn-outness into something cool-looking, so can you! If you need some added storage for your tools and/or supples, be open to “adopting” an old box like this one (or look on DiggersList!).
Here now, is my process of go’n all “ACDC” on my toolbox makeover.
Supplies:
• drill w/wire brush bit
OR
• wire brush – (but, hand sanding will take a bit longer and require more “elbow grease”)
• painter’s tape
• removable stick-on letters
• spray paint
Instructions:
1.Clean out every drawer and wipe down exterior. It’s amazing how much nicer a toolbox is when you’ve gone through all the bits and bobs that you will NEVER use.
2. Sand off rust and rough surface, then wipe clean. Use your drill and wire brush bit to make it go faster and easier. Note: this is where you blast on some fun, energetic music!
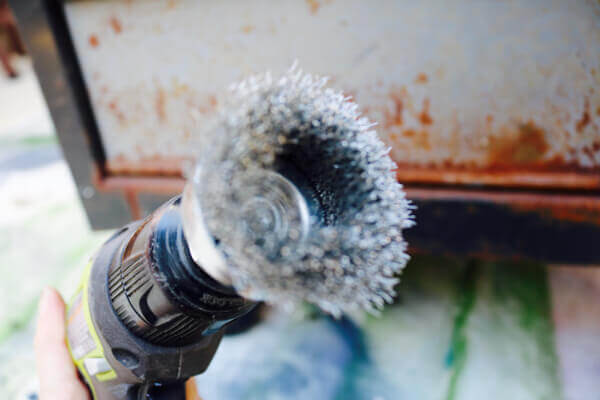
Wire brush drill attachment – it’s pretty rough.
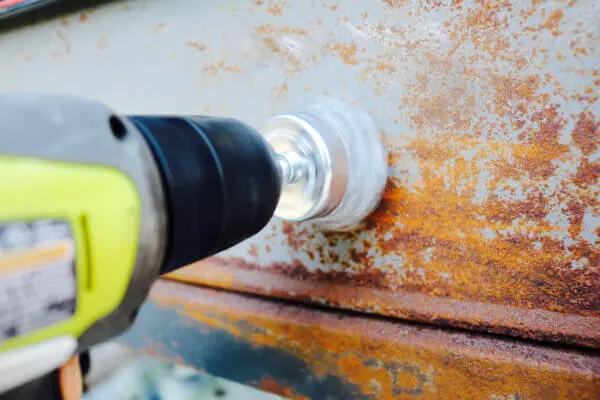
Remove rust with wire brush attachment.
3. Tape off with painters tape. Make sure you cover all areas you don’t wish to paint. In this case, we just wanted to paint the drawer fronts.
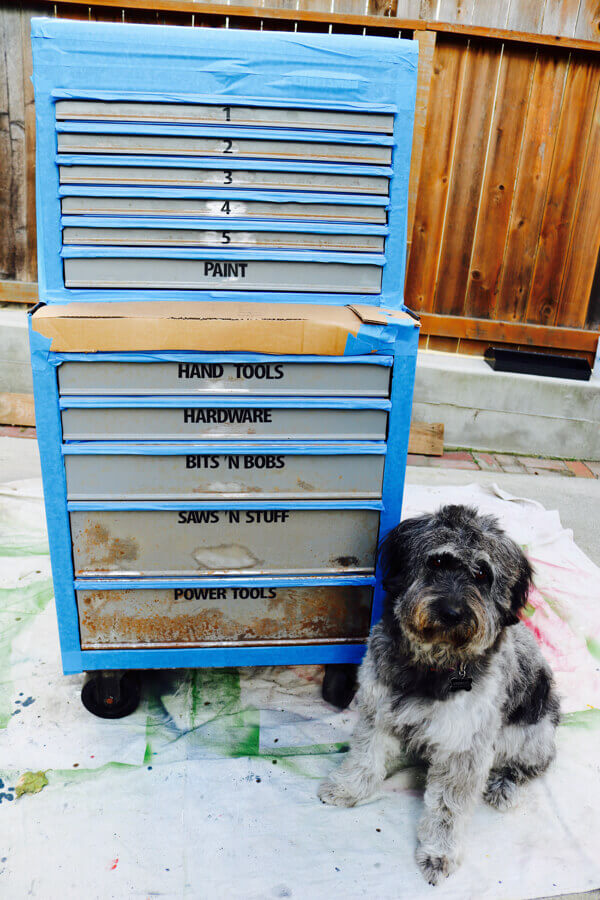
Tape off all parts you don’t wish to paint. Krinkles made sure I did this step juuuuust right.
4. Apply lettering (or numbers) to your drawers. Again, be sure you use removable stickers to make this process easy.
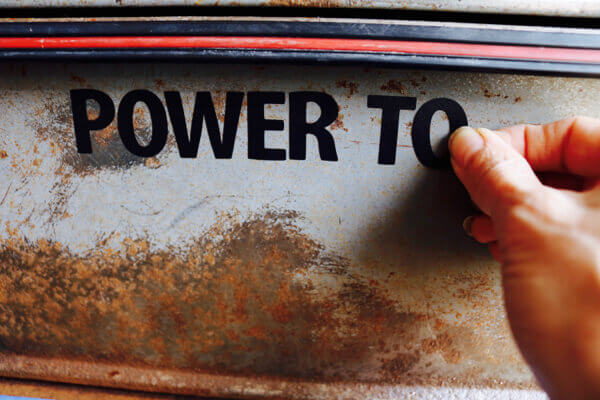
Wipe clean, then apply removable stick-on letters.
5. Spray paint like a boss! Note: I used high-gloss thinking it might be easier to clean later. If I had to do it again, I would have chosen a satin finish. Still…it’s kinda slick-look’n.
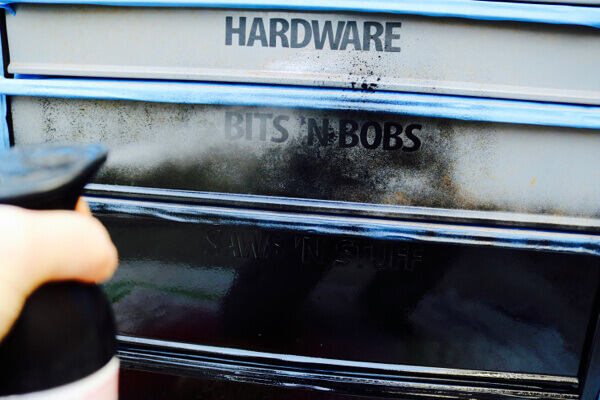
Spray paint whatever color you wish.
6. Remove lettering carefully, then allow toolbox to completely dry. I use an exacto knife to catch the edges.
TIP! I also usually remove the lettering BEFORE the paint dries. I know there a two camps on this before or after issue. Me, I’ve found that when removing stickers or tape before the paint dries prevents pealing off of edges.
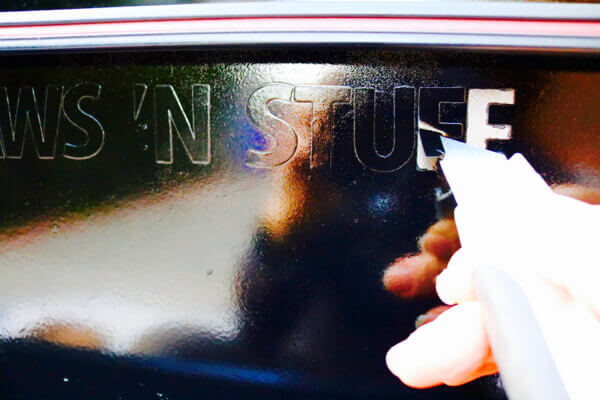
Before paint completely dries, remove removable stick-on letters.
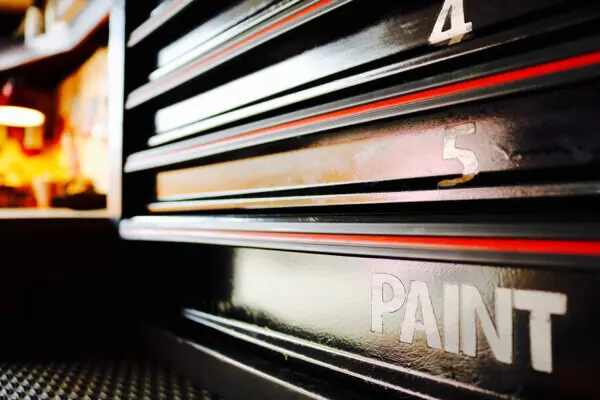
It’s DONE!
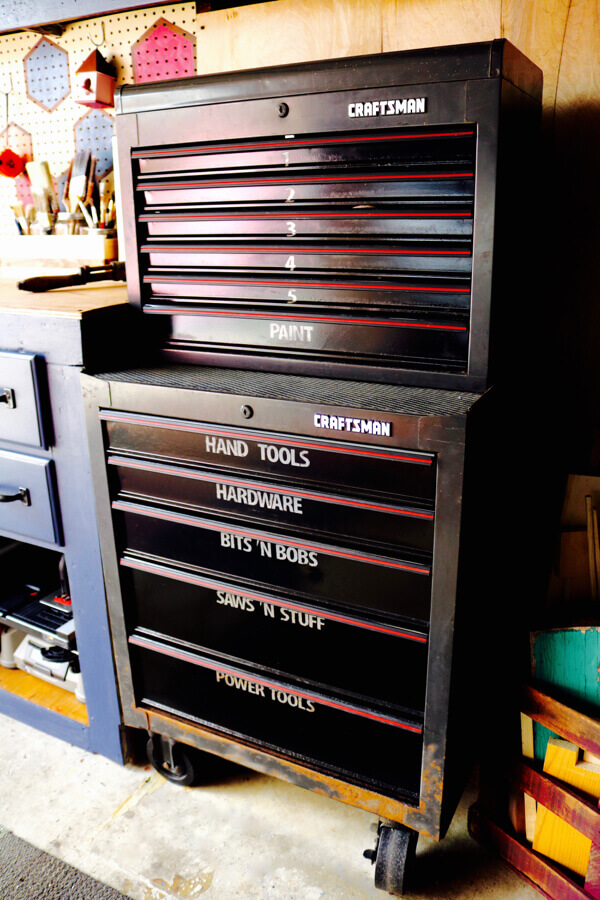
Labeled toolbox makes finding stuff so easy!
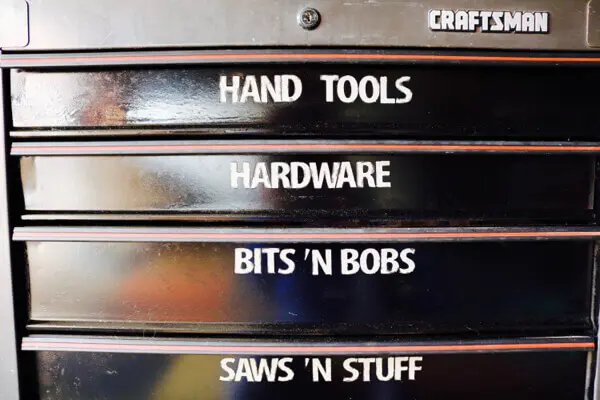
Label the stuff any way you darn please.
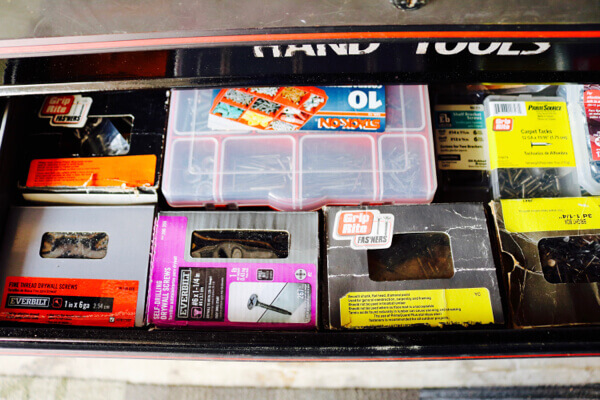
Hardware organized like a boss!
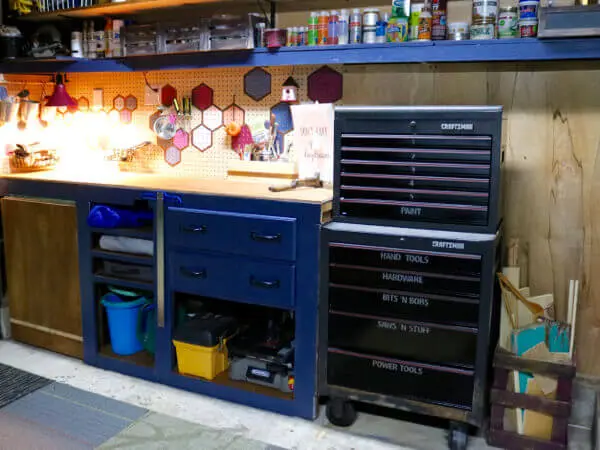
Spruced up toolbox completes this made over garage workshop.
Got a toolbox you made over? PLEASE SHARE!
All photography by Skaie Knox, HomeJelly