The first step in pick-me-upping my patio was quite a learning curve.
Yes. I said, fall.
After all, the warm season certainly doesn’t end at summer’s end. We’ve still got two more good months of perfectly enjoyable outdoor weather, so why not celebrate this awesomely autumn time of year with a patio pick-me-up.
I was recently gifted a fabulous, albeit worn out, mid to late 20th century-era patio set from my across-the-street neighbors, Juliet and Mark Brown. They first asked if they could sell it during my summer garage sale. I mentioned they could easily sell it on ebay or diggerslist for $350 bucks, but after searching around, I found this one for $799!!!
Wowza!
Fortunately for Matt and me, they had just finished a 9 month renovation and were done with hassling with home-stuff. They said, “If you can sell it for $100, go for it.”
Well, to make a long story short, no one was buying that day, so, out of sheer generosity (and not wanting to store it), we had ourselves some new patio furniture, and I had myself a new project.
So, when Ace Hardware asked me to check out and blog about their Paint Studio, which has an extensive collection of paint colors and brands, such as Clark+Kensington and Valspar, I thought, “BOOM!” that’s what I’ll use to makeover my patio furniture!
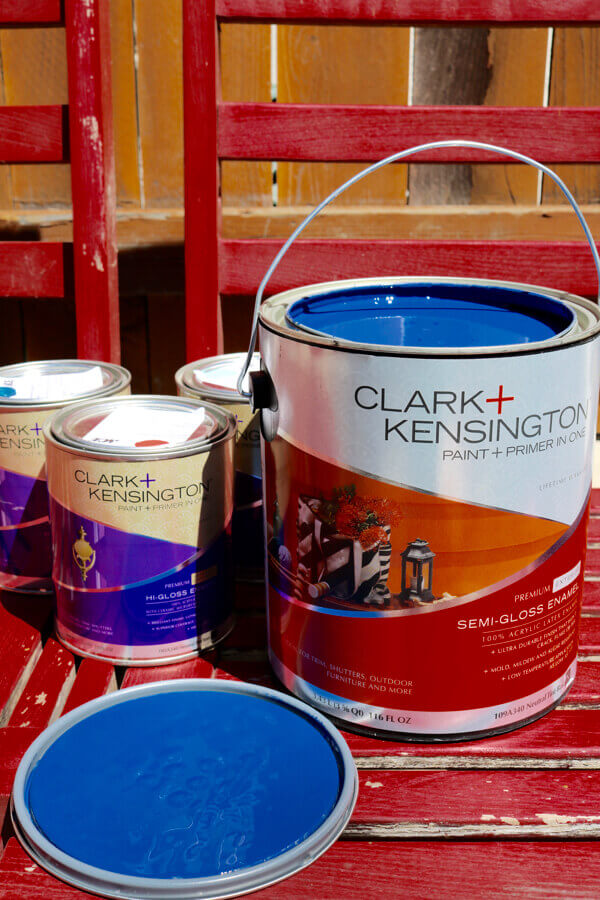
Ace Paint Studio paint.
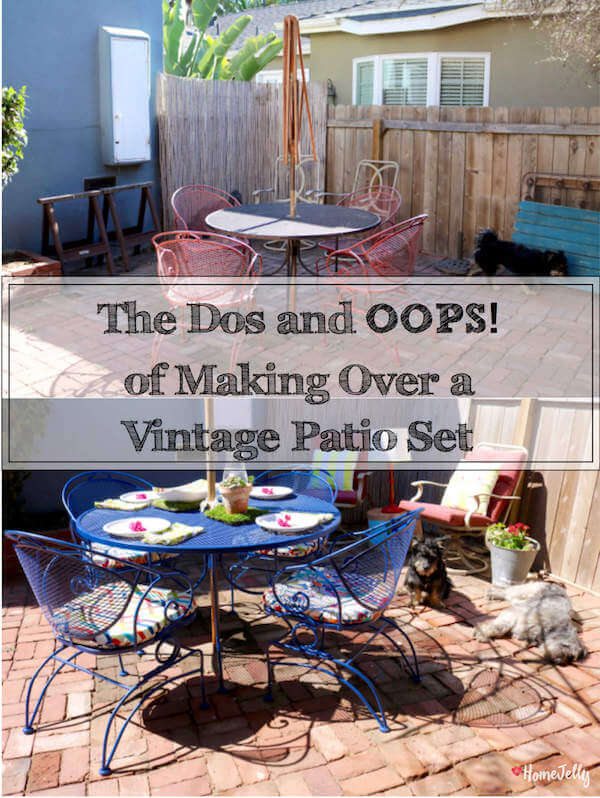
Here now, is what I did to transform this rusting, weathered, but it’s-got-potential vintage patio set, along with a couple projects I completed to perk up our patio. As always, I had plenty of OOPS! lessons which I’ll pass along to you as well.
The Makeover
Supplies:
• P60 sand paper
• brush (paint or hand)
• outdoor semi-gloss paint and primer enamel (I used Clark + Kensington Heirloom China 37C-7)
• tarp and spray tent
• paint sprayer (I use HomeRight’s Finish Max Sprayer)
Directions:
1. Paint selection: find inspiration from things you love. You might discover a paint color you hadn’t expected you’d like. OOPS! I first chose an ocean motif, but then realized it wasn’t what I actually wanted – I’ll have to reuse that gallon of paint on another project.
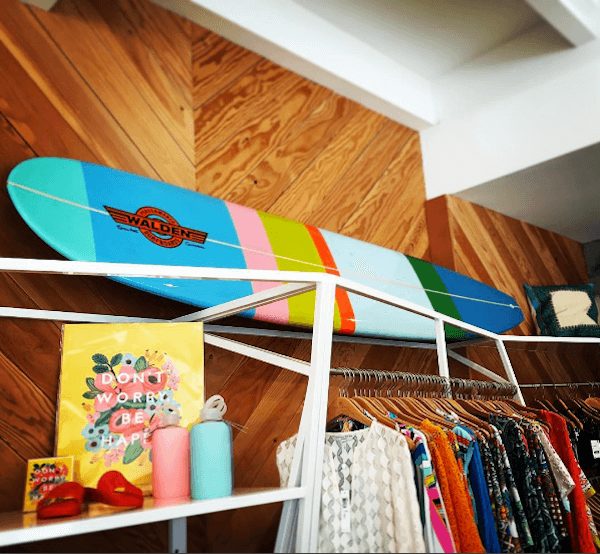
I then walked into a Manhattan Beach boutique and discovered this cool color story…that’s it!
Color story inspiration.
2. Prep: this is always the most laborious part to rehabbing, but the most IMPORTANT. Yep, this is what separates the DIYers from the BUYers. Still, you’ll save yourself a bundle by gett’n down and dirty. Throw on some tunes and just enjoy the ride.
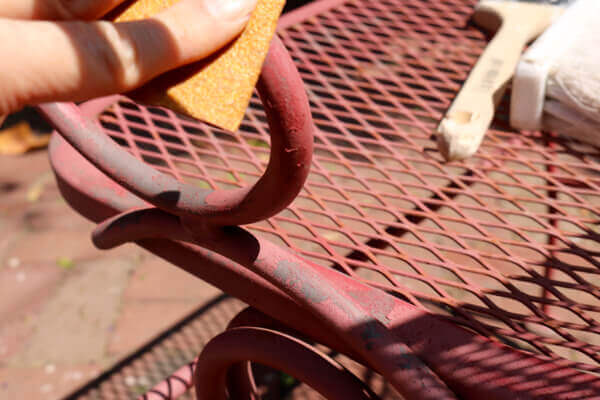
Sand old peeling paint and rust…and, breeeeeeeeath.
DIY Prepping Tip: rust is like outdoor furniture cancer – be sure to try and sand away as much as you can – even in the nooks and crannies. My workout instructor always tells us “Go to the work!” That’s pretty much what prepping is all about.
3. Clean surface: after sanding, brush off the dust, paint chips and crumbling rust.
4. Paint: spray evening from 12″-18″ away. OOPS! I love the color I chose, but, it was a tad different than I expected from the color on my computer.
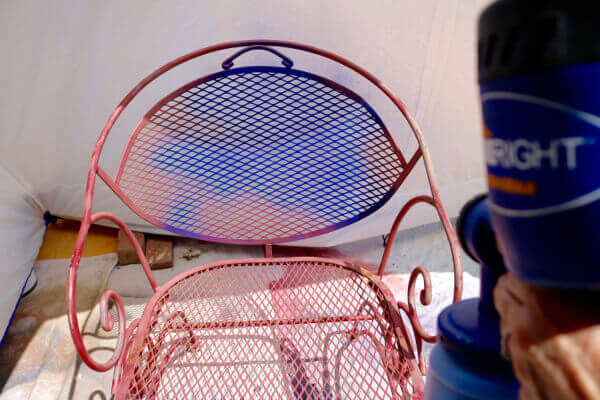
Spray paint evenly.
Designer Furniture Painting Tip: “Before you paint the whole set, definitely test a small area first to see if you like the color and how it looks on the metal.” – Julie Grassey, Ace Design Expert
Yep, I forgot to follow this advice. Oopsie.
DIY Spraying Tip: using a sprayer will certainly save you time, but make sure you’ve covered any floors or walls and even underneath your spray tents – errant overspray can be a mess!
5. Allow to dry: a good 8-12 hours (or overnight) will do. OOPS! This is often times a no-brainer, but, when it comes to painting a piece of furniture on all surfaces, we often need to flip it upside down or sideways. I did this and rubbed the paint off the armrests. Blah.
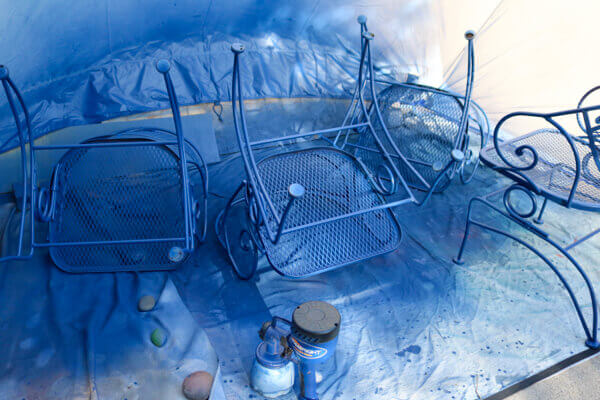
Paint underneath to paint and seal all surfaces…but, don’t forget to allow topside to dry!
Other Patio-Pick-Me-Ups: overall – despite the Oopsies – this was a straight-forward project and I’m so pleased with the results. In addition to making over our vintage patio set, I also created fun and super simple-to-make seat cushions, as well as a stupendous stump side table (DIYs coming soon).
To pull it all together, clean cushions from summer, rake and sweep floors, then prune and clear shrub ‘n tree debris and overgrown greenery. Lastly, add friends, doggies and some seriously delicious wine.
Cheers to fall!
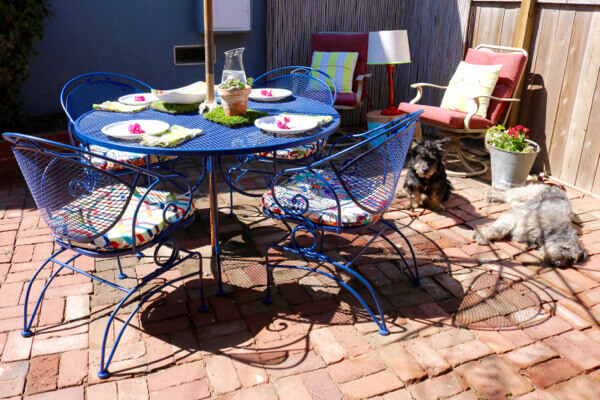
The boys are loving their patio area.
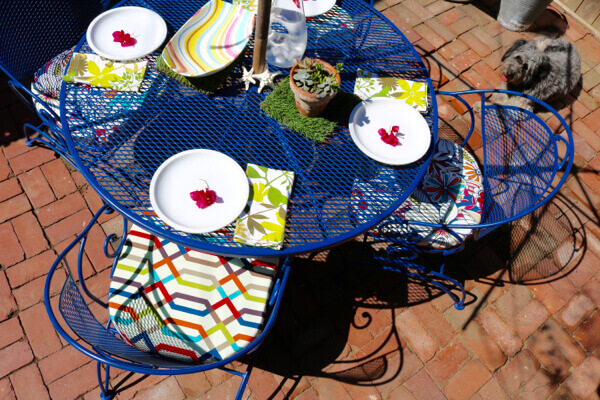
Color and pattern abound!
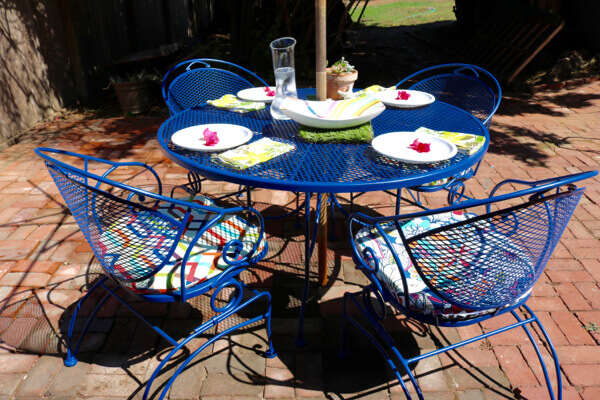
Even from behind, these chairs are fantastic.
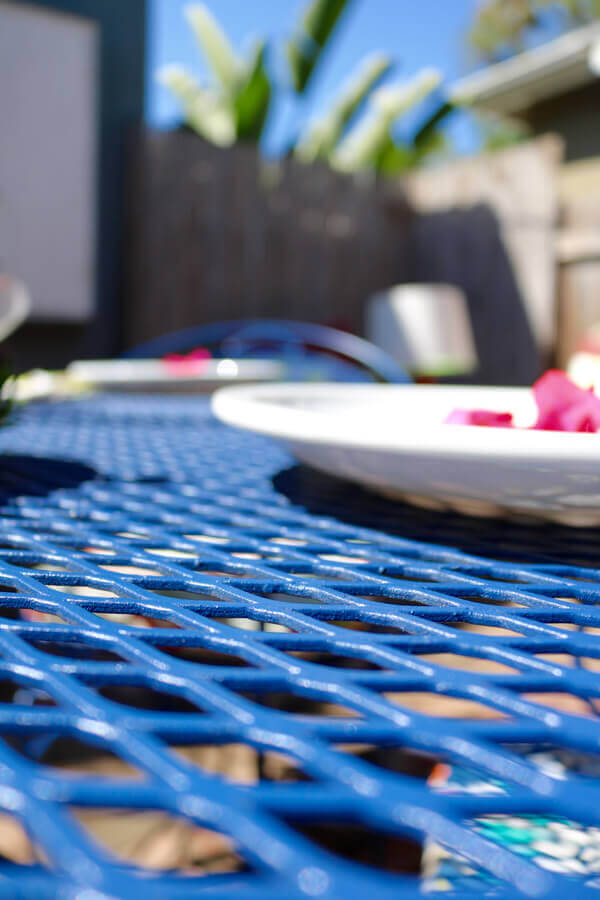
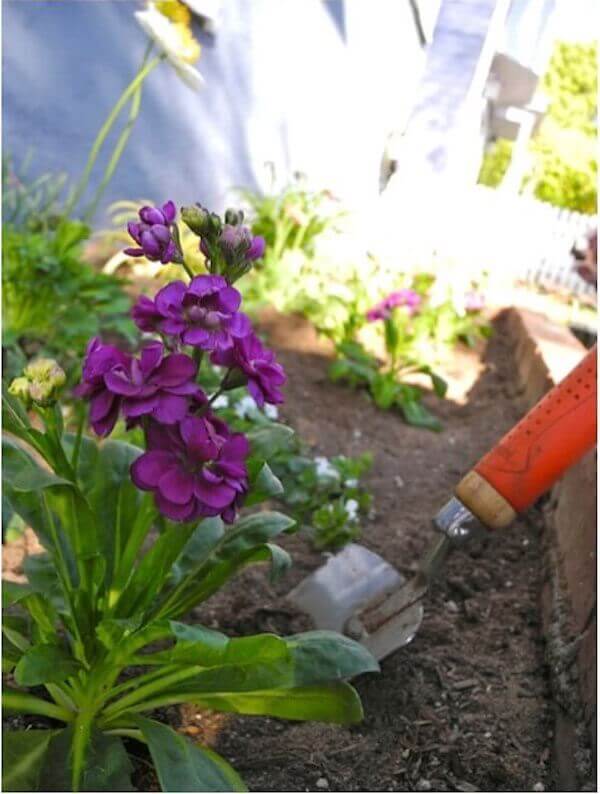
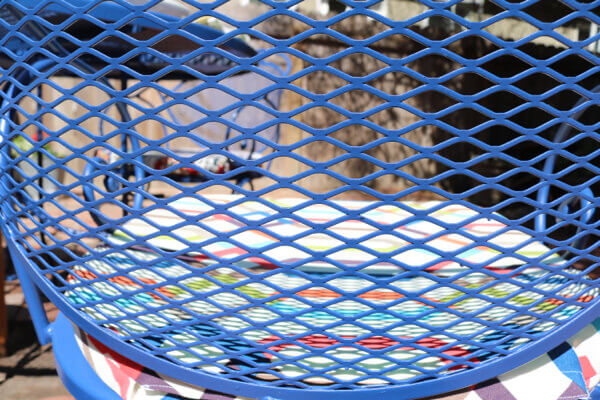
Such a pretty color that lets Mother Nature pop!
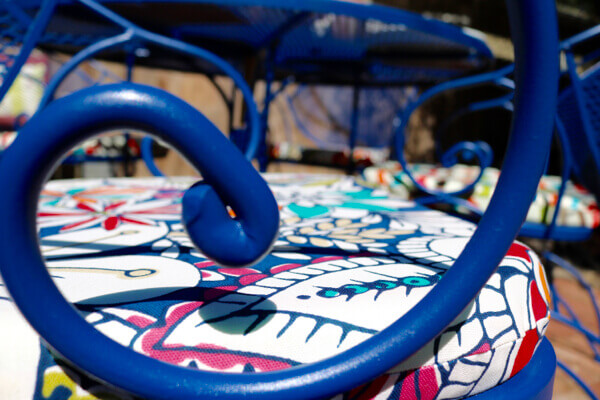
Scrolls and fun fabrics just work together, don’tcha think?
Patterns galore! And so surprisingly comfortable!
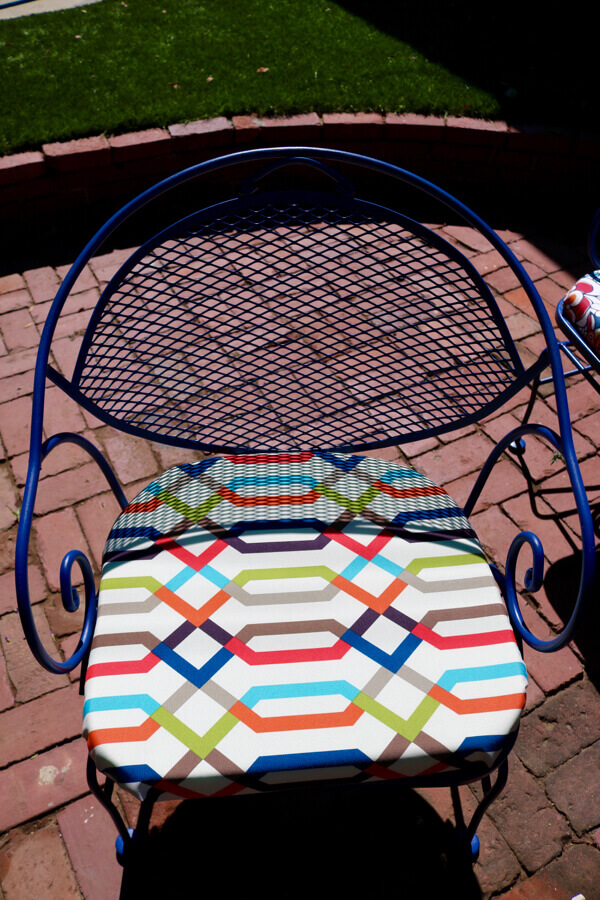
Graphic fabric mimics the ironwork of these chairs.
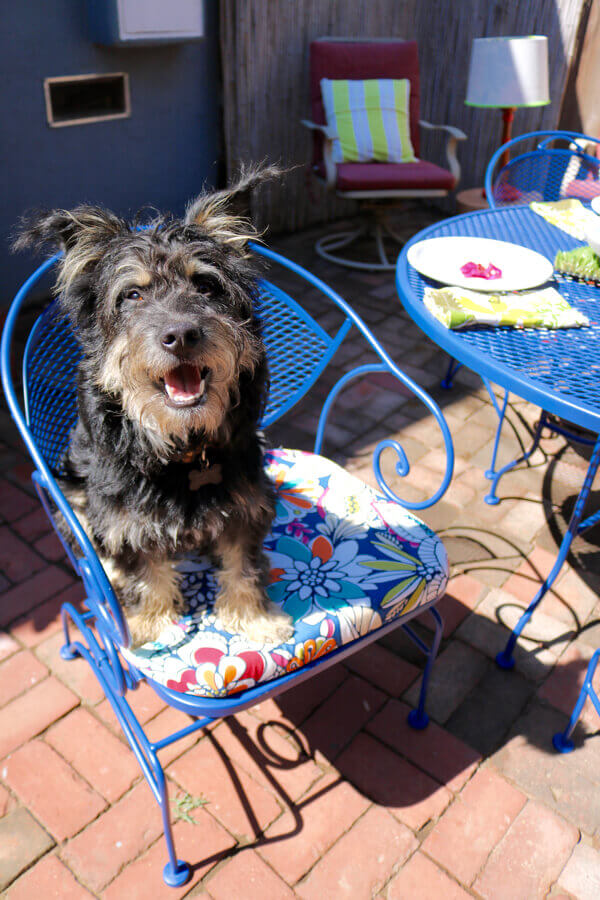
Bear-bear found his seat!
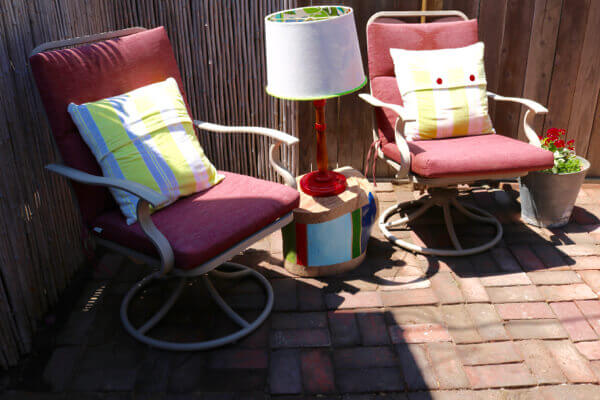
Cute sitting area for a more intimate conversation.
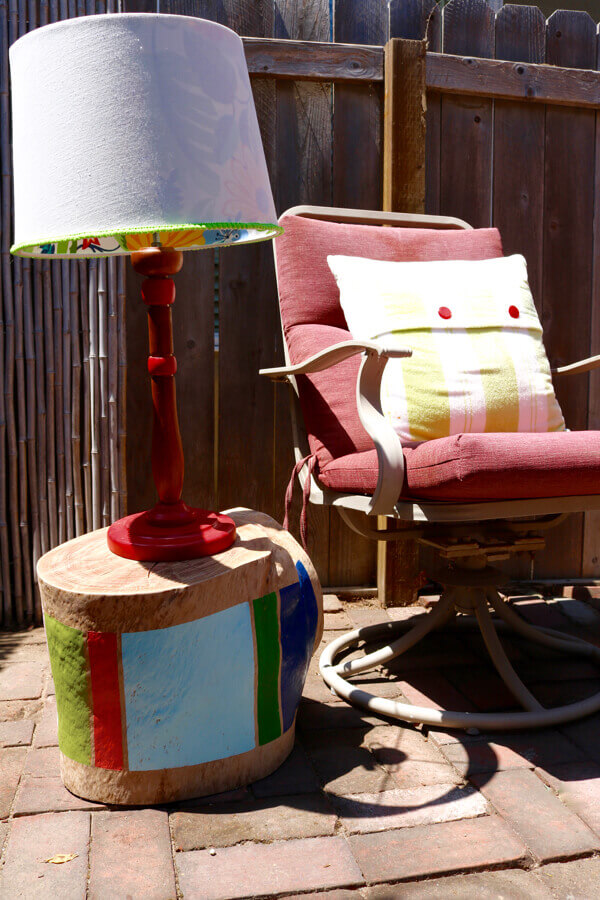
Colorful tree stump and an indoor lamp for some whimsy.
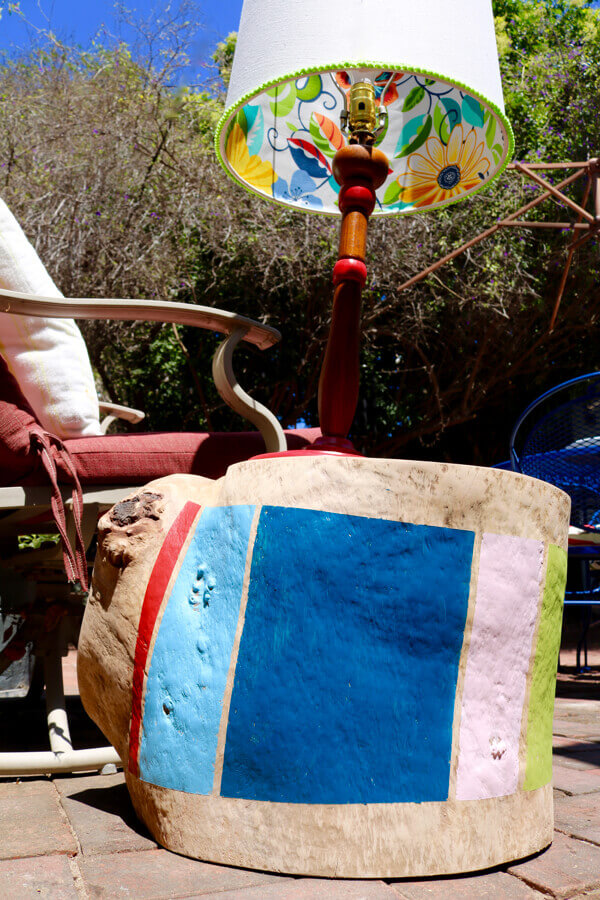
Wood stump love – plus a peek at my peek-a-boo lantern – the pattern lights up when lit!
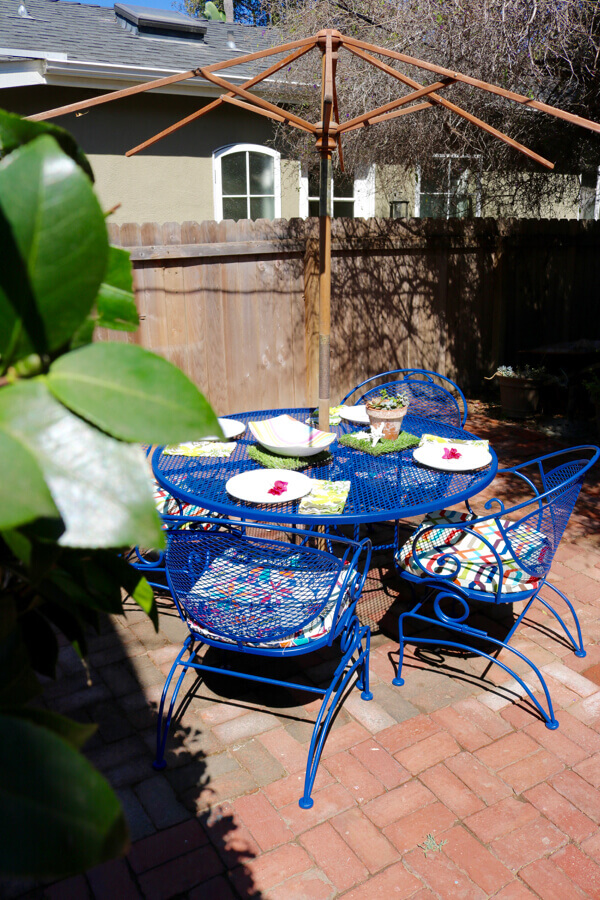
I love the umbrella ribs – they’re so architectural.
All photography by Skaie Knox/HomeJelly
This post was sponsored by