
This is post contains affiliate links.
Okay, give me a moment to calm myself. Inhale…exhale…ready.
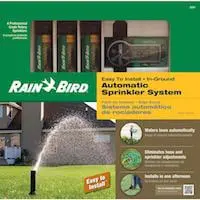
I couldn’t hop on and start clickity-clacking my keyboards fast enough to tell y’all about the Rain Bird Easy-to-Install Automatic Sprinkler System
Feww! A mouth-full but worth it, trust me.
In a nut-shell, this underground sprinkler system requires minimal manual labor, includes simple instructions, all the necessary parts and connects directly to your home’s spigot – no tapping into a water main. Fabulous!
I know what you might be thinking, “An easy-to-install, underground sprinklers system? Yeah, right.”
Uh-huh! My thoughts exactly. But, when I mentioned that Rain Bird had contacted us at HomeJelly to test this product out for ourselves, Matt, who is our grounds tender and daily hose waterer, practically jumped out of his seat and said, “YES!” I agreed, as long as he would help, and to our luck, my oh-so-handy cousin, Tom, was visiting from Minnesota and jumped in as well.
The results? SO easy! I thought Matt and Tom were crazy when they started pulling out the parts and manual at 4 o’clock in the afternoon.
“You guys aren’t actually thinking of starting now, are you?” “Why, not?” asked Matt with a shrug, “We’ll just get started and see how far we get.”
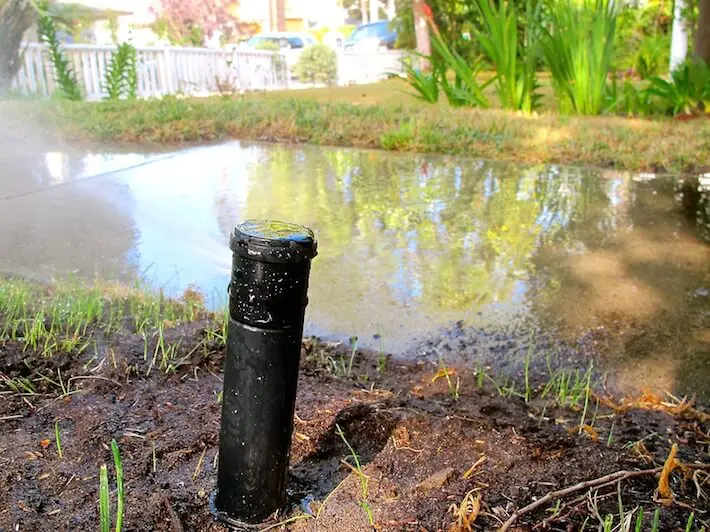
By 7:15pm, we were watching our grass soak up some of the most beautiful sprinkled water we’ve ever seen. 3.5 hours…I wouldn’t have believed it if I hadn’t done it myself.
How far this yard and home’s curb appeal has come! Here now, is our adventure into DIYing underground sprinklers, courtesy of Rain Bird. Thanks guys!
Supplies:
• Rain Bird Automatic Sprinkler System – available on HomeDepot.com.
• 5-gallon bucket
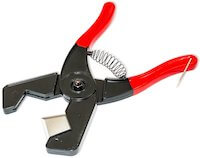
• rubber cutting tool – AES Industries Mighty Cutting Tool
• digging shovel – Fiskars digging shovel

Optional:
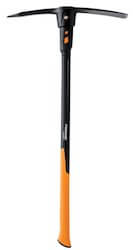
• garden pick – Fiskars Garden IsoCore 5 lb Pick, 36″
Instructions:
Step #1: Read instructions. Gals, if you’re working with your boyfriend, husband, male cousin or friend, remind him he’s not taking a road trip (wink!). Reading the map of instructions will save you loads of time!

Step #2: Take an inventory of parts. You don’t want to be ditch deep with a missing piece. Make sure you’ve got all the supplies you’ll need; then go nuts. (Oh, and…Go Kings!)

Step #3: Check your water flow rate. This will determine how far apart you should place your sprinklers. Read the included easy-to-follow instructions for more info.

Tip: uncoil the tubing before starting so that it’s easier to place into the trench you’ll dig. We only had ours in the sun for about 30 minutes prior and it worked great.


Step #4: Measure and sketch your sprinkler layout. Measure your yard space, then write out a plan on the included grid. This will really help you create a well-spaced and even watering system.


Step #5: Install your stakes, then cut tubing to size.


Step #6: Run tubing, connect sprinklers, then test. This is a great way to see, BEFORE digging, how your sprinklers will cover your yard. If you’d like, adjust the sprinkler heads at this point, and/or move the tubing around the yard where you need. Be sure not to skip this step.


Step #7: Bury the tubing. Be sure all connections are tight and that the sprinkler heads are buried deep enough so they are flush to the ground. This will help prevent damage from walking over them or mowing your soon-to-be, really green lawn.
Note: since the publishing of this post, our gardeners have cut our grass, easily mowing over these sprinkler heads. I got the impression they were a little bummed we hadn’t hired them to do this job.


Step #8: Turn on and adjust sprinkler heads how you’d like them to flow…oh, and don’t forget to set the automatic timer. You’re done!
Note: be sure to read the paragraph on backflow protection. We found a hose bibb vacuum breaker at Home Depot for under $5.
Mind you, your yard will look a bit like a gopher family tunneled through, but no worries. Within a week, you’ll see tiny sprigs of grass popping up to say hello. This is a fantastic product and such a great solution for renters wanting to be freed from the bonds of hosing.


Where to purchase:
Rain Bird Automatic Sprinkler System – price: $99.97 (USD), available on HomeDepot.com.
All photography by Skaie Knox, HomeJelly