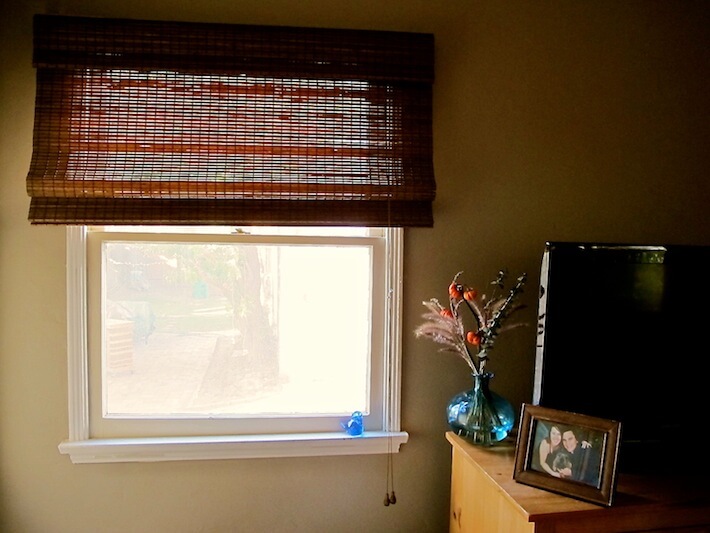

Roman blinds before and after.
Delightfully, even after almost four years of blogging and DIYing, I can still surprise myself with what I can accomplish. Yes, I installed my very first set of Roman blinds (also referred to as Roman shades)! No, it wasn’t installing a new window or countertop, but there’s more to this task than just screwing a few screws in the wall. Aside from finding the right style and color, there is the fitting of old windows like ours with 1/2″ moulding, proper leveling and pre-drilling, and tricky 1930s plastered walls that are quite unforgiving of ill measurements.
With all this, I was able to complete this to-do successfully on the first try and on two windows to boot! Hurray! One tip I discovered on accident was this: if you don’t plan to hang your blinds inside your window’s frame or moulding, be sure to buy or order blinds that are two to three inches wider than your window to (1) fully cover the moulding (it looks a little incomplete if the shade only covers it partially); (2) give the illusion your windows are larger (a nice design trick), and; (3) fully cover the light of the day (that’s if you’d like your room as softly lit as I do!).
I’ve been wanting to install these blinds for years for three reasons: cuteness, privacy, and glorious morning dimness. The “before and after” photo above is an illustrated snippet of our home’s added happiness, one we will enjoy on a daily basis. As I’ve mentioned before, it’s often the little things we do that make the biggest impact, and for me, this will present itself every morning as no more blinded by the light!

The second window…Roman blinds can control the amount of light you wish throughout the day.
How ’bout you? Have you tried to install Roman blinds in your home? Do you have any tricks to make it easier?
All photography by Skaie Knox, HomeJelly