The last time I checked my iPhoto app, it had 7,814 pictures.
7,814!!! What the…!
I’m guessing you, too might have quite a few images stored and saved on your phone and computer. Right? But when was the last time you really enjoyed looking at them, let alone actually printing and framing one?
Yeah, me, too.
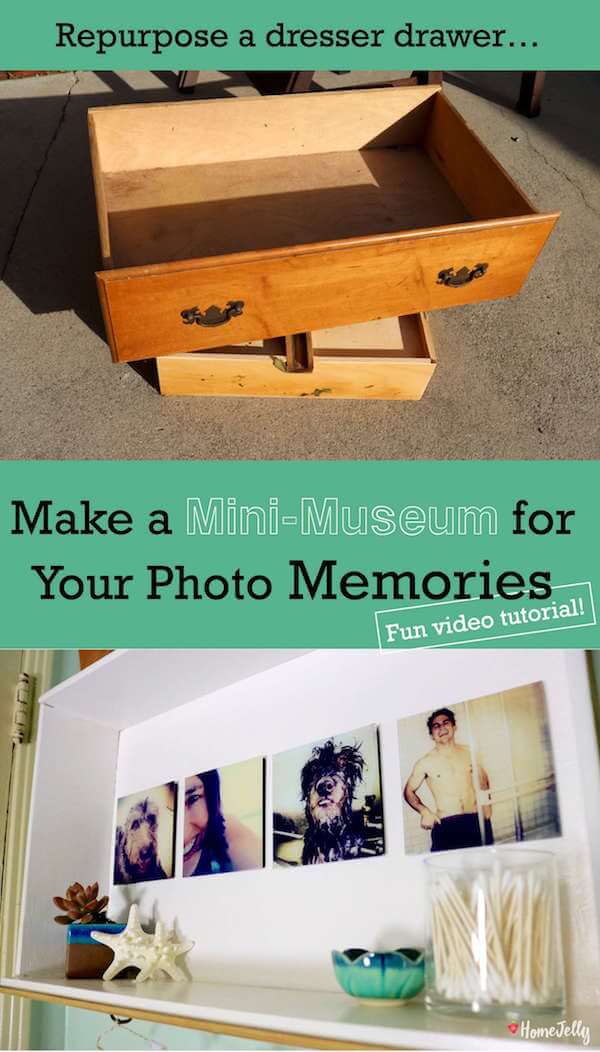
And, so, this brings me to today’s post: repurposing a dresser drawer into a marvelous mini museum for photos! Hopefully, this simple project will give you a reason to reacquaint yourself with your computer’s “print” function, or, discover new ways of printing your photos onto different mediums like glass!
I love making multi-functional decor, and, of course, when it’s a repurposing project, well, that’s a trifecta of fabulous!
See Also: Home Gym Cabinet Repurposed from Trash’d Dresser
Yep. Dresser drawers or wine boxes can be transformed into one sweet shadow box for featuring your pictures (in 3D!) with museum-quality flair!
Video: Here’s a fun how-to video I put together to hopefully inspire you to print one or more of your hundreds of stored Instagram or smart phone photographs, then, with just a few supplies, create this one-of-a-kind-but-multi-purpose way to exhibit them.
Supplies:
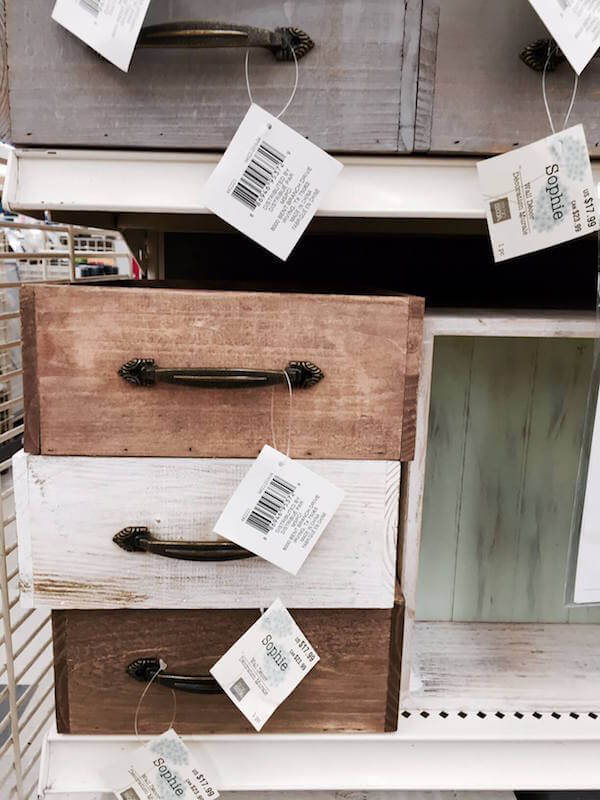
You can find all kinds of “drawers” and wine boxes at Michael’s craft stores like these, if you haven’t any spare ones around your home.
• dresser drawer or wine box
• drill or screwdriver
• electric hand sander and/or sanding block
• sand paper (medium – P60 and fine – P120)
• painters tape
• paint brushes
• white semi-gloss paint
• hammer
• hanging hardware, pencil and Sharpie
• photographs
Instructions:
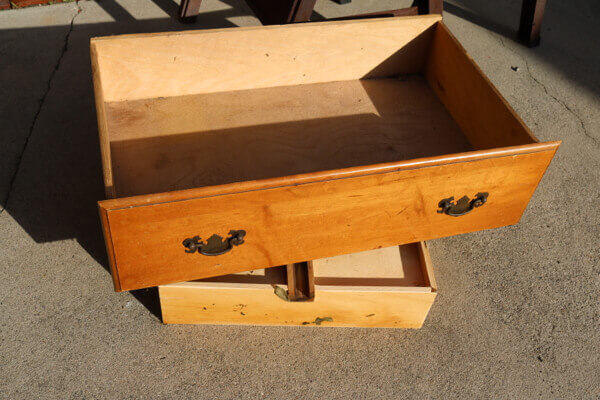
1. Remove hardware (if using a dresser drawer). Skip this step and step 3 if you’re using a wine box.
2. Sand all surfaces.
3. Replace hardware.
4. Tape off all edges next to where you will be painting. Note: be sure to use your finger nail to really seal the edges of your tape, or leakage will occur…doh!
5. Get paint’n! Allow first coat to dry 1-2 hours, then apply second coat.
6. Measure, then mark where you want your photos. Note: a super easy way to make sure you place your hanging nails or screws so your photos are evenly spaced is this:
Photo Placement Tip:
a. Find the center point of your drawer or wine box, then mark this center point in the middle and across to each side of your drawer or box.
b. Either by eying it or doing the math, place your photos face down where you’d like them to be. Note: using a pencil, mark with a small dot, the tops of each photo (your “top dots”).
c. Take painters tape and, without moving your photos, place a strip over their hanging holes, the, using your Sharpie, mark those holes onto the tape. Note: not shown in the video, I should have place the tape edge right at the TOP of each photo, so when I taped it back onto the box in step “d”, I would only need to place the tape under the “top dots” of each photo…making it waaaay easier to mark the hanging screw/nail holes.
d. Remove the tape, then place onto your box just under the “top dots”.
e. Drill a screw into each marked hole, then remove the tape. Done!
7. Remove tape around box edges, then attach hanging hardware.
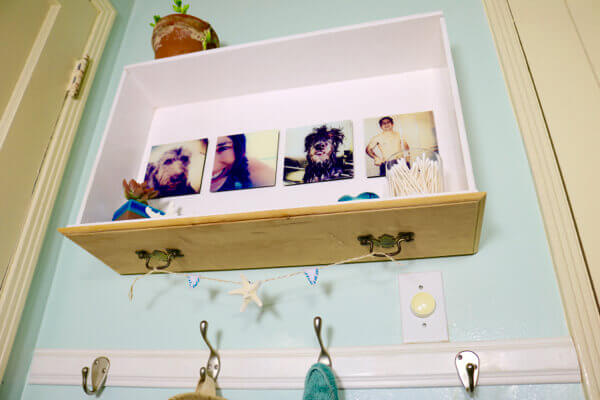
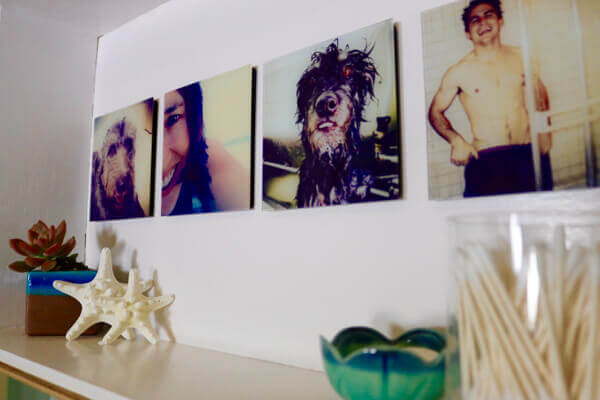
8. Hang photos in “mini museum”, style how you’d like with other memorabilia, then hang!
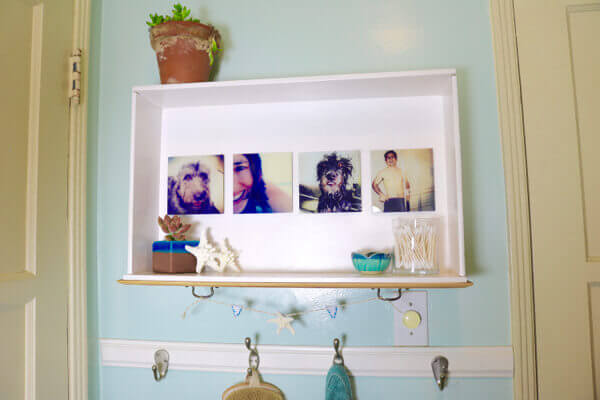
Mini museum for your photo memories!
This mini museum adds character and dimension to any space.
Photos are featured and now you’ve got extra storage…boom!
All photography and video created by Skaie Knox, HomeJelly
Today’s post is sponsored by:
![]()