{To watch the fun transformation video…scroll down!}
Saaaaaaaay, Cheese!
Whoever “invented” this get-ready-to-take-a-picture slogan was a genius – it’s short, simple, and truly places your mouth in the perfect position for the camera (though, Gabrielle Taylor might disagree)
Nevertheless…
Another genius was my Great-Aunt Ellen, who had the foresight to hand down her overnight vintage valise to my mom, Lois. Decades and thousands of travel miles later, this fabulous case landed in my garage.
Did I say garage?
Well…garage band. As is, I used it for transporting, to and from gigs, the following: stage light bulbs, guitar cords and cables, mics, guitar picks, band merchandise, and cassettes and CDs. I just LOVED putting that little suitcase to work!
Where is it now? Push “fast-forward” and quite a bit of dust has collected onto my auntie’s overnighter.
Noooooooo! This couldn’t be!
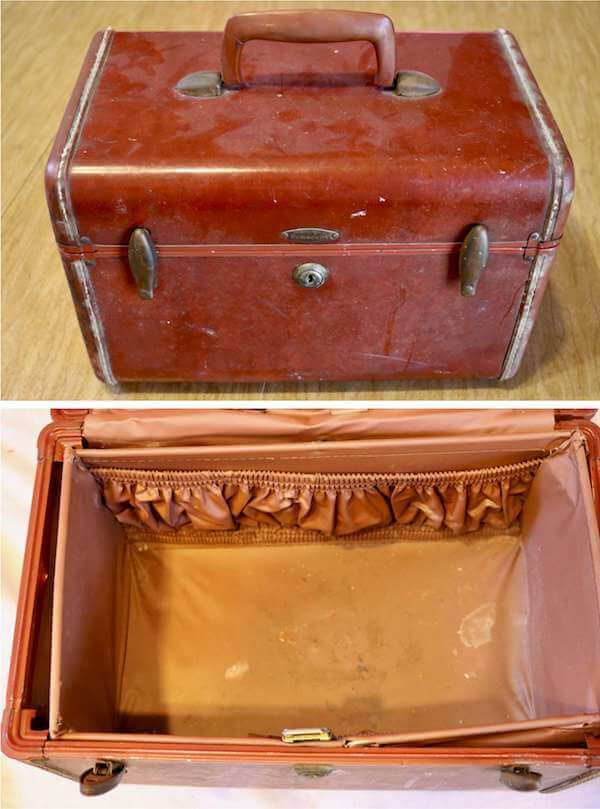
Vintage overnight case, exterior and interior – before. It’s cute, but definitely in need of a cleaning!
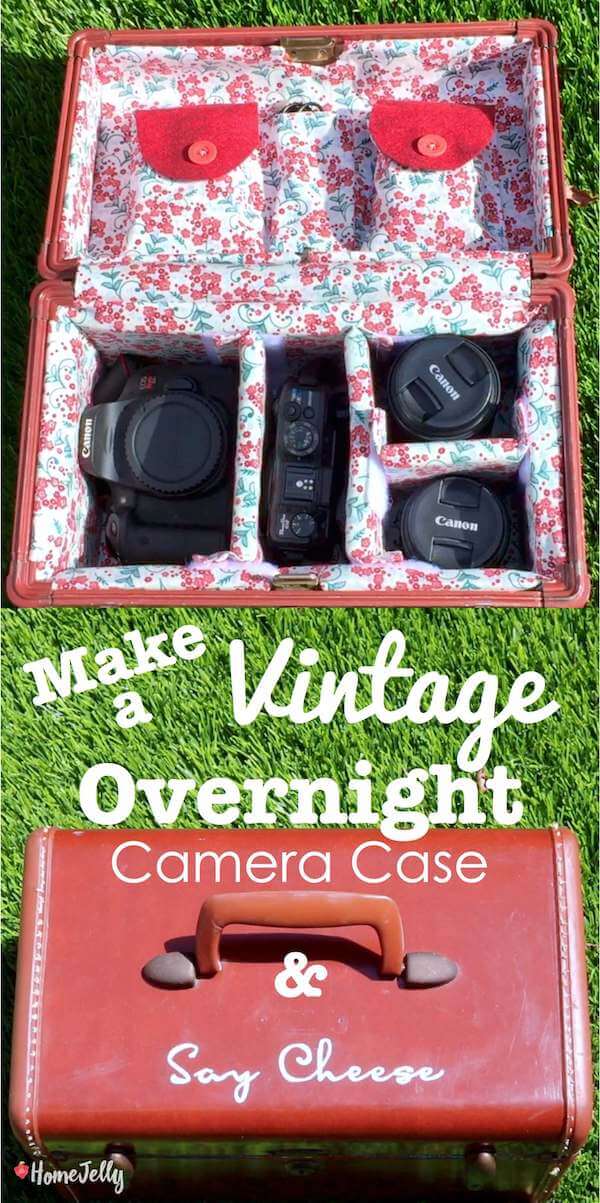
Right?!? So…thanks to the call of my new sponsor, VELCRO® Brand, I recently had a spark of (eh-hem) genius and came up with today’s *how-to project: making a vintage overnight case into a flashy vintage camera case!
See Also: It Sure Beats Sewing on Hooks ‘n Eyes, Buttons ‘n Snaps!
*This project was unlike any other I’ve done. Because of its age, I had to absolutely custom design the interior. It had an amazing bar/clip system to keep the lining placed perfectly, AND, it wasn’t glued! I wanted to keep the integrity of this case intact, so, I decided to, like a real vintage home, renovate it by deconstructing, then restoring it, preserving the original details – just in case I wanted to change it again years down the line.
Therefore, instead of a true step-by-step, I thought I’d present a photo tutorial-tour to show you what I did.
Supplies:
• Phillips and flathead screwdrivers
• cardboard
• cotton fabric (I found this vintage-style design at Joann’s Fabrics…love!)
• 1/2 yard of 1/2″ foam padding
• 20″ of 2″ and 8″ of 3/4″ wide VELCRO® Brand Soft & Flexible Sew On fasteners (white)
• 1 pkg. 4″ x 2″ VELCRO® Brand Industrial Strength tape (any color)
• 4′ of 3/4″ VELCRO® Brand Sticky Back for Fabrics (white)
• Scissors (I love the Fiskars RazorEdge™ Fabric Shears)
• felt
• two buttons
• paint and paint brush
How-to (Tutorial Tour)
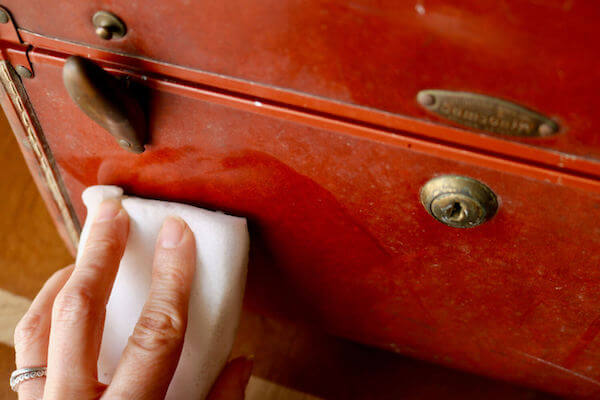
1. Clean and polish the case. Check out these easy cleaning instructions for an almost-new looking (and smelling) suitcase.
These vintage leather suitcases are easier than you think to clean.
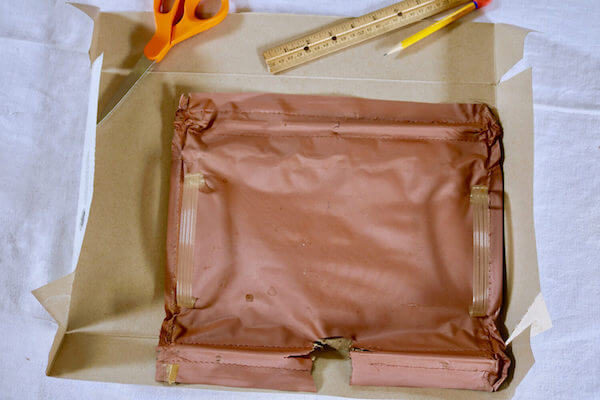
2. Deconstruct. I carefully examined, then took apart the lining using a flathead and Phillips screwdriver.
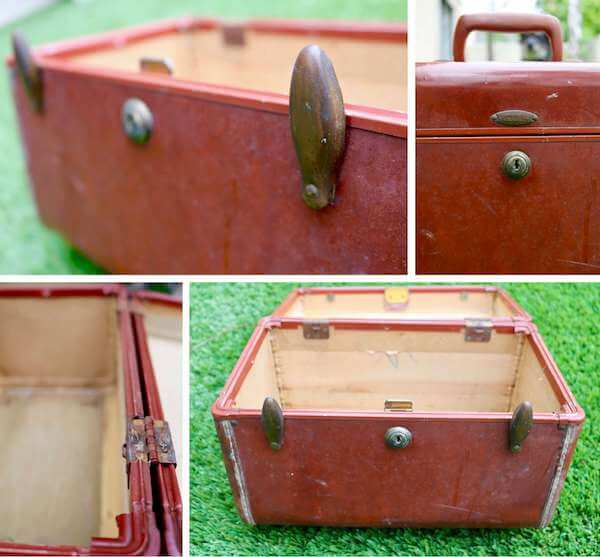
Deconstructed valise reveals a wooden veneer interior…basically, a blank slate!
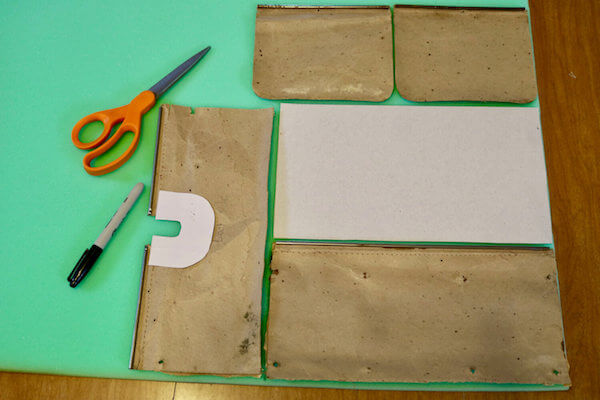
3. Create templates. Luckily, the old lining had cardboard supports for the fabric which helped in making larger templates for cutting out my fabric.
Make a template using the original lining.
4. Cut fabric. Tip! Be sure to line up your templates as close to each other as possible to save on fabric. Also, make sure the pattern is lined up the way you want it inside your case.
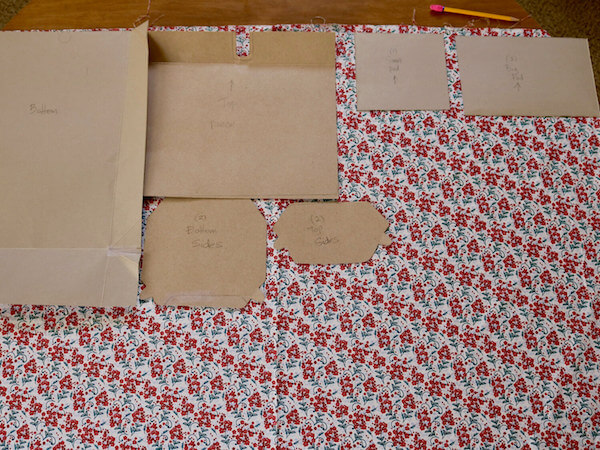
Be efficient when cutting your fabric. Place templates as close to each other as possible.
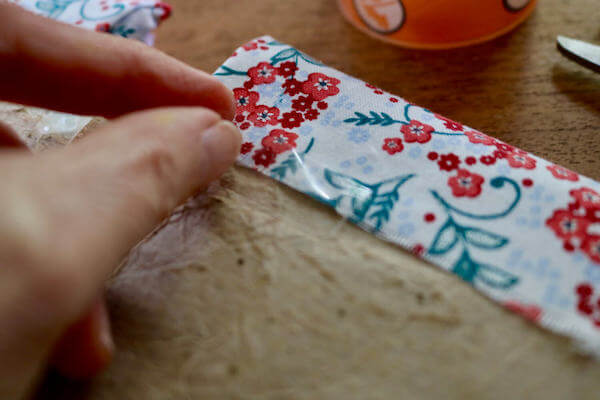
5. Make padded middle inserts. (a.) Measure, then cut foam and fabric. NOTE: Be SURE to allow for foam thickness on sides AND bottom when measuring! I had to go back and cut, then resew these pieces a second time to fit properly. Blah. (b.) Allow for 1/4″ seams and an additional 1″ on both ends. (c.) fold fabric wrong side out, then sew down one side. (d.) turn right side out, then at each end, fold once, top stitch, then attach your 3/4″ VELCRO® Brand Sticky Back for Fabrics strips (see image below). I also added a VELCRO® Brand Soft & Flexible Sew On fasteners strip to the middle of one of the pads to make it a bit sturdier.
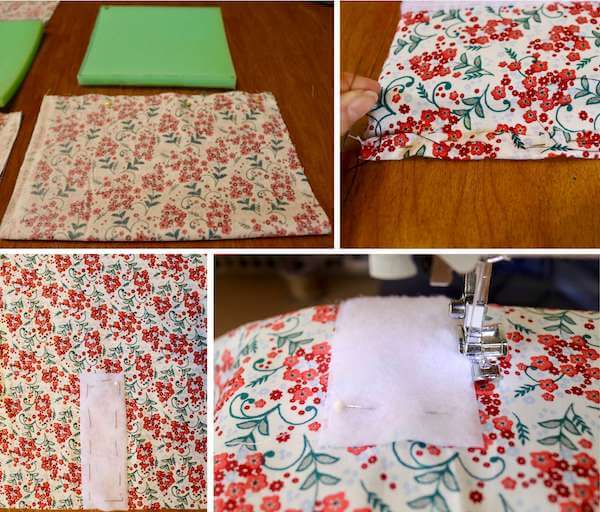
Sew the foam padding inserts.
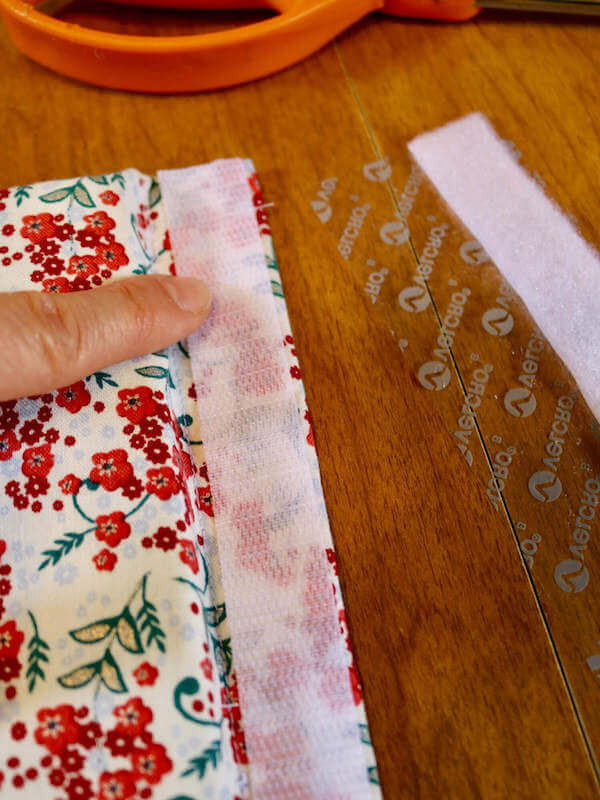
VELCRO® Brand Sticky Back for Fabrics strips made this part of the project a snap!
6. Wrap bottom and side panels. (a.) Cut foam padding to size of ORIGINAL cardboard pieces; (b.) wrap foam padding and cardboard with fabric and secure with Gorilla tape. (This is FABULOUS tape – absolutely secures and made this no-sew, no-glue part of the project really easy and NOT messy…boom!).
Cut out foam about 1/8″ less on the top of each template. it should be flush to the bottom and sides.
Wrap fabric around foam padding and cardboard, then secure with Gorilla tape – this part is also fun!
7. Make Lid Pockets. (a.) Decide what you need the pockets for, then measure the width and depth. Note: I wanted a nice fit for my battery chargers and cords, so I visited Arm Candy For You and made pleated pockets. (b.) To add a pop of color, I made felt pocket lids and used VELCRO® Brand Soft & Flexible Sew On fasteners for easy, open-close access! Note: the sew-on version is best for pockets – I’ll be opening and closing them many, many times.
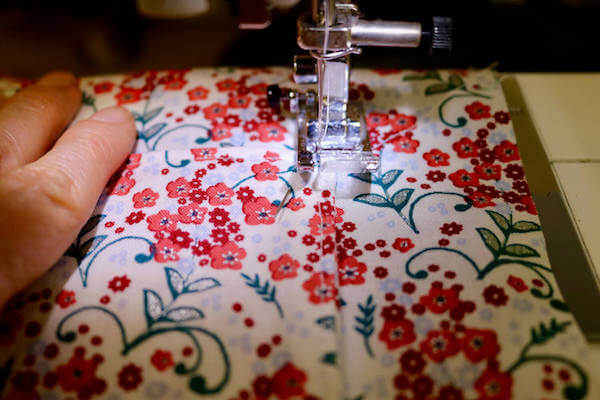
Pleated pockets are surprisingly simple to make. You mainly need to press, baste, then sew using a top stitch.
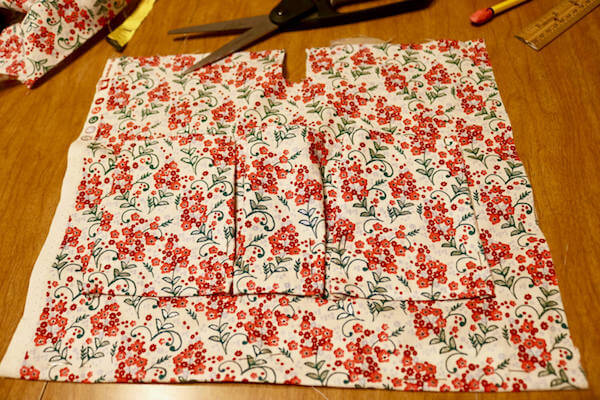
I thought the pockets were a bit difficult to see due to the busy pattern of the fabric, so…
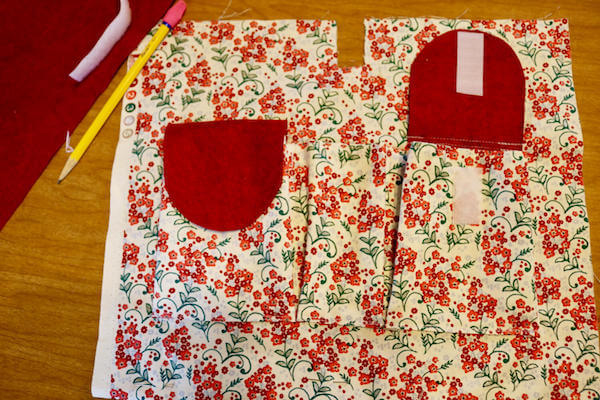
I added a pop! of red felt and VELCRO® Brand Soft & Flexible Sew On fasteners strips for easy access.
8. Insert new inside lining pieces.
9. Optional: paint a fun slogan on your case to personalize it…done! Watch this video to see this fun transformation!
Watch the Video!

This cute vintage case is sure gonna see and be used a lot more!
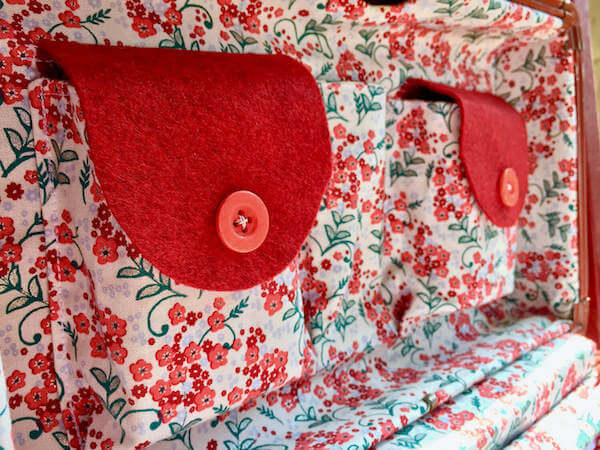
The pocket and button detailing is so girlie AND useful! Just the way I love my things!
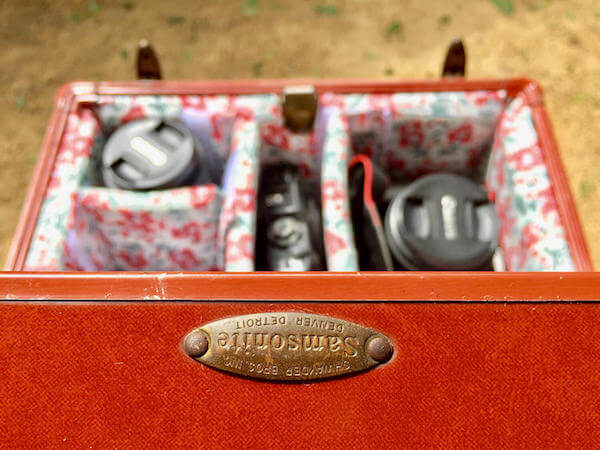
Metal labels like this just remind me of my camera case’s history. I will often think of my Aunt Ellen and my mom every time I use it.
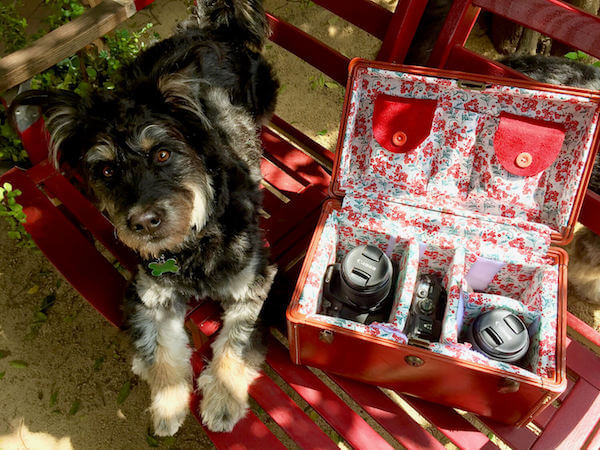
Bear-Bear just had to show off his mama’s work. Can you tell he’s quite proud?