I’ve often mentioned how amazingly capable and talented my family is…my ENTIRE family! I’ve loved showing y’all the projects they’ve accomplished over the years like my Cousin Jim (and sons), who built a beautiful and very useful garden shed out of his dad’s 100+ barn wood. Or, how my mom-in-law, Roseann Munger made these fabulous mosaic outdoor furniture pieces, and the cute way my Cousin Diane repurposed vintage items into gorgeous garden decor.
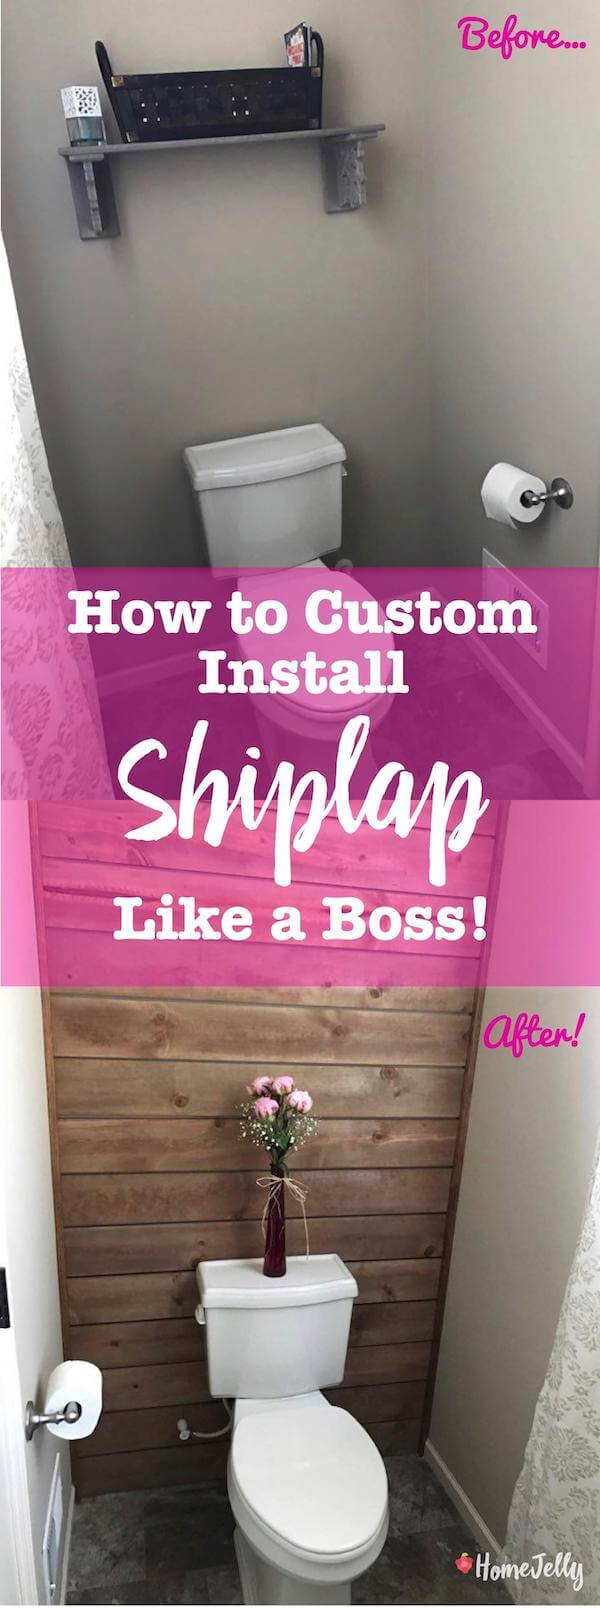
Well, they’ve done it again! Today’s post is brought to you by my Cousins Steven and Tucker Hart. I’m so proud of them! They tackled the very timely and, in my opinion, timeless material: shiplap.
(Cue: mic pass)
A little over a year ago Steven and I decided to build. We made the big decision to build and move out of our first home together. It was so much fun designing everything about our new house! However, upgrades start adding up, so we decided we would add character/our mark on the house with some DYIs instead of paying the builder.
A good friend of mine, Kelly (who is super handy and successful with all her home improvements that she tackles with her hubby on their home), recently shiplapped their bar wall in their basement and I instantly fell in love! I’m not handy (at all) so she offered to help me install something similar in my house.
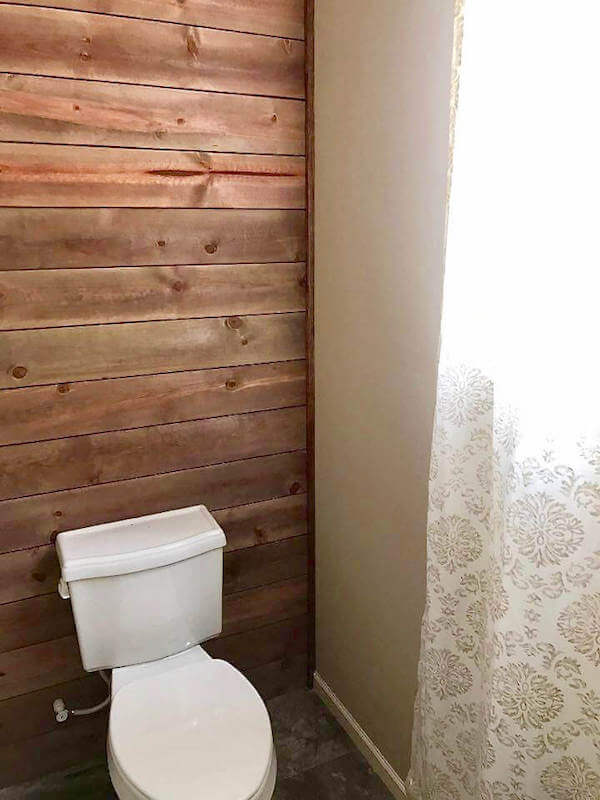
I decided to go with our downstairs bath, mainly so I could show it off, but also because it is fairly small and needed some character to make it more warm and inviting.
Kelly’s shiplap wall was the standard bleached/white stained wood. I love that look, but Steven and I decided to go with a more natural feel to add warmth. I originally wanted to shiplap behind the sink so that people would always be looking at it. Kelly and Steve ultimately convinced me to pick an easier wall so that we would not have to move the sink (and we would have had to get a plumber).
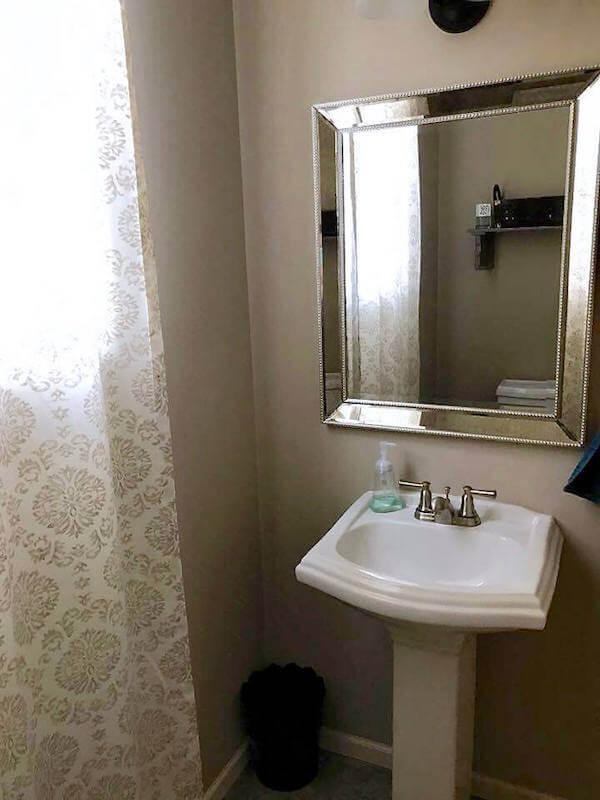
The original planned wall.
Supplies:
• Wood planks: cut to the length of your wall. I used a treated Cedar plank 2 in x 6 in and ended up needing about 20 planks
• Molding or edging wood (1″x1″ and about 9ft in height *based on your ceiling height) stained to match the cedar to finish off the corners of the wall
• Small jar of stain for the molding. (For oak wood I used Varathane Wood Stain Early American)
• Crowbar
• Sand paper
• Nail Gun (with nails)
• Circular saw
• Wood Meter stick- cut into 3 pieces so you can get it out from behind the toilet
• Level
• Bucket
• Towel
• Old white T-shirt
• Latex gloves
Optional: If you are tackling a wall behind the toilet you will need a spade bit to use with a cordless drill. the 1 1/4″ bit was perfect for fitting snug around my plumbing
Instructions:
I got the wood from Home Depot, and they were able to cut the wood there *FREE of charge! It was super helpful and they did an amazing job getting all the pieces exactly to my desired size. I would recommend getting the pieces cut a day prior to starting the project in case the wood needs to dry out.
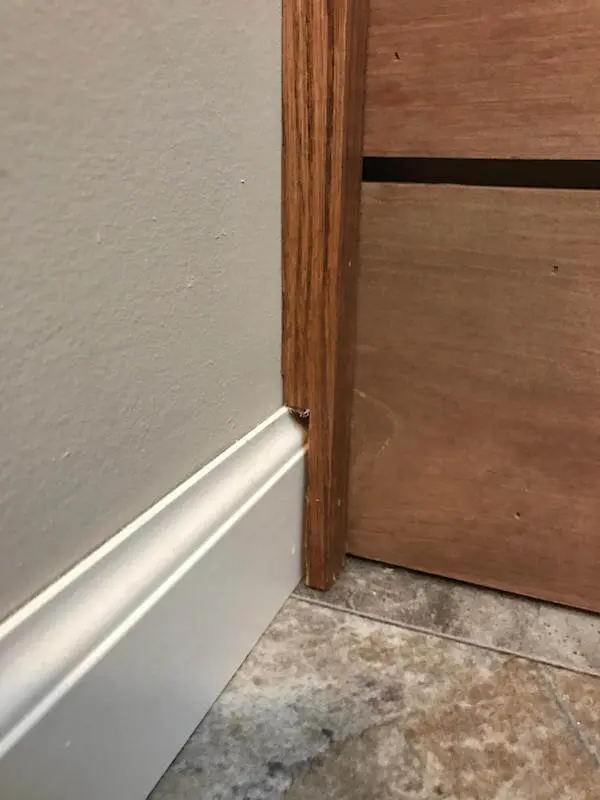
1. Using the Crowbar, carefully remove any molding/baseboards from the wall. Kelly and I decided we would not be reinstalling the baseboard so we tossed that out of our way.
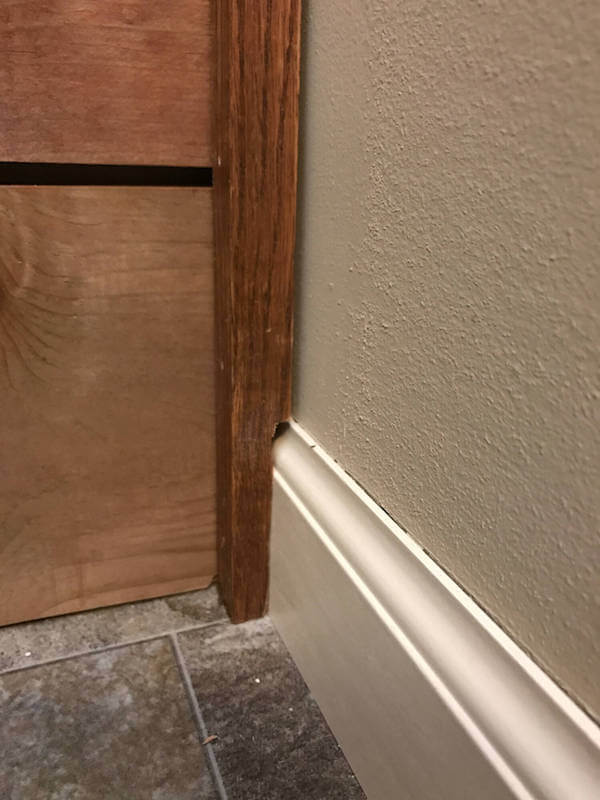
2. Sand, Stain and cut corner molding: Our local Home Depot only offered a molding that was simple and to my desired thinness in oak (but I needed to stain it to match the cedar). Before staining the molding, we measured the baseboard’s thickness and height to cut out from the base of the two pieces of corner molding so that it would sit flush with the wall (the scraps we just pulled off came in handy when marking the molding) to cut out the indent we used the circular saw (see image below).
Once the molding is cut to fit nicely on the wall and you have sanded it smooth, stain the wood with an old T-shirt or rag so it has time to dry while you nail the planks on the wall. Note: make sure to wear gloves so that it does not stain your hands.
Stain and cut corner molding- left side.
Install corner molding to fit flush to the wall-right side.
Now comes the fun part!
3. Install the shiplap planks: You will likely be able to install your first plank! Keep in mind your floor might not be level so play around with how high off the ground you would like the board to be. The first board lays out the ground work for the rest so make sure to get it nice an level! It comes in handy to have another person there so they can hold the board straight while you use the nail gun to secure it to the wall. Don’t be shy! We used about 10 nails per board.
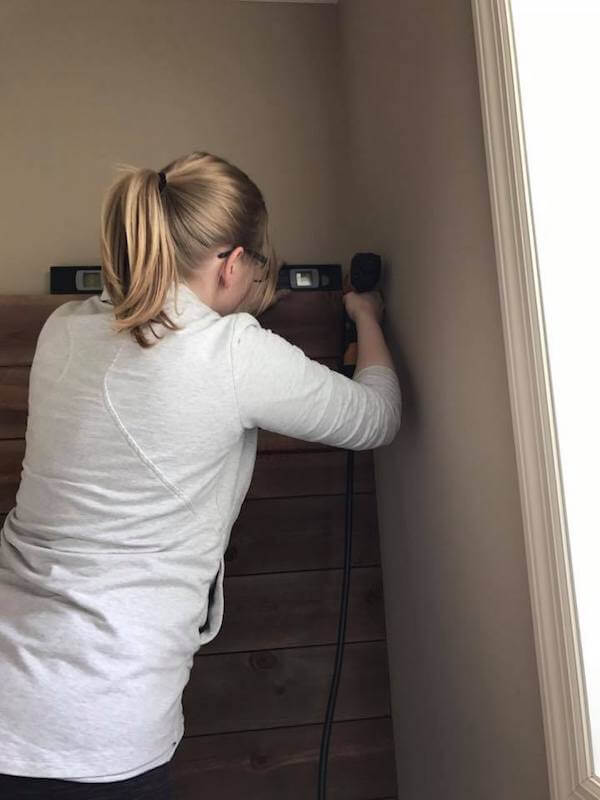
Tucker working on keeping things level!
4. Shut off water. The second plank is where we had to take into consideration the toilet plumbing. Here is where you need to shut off your water, have a bucket to catch any remaining water and a towel (you should probably do this first, now that I think about it!).
5. Cut around the plumbing. Most of the time you are able to remove the connection from the wall to make this an easy step. We found a spade bit to used with the cordless drill that would go perfectly around the plumbing pipes. Just measure how far up and away from the wall the center of the hole needs to be.
When measuring where to drill on the board take into consideration the width of the yardstick as well. That is how you get the spacing between the planks.
HOWEVER…
Kelly and I ran into some issues. Because we are in a new build they installed our toilet with a newer type of plastic connector so in order to remove it from the wall we would have had to splice the plastic to the copper piping and reinstall a new connector. Neither one of us felt handy enough to handle that, so we ended up using the circular saw to cut down the center of the hole we drilled so that we could just place the boards around the plumbing.
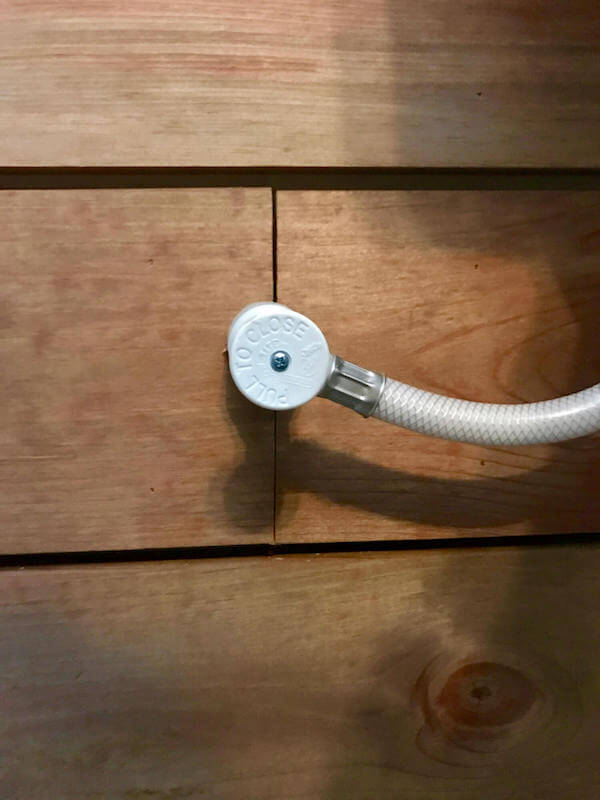
Cut around the plastic connector.
6. Space your planks. Once you have cut the board into two pieces lay the yardstick on your base plank, to get the spaced look. Place the plank around the plumbing and against the wall. Make sure once again the plank is level and secure the board to the wall with the nail gun.
Literally all the hard stuff is out of the way and you can put up the rest of your planks in no time at all. Just make sure to use the yardstick as your guide for spacing each time, and verify your plank is level! Grab a new plank to place on top of the yardstick, make sure it is level and nail that bad boy up!
Don’t be super concerned if the boards do not all line up perfectly on the side. The molding will help hide that. Also be picky and pick the best looking side of the plank. There were pieces that had a stamp or deep scratch on it so I used the other side.
7. Cut to fit for the finished look. Once you get to the top you will likely need to cut one of the planks to fit. Once again, when measuring keep in mind the thickness of the yardstick. I recommend sanding it smooth, just so you have a nice professional look.
Cut the final top plank to fit.
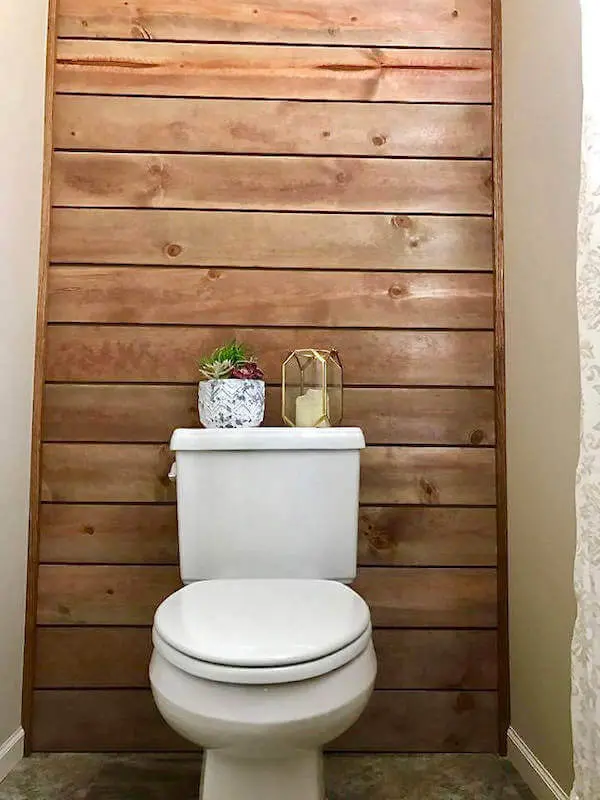
When your molding stain is dry, nail that flush against the corners of the wall and you now have an amazing shiplapped wall!
Finished corner molding hides any imperfections of the cut planks.
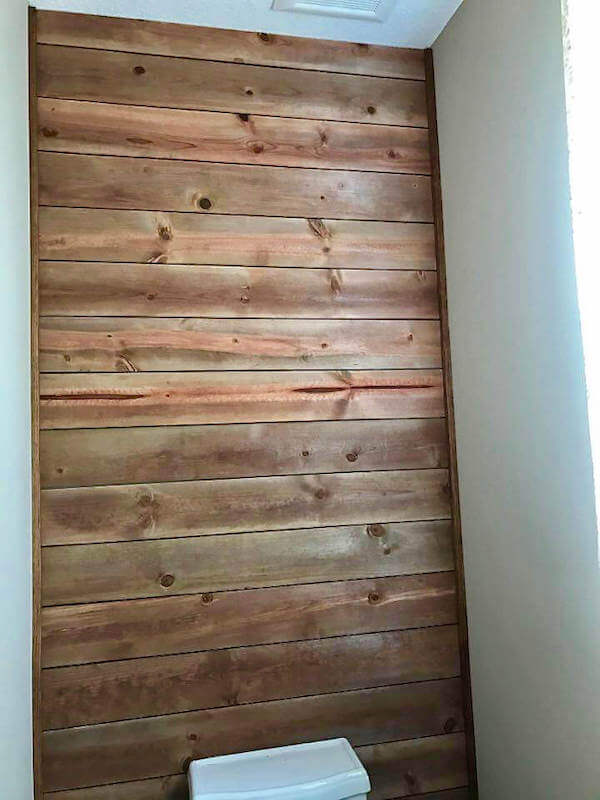
I am so happy with the results! Because of the mirror over the sink, guest are still able to look at the amazing shiplapped wall behind them. It also made my bathroom smell amazing.
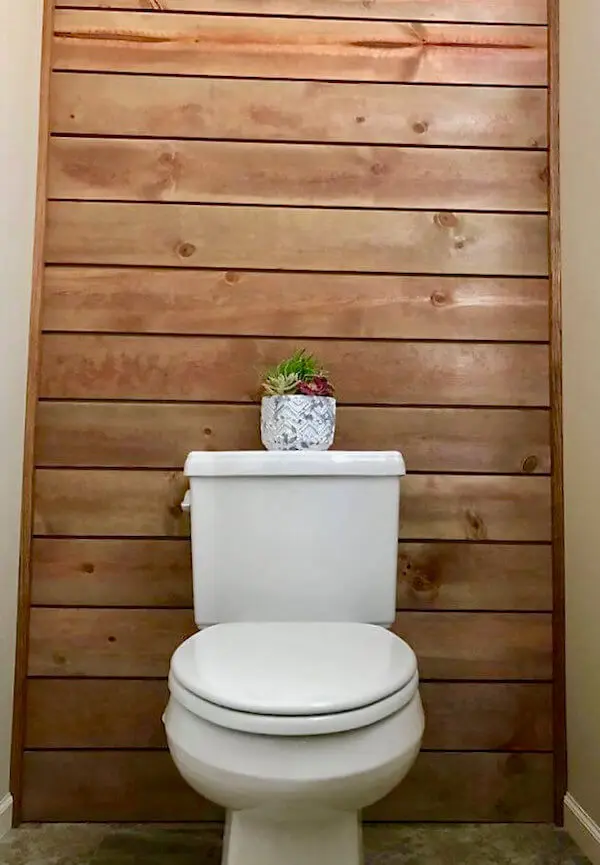
Shiplap wall finished.
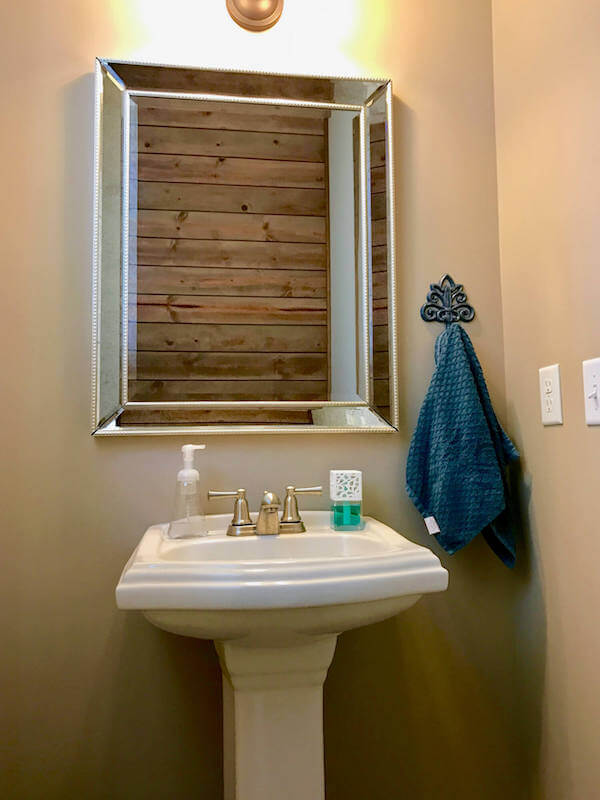
Mirror’s new view!
Shiplap wall finished like a BOSS!