
No. Today’s project isn’t a how-to hack…
It’s inspired!
If you’ve ever had the pleasure of purchasing (or receiving as a Christmas/birthday gift) a set of Serena & Lily sheets…you’ll know what I mean when I say they’re probably the sweetest linens you’ll every sleep between!
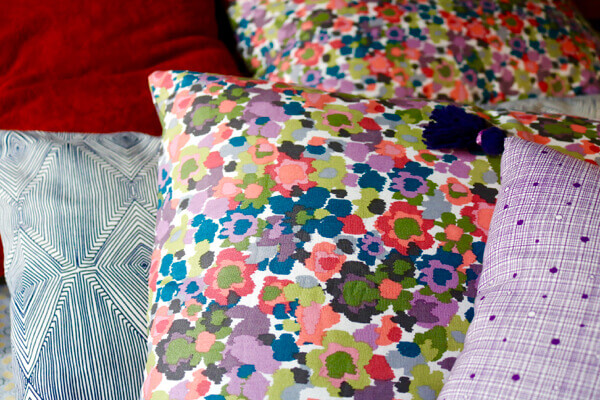
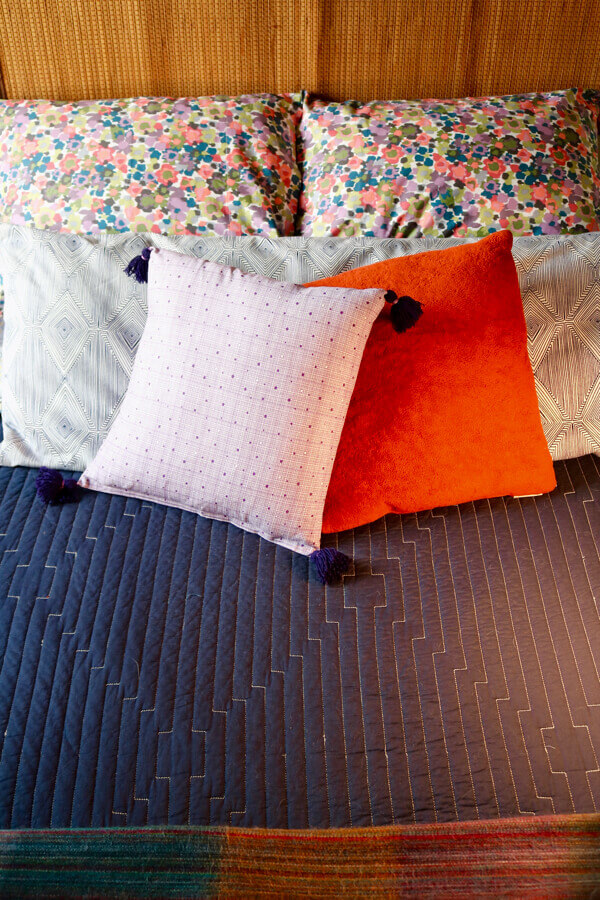
I just absolutely LOVE their pocket pillowcases – where your entire pillow is nestled and enclosed inside a fluffy-soft, cotton envelope. No more waking up at 3:25am with a drool-stained pillow slipped half-way out of its covering. Nope! This style of pillowcase also lends itself to a designer-finished look to add colorful flair to your bedding ensamble.
Now, as you can probably tell, like many of you, I love a beautiful bed. But, like many of you, I’m on a budget. Put those two together and we’re often left with less than chocolate-dipped-in-peanut-butter results. In other words…it’s EXpensive to dress a bed!
Why? A typical ad slogan from Serena & Lily: “Layers! It’s all about layering!”
Yeah…and layering means outta my current budget.
Rats.
Needless to say, I still want what I want. So, to coin Plato’s phrase, “Decor necessity is the mother of crafty invention,” which presents itself here, in today’s post: Serena & Lily-inspired pocket pillowcases you can make yourself!
Halleluja!!!
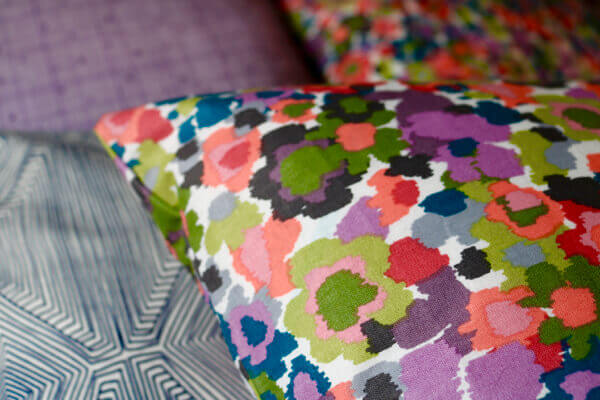
There are loads of throw pillow how-tos, which is wonderful, but, how about our regular standard or queen pillows? Yes! There’s a whole lotta material here that can add a whole lotta color to your bed!
Hop on over to your local fabric store or visit any one of these online shops:
• Joann’s Fabrics – What I love? Coupons! You should NEVER pay full price at this place! They’re the Bed Bath & Beyond of fabric stores!
• Spoonflower –What I love? They have a huge selection of super-cool and interesting textiles – AND, you can design and sell your own, too!
• Fabricut – What I love? Quality, quality, quality textiles.
• FabricWorm – What I love? The many unique designs.
• ChitChat Fabrics – What I love? The variation of patterns and one-of-a-kind designs.
• Fabric.com –What I love? Oh, so many colors and designs!
Alright. Enough chit-chat…on to the how-to!
Supplies:
• fabric – soft cotton is BEST and easiest to work with.
• thread
• fabric scissors (I love my Fiskars RazorEdge Sewing Scissors! Cuts like buttah!)
• pins (I love the ones with the little balls at the end…so comfy to use!)
• needle (for basting)
• yardstick, straight edge or tape
• sewing machine (I adore my new Singer Stylist, but we just started dating so I’ll keep you posted.)
• standard pillow
Directions:
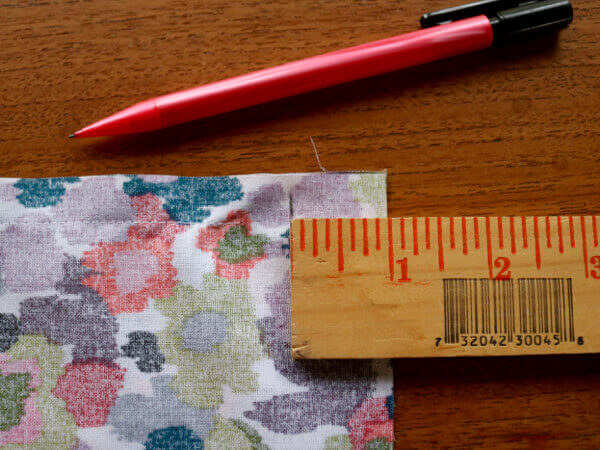
Note: always press your fabric first for easy and accurate measuring.
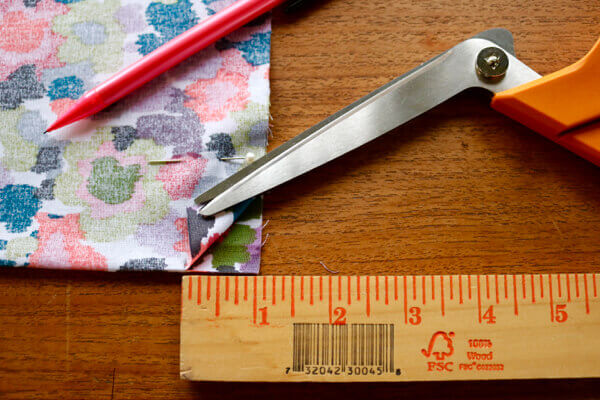
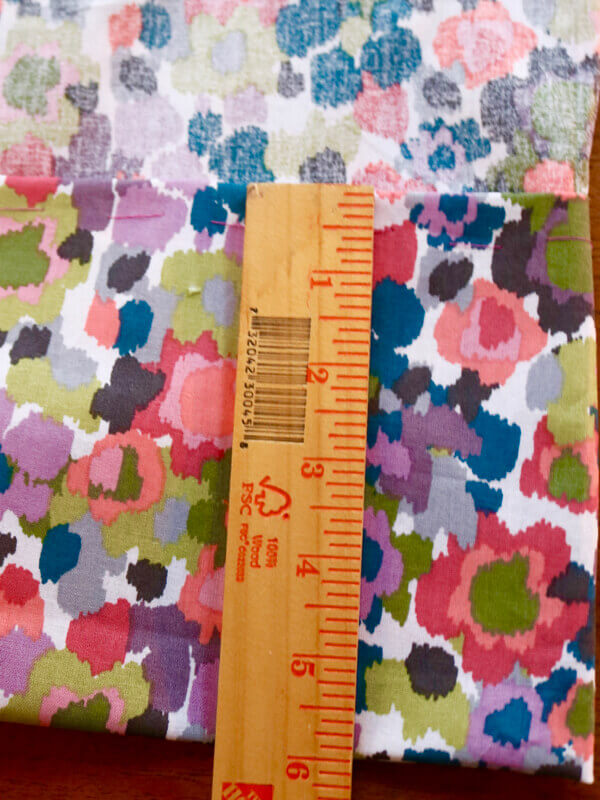
1.Turn fabric inside-out. Measure, pin, then cut folded fabric 34” long x 20″ wide.
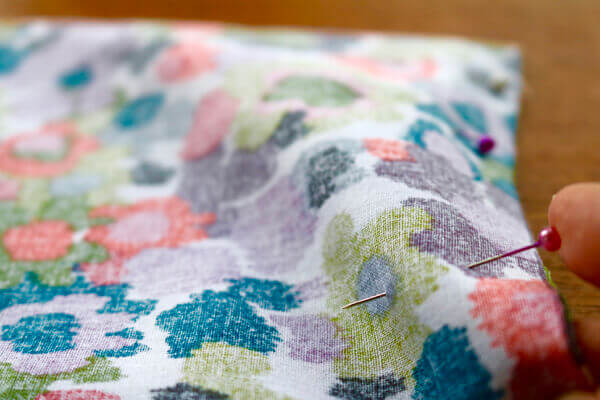
Pin measured fabric.
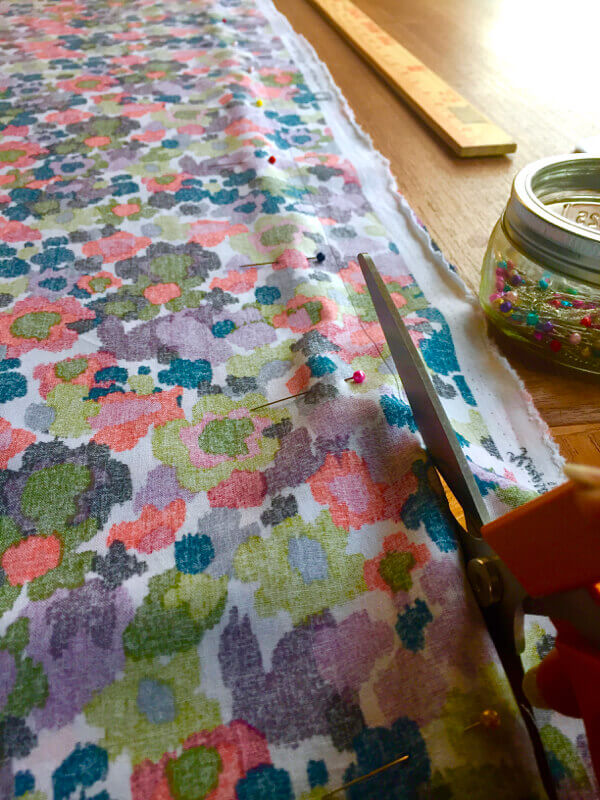
Cut along a measured edge. Using a straight edge and pencil will help with a straight cut.
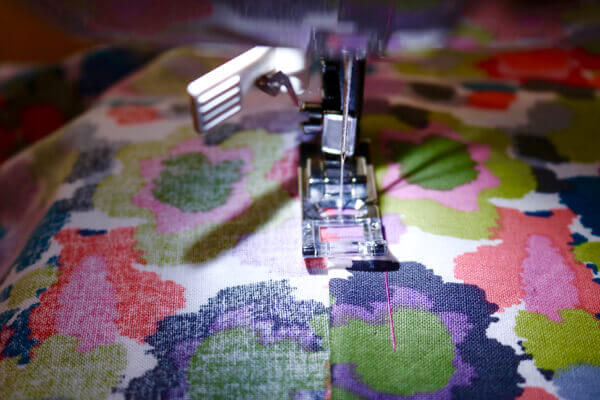
2. Sew along ONE short edge and the long edge. Note: be sure to leave a 1” opening on long edge.
Sew along long side, but leave 1″ un-sewn.
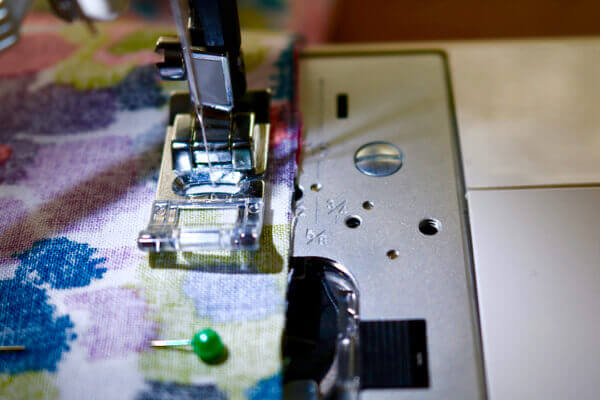
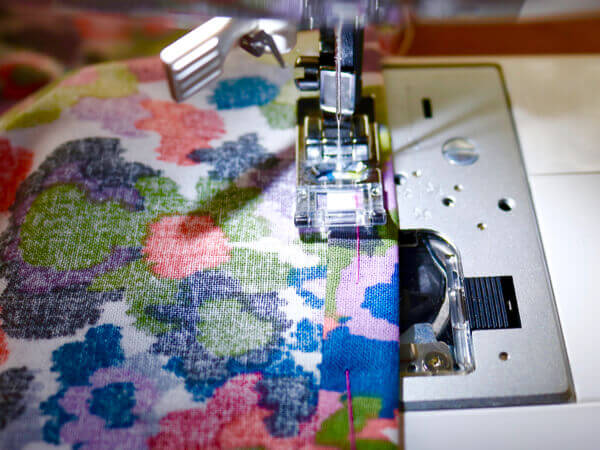
Sew a 1/2″ seam. Use your sewing machine’s guide lines to make your sewing line accurate.
3. Clip edges for crisp corners, then press open your seams to create a finished look.
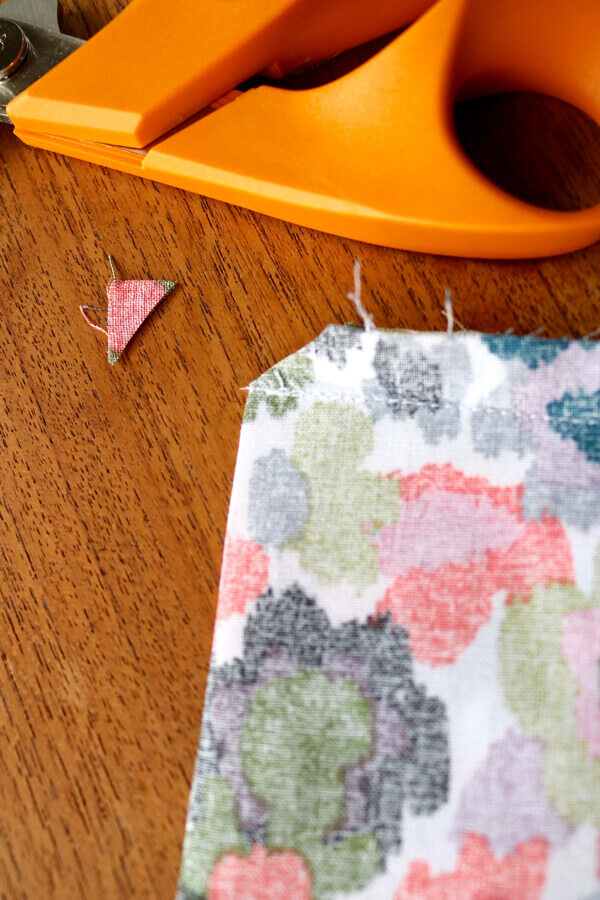
Clip corners for crisp edges.

Press open seams for fabric to lay flat.
4. Cut 1” down on the opposite, folded edge to open it up to create your hem. Then on SIDE A, fold-over each 1/2” hem, for a doubled-over hem, press, pin, baste, then sew. (see pdf pattern diagram for more info.)
Cut folded edge 1″ from opening.
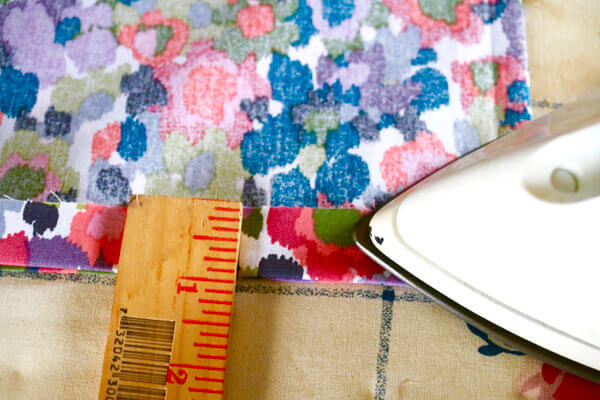
First, press down a 1/2″ hem. Then, fold over again into another 1/2″ hem.

Pin, then baste.
Sew hem. Be sure to sew very close to the hem’s inner edge to avoid curling of the hem.
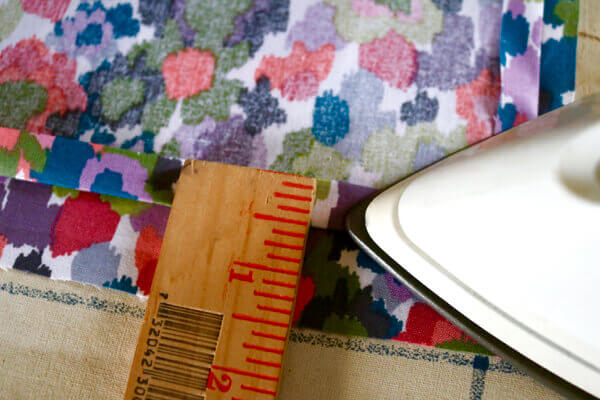
4. On SIDE B, fold-over 1” hem, press, pin, baste.
Press open a 1″ hem, pin, then baste.
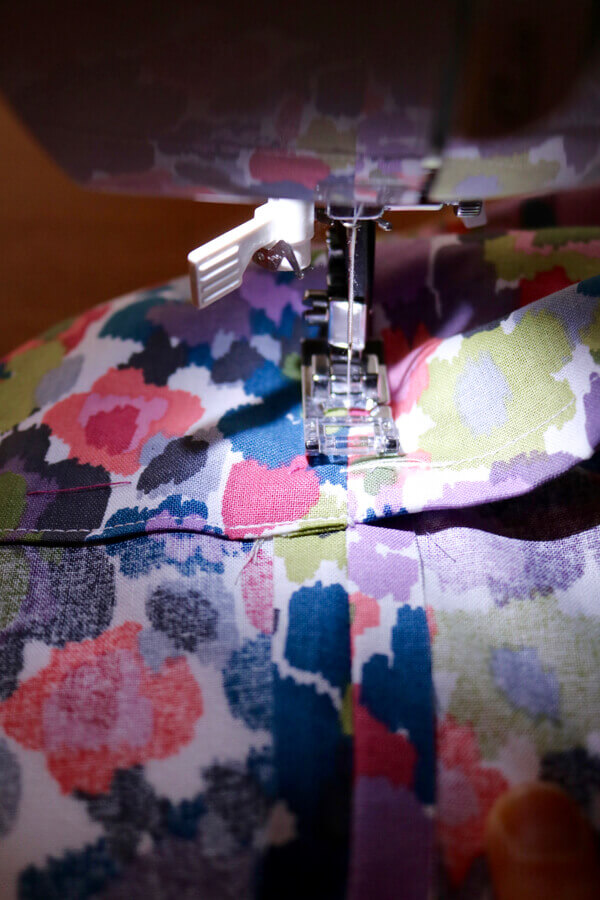
5. Fold over opening to create a 6” overlap, then sew down 1″ seam on SIDE B.
To create you pillow overlap, fold back opening 6″.
On SIDE B, sew down 1″ hem. Be sure to sew close to the inner edge.
6. To FINISH, sew right over the overlap side seam to secure pocket.
Sew on top of side seam to hide the stitch and secure the pillow overlap. You can see on the RIGHT side, this is where you will tuck your pillow’s top into, to keep it from sliding outside the case.
7. Turn right-side out, then stuff pillow inside. Finally, tuck pillow top into pillow overlap! DONE!
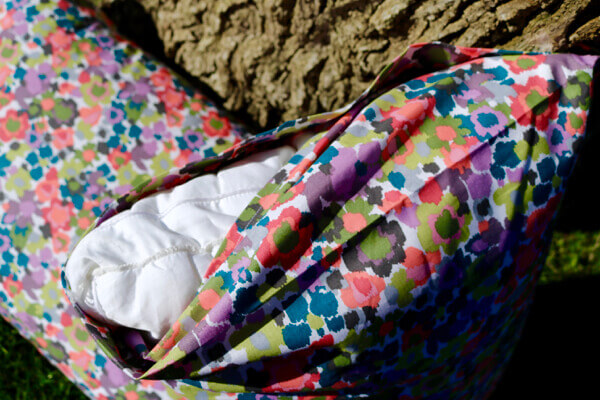
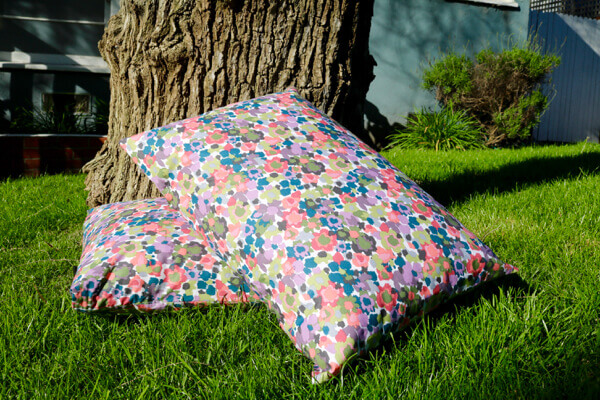
Pillow inside pillowcase with overlap to cover completely.

A lovely look!
Free Download!
Download FREE Pocket Pillowcase Pattern PDF…then say that 5 times fast!

All photography by Skaie Knox, HomeJelly