
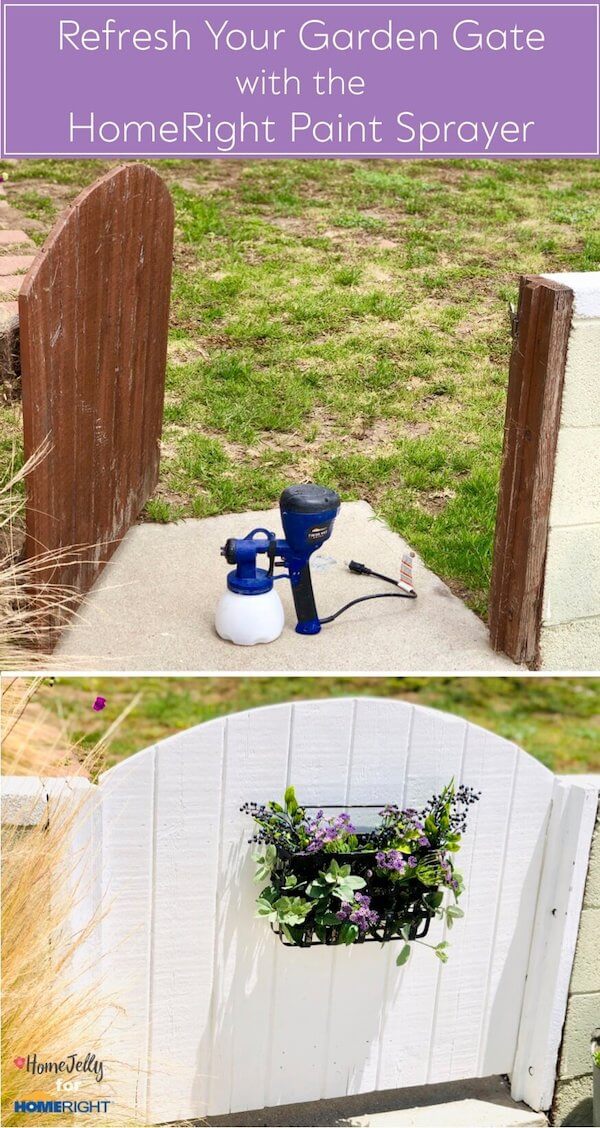
Refreshed garden gate with floral basket…cuteness, check!
This is a sponsored post and contains affiliate links.
There’s something magical about a garden gate, wouldn’t you agree? It’s the entryway into nature and all her designs. It’s also a wonderful opportunity to add a welcoming touch and personality to your outdoor space.
But, what to do when Mother Nature gets all stormy and stuff? Between the rain, wind, snow and hot summer months, she can weather wood and metal like no other.
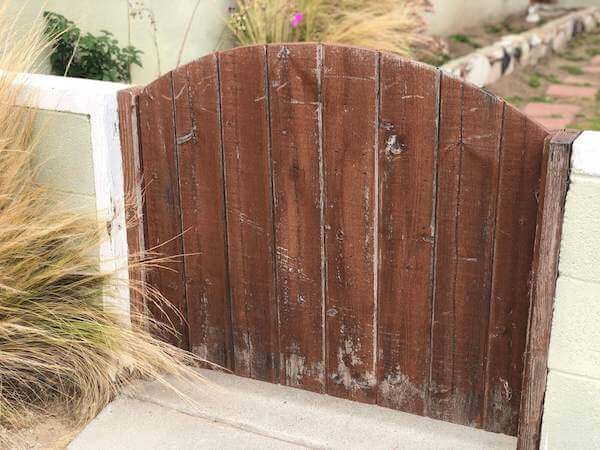
Weathered garden gate still has hope for cuteness.
No worries!
By following today’s 3 simple steps, and with the help our sponsor, HomeRight’s Super Finish Max Paint Sprayer, you’ll be able to give your garden gate a refresh in no time! Yep, your “green star” gladiolas will be even greener with envy!
Supplies:
• hand brush
• handful of 1 ½” – 2” screws
• optional: HomeRight’s Medium Spray Shelter
• optional: basket + dried or faux flowers
Tools:
• drill or screwdriver
• hand sander or hand sander
• Super Finish Max Paint Sprayer
Instructions:
1. Remove. Using a screwdriver or drill, remove garden gate from its post. Clean all the wood with a hand brush, then remove all the hardware. Optional: Lightly sand, then paint the post to match your refreshed gate.
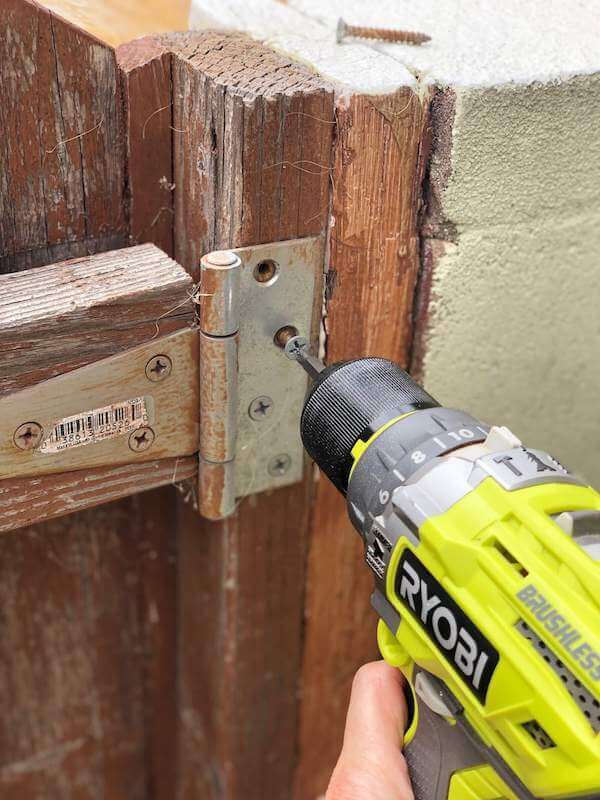
Remove gate from post. Then remove hardware from gate.
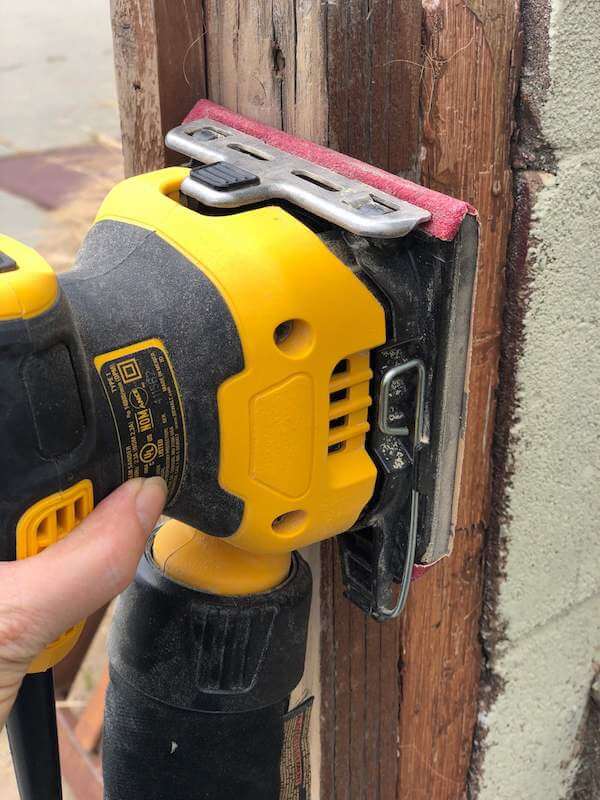
Sand post.
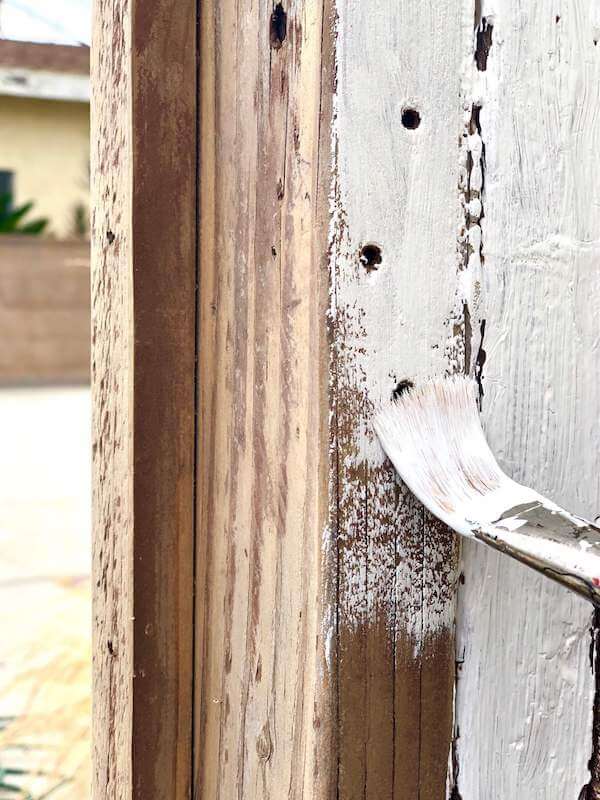
Paint post to prepare for refreshed gate.
2. Repair. Re-nail or use screws to close up gaps between the gate slats and the braces. Beforehand, use wood glue, clamp to hold in place, then nail or screw wood into place. Optional: If you’ve got a sagging gate, use an anti-sag gate kit.
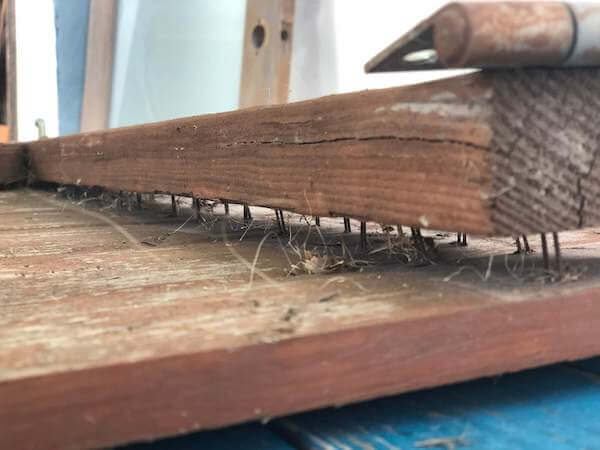
Fix warped cross brace.
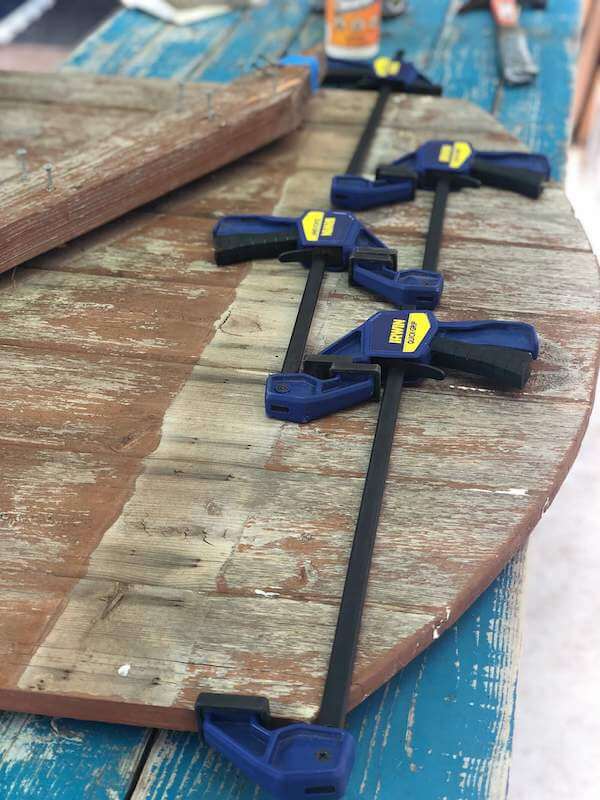
Apply wood glue to loose boards and/or brace, then clamp gate tight.
3. Refresh. Using P60 sandpaper sand rough surfaces, wipe clean. Add 2-3 coats of exterior paint to both the front and back of your gate using your Super Finish Max Paint Sprayer. Spray paint hardware. Allow to dry. Reattach hardware to gate and gate to post. Note: avoid overspray mess by using the HomeRight Medium Spray Shelter.
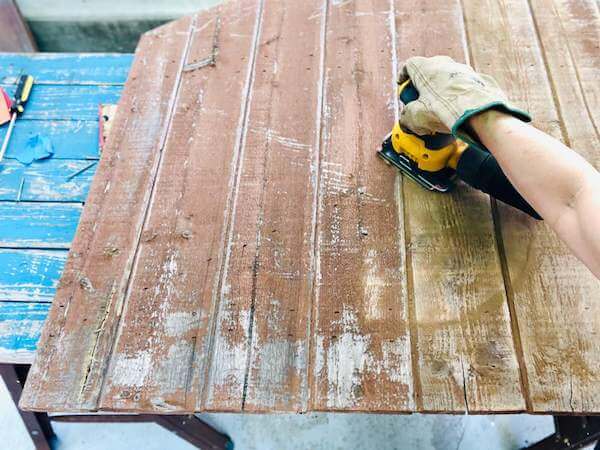
Lightly and gate.
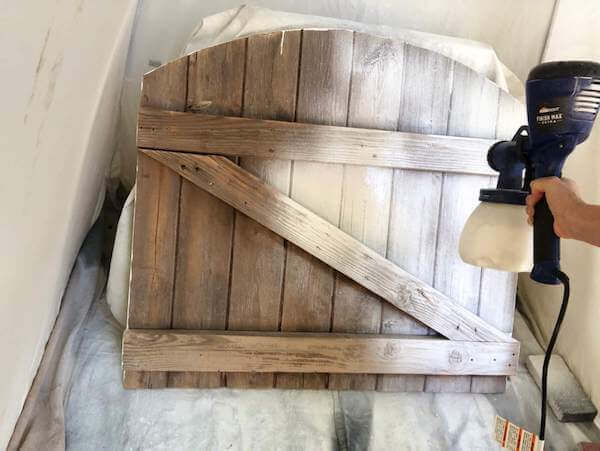
Paint gate with 2-3 coats inside a spray shelter – keeps workspace clean.
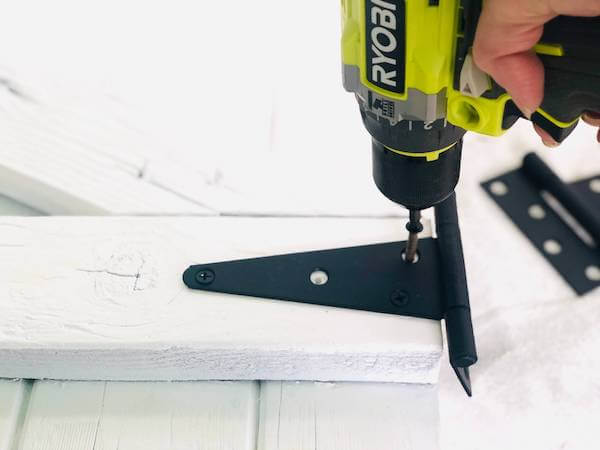
Reattach hardware.
Attach garden gate to post.
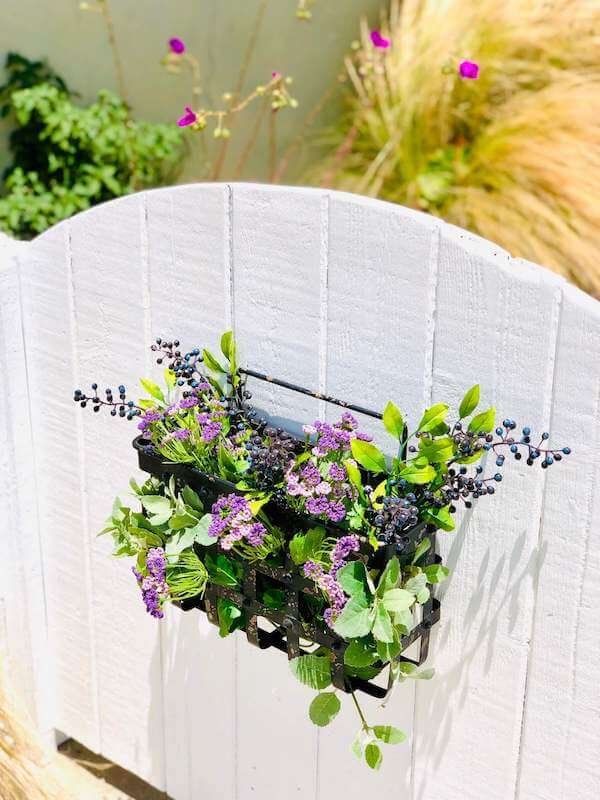
Optional: For an extra Refresh and cheery touch, add a hand-painted “Welcome” sign or decal (or whatever you’d like to say), and/or a hanging basket with dried or faux flowers.
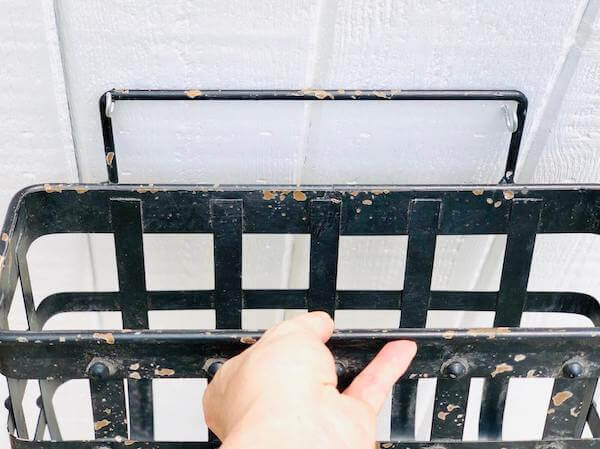
Attaching wire basket – make sure it’s hung with hooks to prevent it from falling off.
Optional: If you don’t already have a spring attached to your gate, you’ll love how this feature will keep your garden area closed, even when your hands are full of flowers and/or gardening implements!
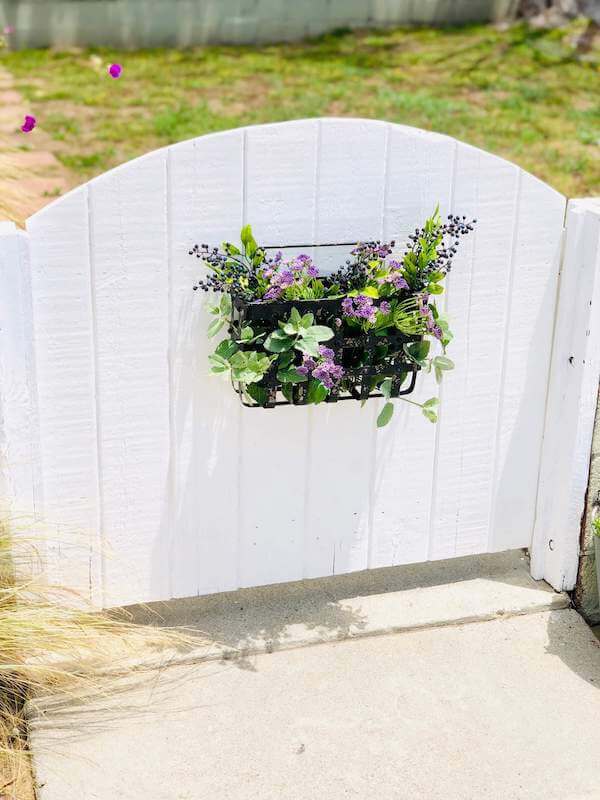
Freshened up garden gate with flowers.
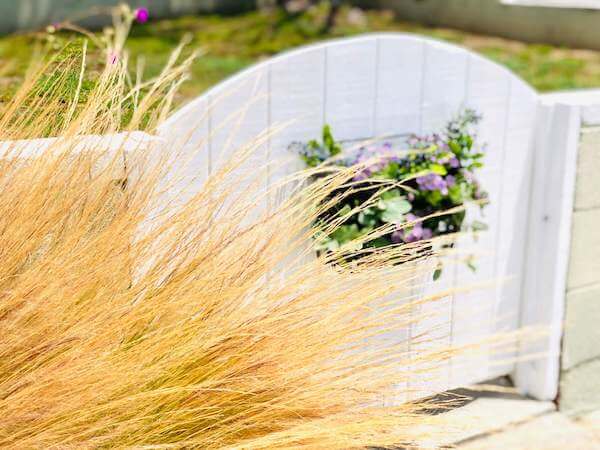
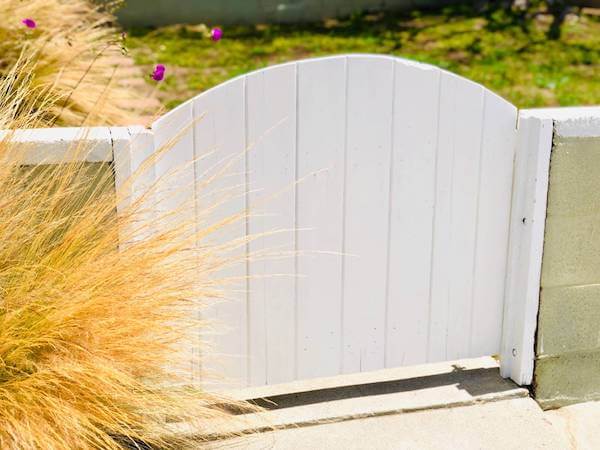
Finished garden gate looks so beautiful through grass.
Pin It!
If you like this project, pin it for later or share with your friends!