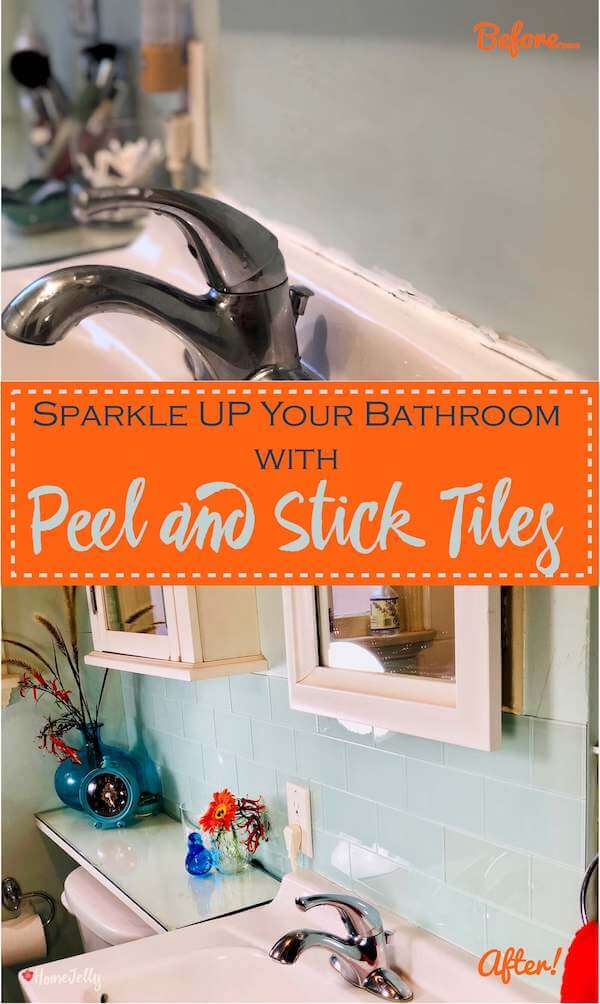
Sparkle up your bathroom with peel and stick tiles.
This is a sponsored post that contains affiliate links.
HOW-TO VIDEO BELOW!
One of my DIY bucket list items has always been to install a tile backsplash. However, the one sticking point (wait for it…delayed pun-reveal coming) has always been the messy and unknown business of grouting.
Thankfully, I was asked by today’s sponsor, Aspect Peel & Stick Tiles to give tiling a try, sans the grout (pun-reveal accomplished)!
The Before…
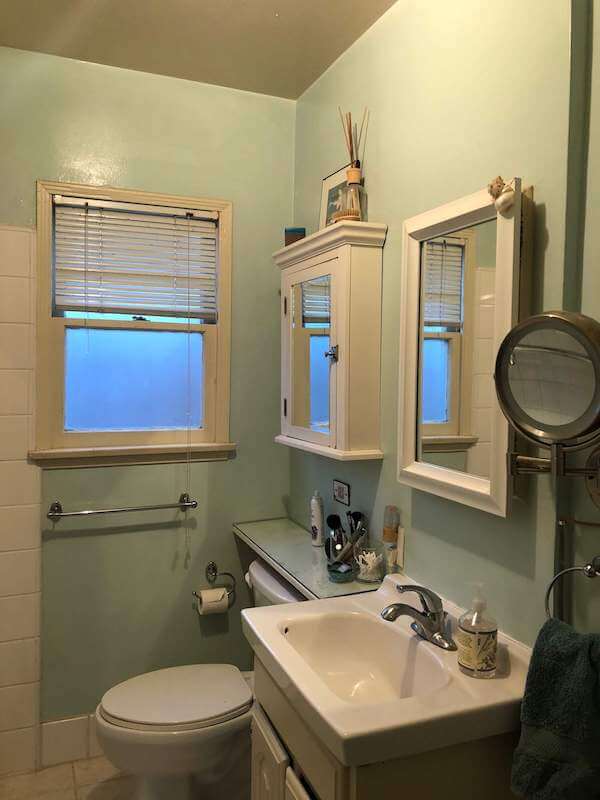
Before the tile…da-da-DAAAH!
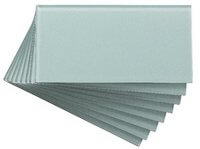
Seeing that our bathroom could use a mini makeover, I chose to install a backsplash using their 3″ x 6″ glass “Morning Dew” tiles – which, by the way, matched absolutely perfectly with our current wall color.
It’s like it was meant to be. CHECK!
I’ve included a detailed how-to, along with some tips and tricks and a video to make it even easier to get peel’n ‘n stick’n! Let’s do this!
Supplies:
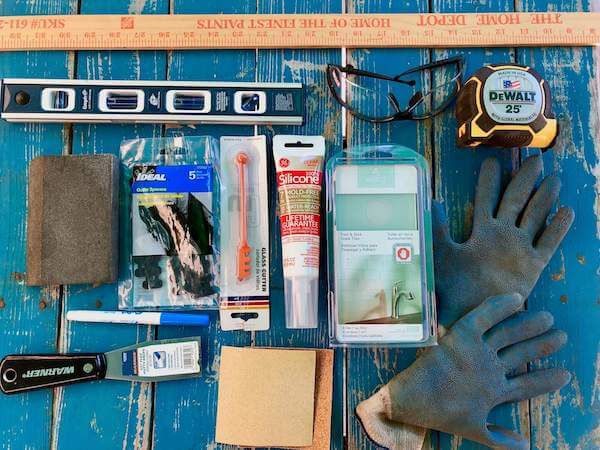
Peel and Stick Tiling Supplies.
• Aspect Peel & Stick Tiles (Morning Dew)
• screwdriver
• sanding sponge or block
• P80 (for prepping walls), P150/P180 grit sandpaper (to sand glass tile burs)
• Optional: hand-sander if walls are not straight
• putty knife
• straight ruler or tape measure
• level
• wax pencil (for marking cut lines on glass tile)
• wet saw
• rubber gloves
Instructions:
1. Prep your wall. Wipe clean, then lightly sand walls with P150 sandpaper or medium grade sanding sponge. Remove old silicone from edge of sink and/or countertop with a putty knife, wipe clean. Note: for really uneven walls, you’ll need to sand more until it’s flat (or at least flat enough to lay your tiles).
I was able to get it aaaaaalmost flat…so, we’ll have a little 3D effect to our bathroom walls.
It’s “character”!
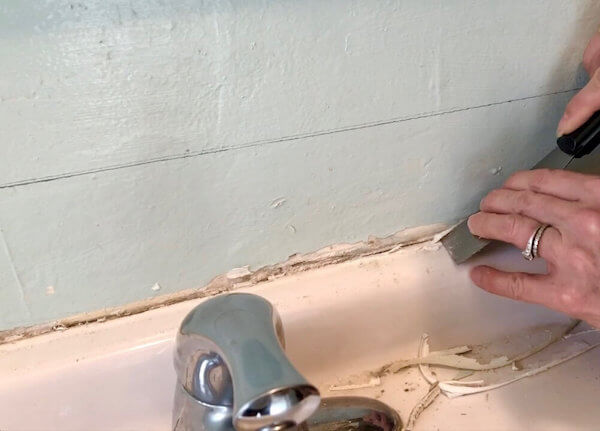
Prep your walls by lightly sanding and scraping off old silicon or grout.
2. Mark your level line. Start at your sink or countertop using the top edge of your tile to make the first mark. Use a level and pencil to mark the level line to start laying your first row of tile.
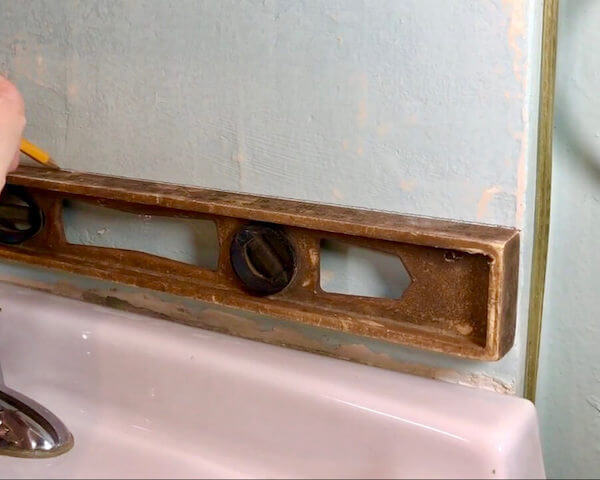
Measure and mark your level line.
3. Start sticking on your tile. Make sure the first one is both level and plumb (fyi: level is horizontally straight, plumb is vertically). These tiles are definitely sticky, but, if you make a mistake, don’t panic! You can carefully pry it off with a putty knife. You’re probably safe to do so within 1 – 5 minutes, depending on how hard you initially pressed on the tile.

Start sticking your tiles.
4. Cut your tiles. Glass is a bit tricky to cut, but definitely doable. For around your light sockets, you’ll need to create a notch on a couple tiles to fit. Tip: be sure to run a pencil around the outside of your socket cover so you can see how far you need to overlap the tile. Then be sure to cut your tile so you have plenty of room to replace the cover so there are no visual gaps.
Cut tiles sloooowly.
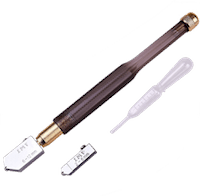
a. For straight cuts, you can use a pencil glass cutter. Using a straight edge, run your glass cutter over your tile ONCE, (if you hear a crunching sound, you’re pressing too hard), then snap tile along score. Tip: place it against the edge of a table to make it easier to snap. Oh, and don’t forget to wear gloves!
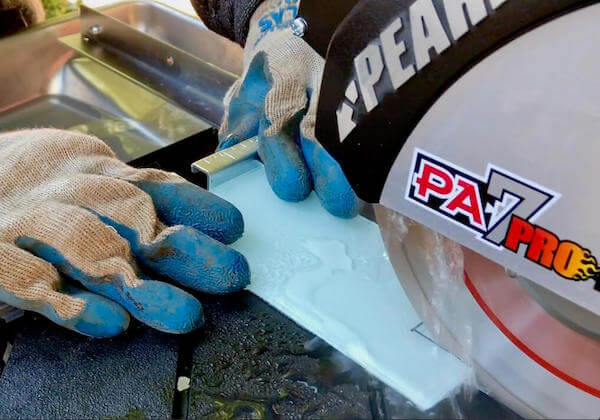
b. For notched cuts, use a wet tile saw. Again, don’t panic! Box stores (like Home Depot) rent wet tile saws for $40 for 4 hours and $55 for all day. It was super easy to use. Watch our video below for tips on how to cut tiles easily! Tip: the key to using a wet saw is to where rubber gloves (there’s a lot of water) and CUT SLOWLY (watch video to see HOW slow)! Let the saw do the work. If you cut too fast, you’ll crack the glass. (You’ll see. It’s all part of the learning curve.)
5. Sand the edges of your tiles. After you’ve made a cut on your tiles, be sure to lightly sand the burs off the edges using P150-P180 sandpaper.

Lightly sand burs off edges.
6. Finish sticking your tile. This is the FUN part!
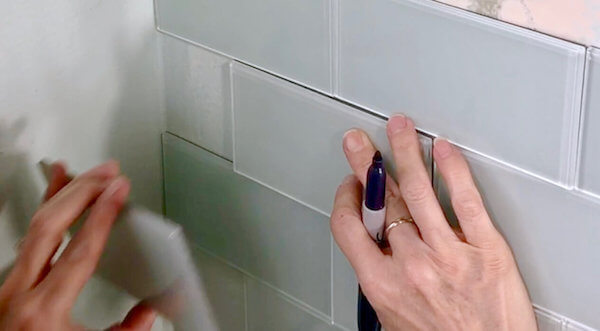
Super Easy Measuring-End-of-Row Tile Trick:
When you reach the end of a row where you need to cut a tile, here is a super simple way to measure to have a perfect fit:
a. Place the tile you’re going to cut (A) over the adjacent full tile.
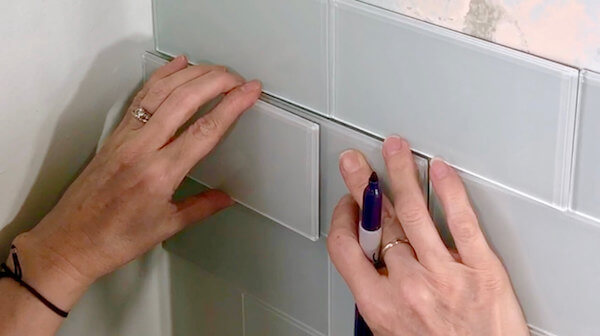
b. Next. place a spare tile (B) against the wall or edge of wall over the top of your soon-to-be cut tile (A).
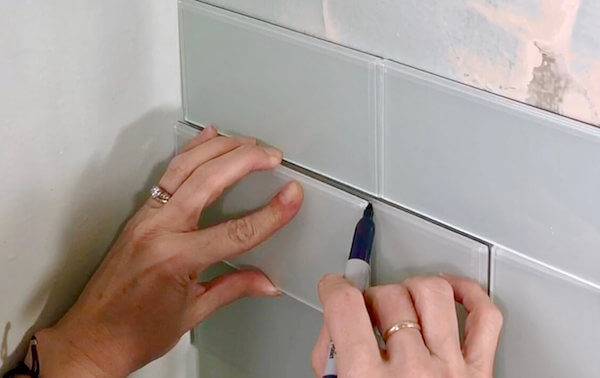
c. Finally, draw a line where tile (B) overlaps tile (A).
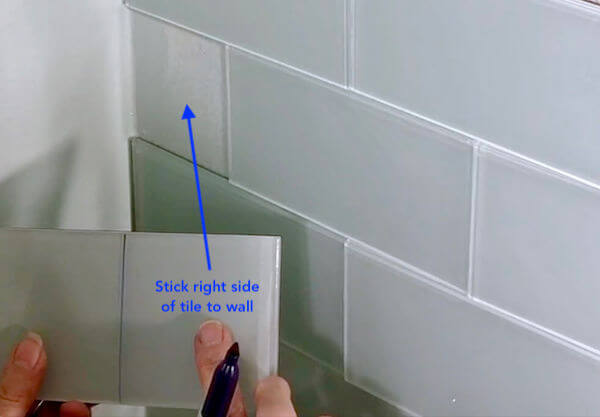
d. That is your cut line! Be sure to mark an erasable “X” on the LEFT side of your tile (A). You will use the RIGHT side of your tile (A) to stick in place.
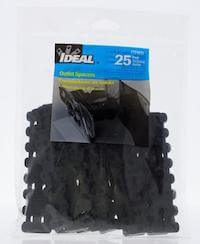
7. Replace socket cover. You may need to use socket spacers to pop out the socket so the cover will sit flush against the tile.
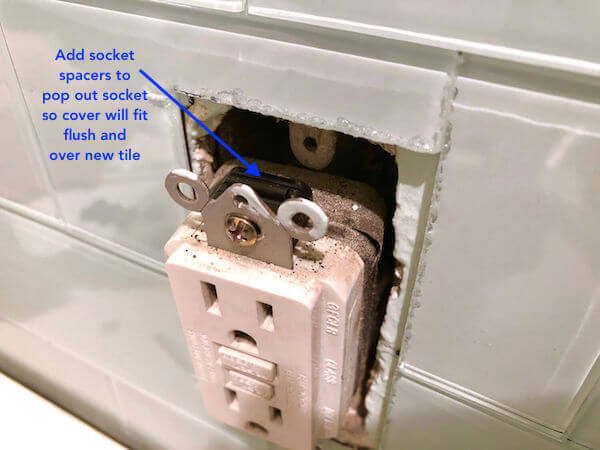
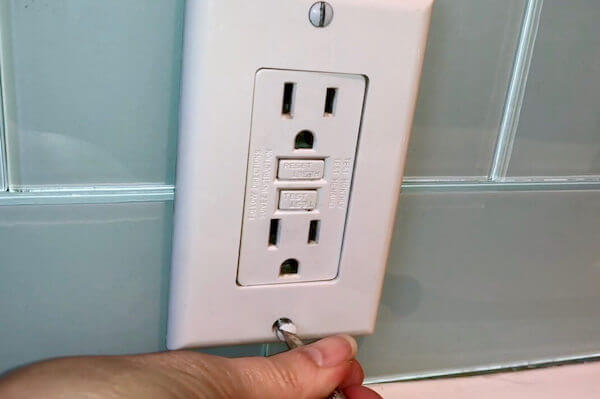
Replace socket cover that now fits flush and over new tiles.
8. Seal edge of tile. Run a bead of silicon (for bath and tile) along edge of sink and/or countertop. Wet your finger under the faucet, then run it along the bead to smooth and finish it off nicely.
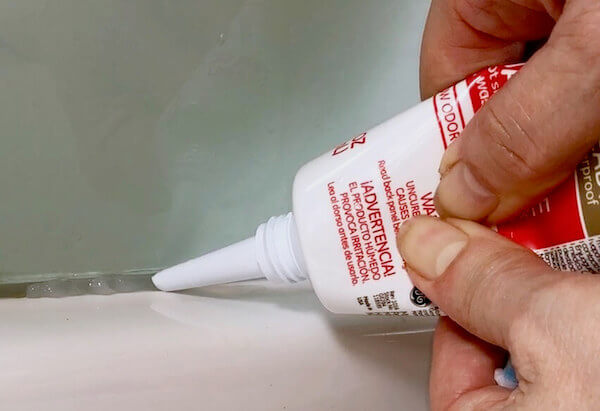
Seal edge of tile with silicone.
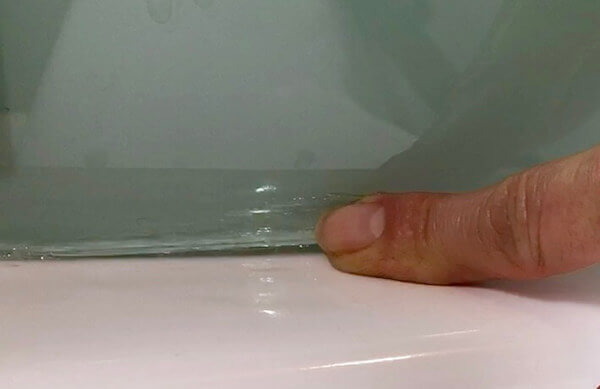
Smooth excess silicone with wet finger.
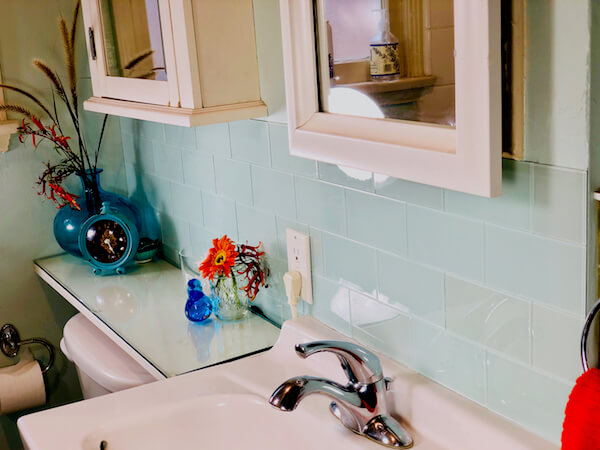
The After!

After the tile installed.
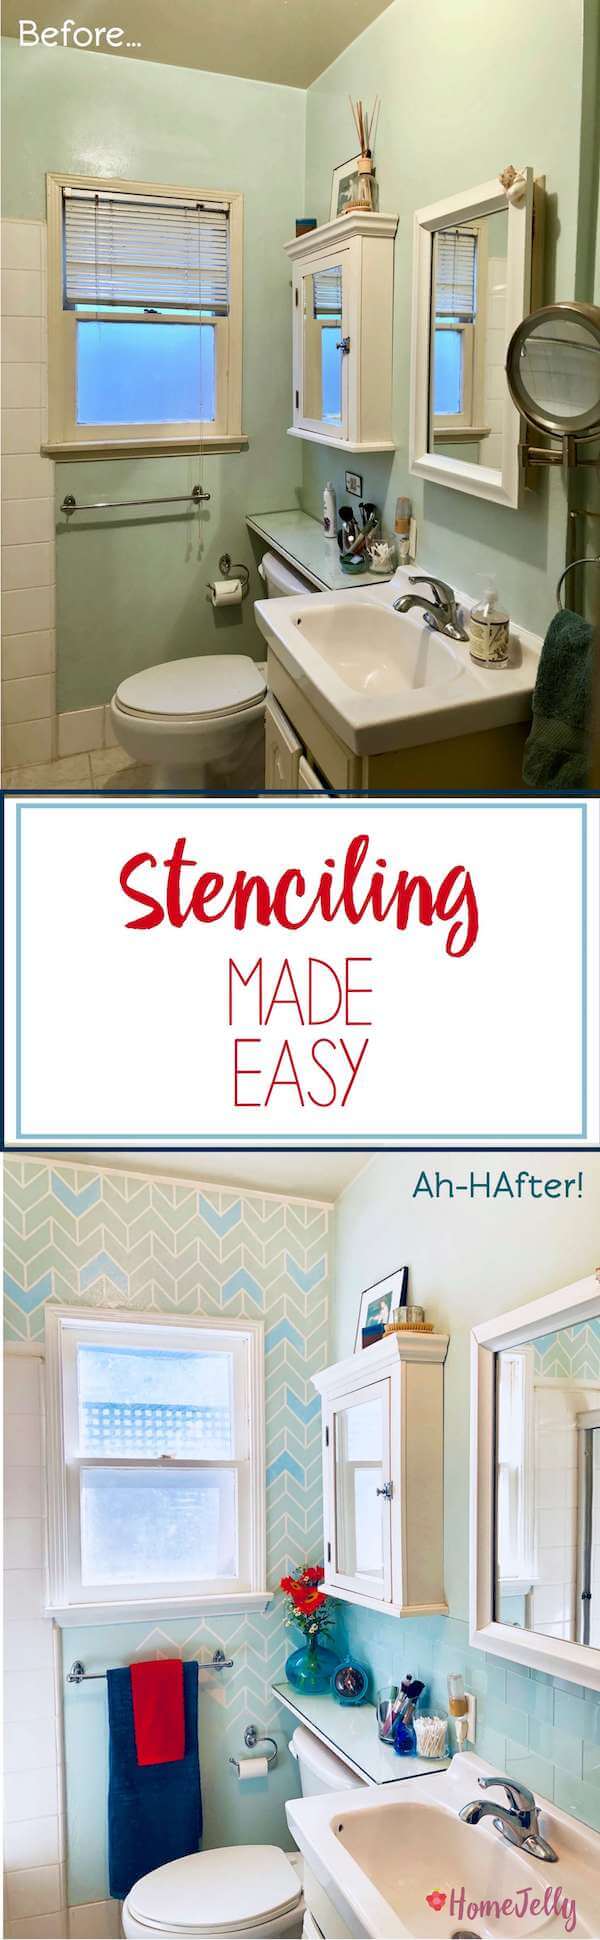
Look at This Mini Bathroom Makeover!
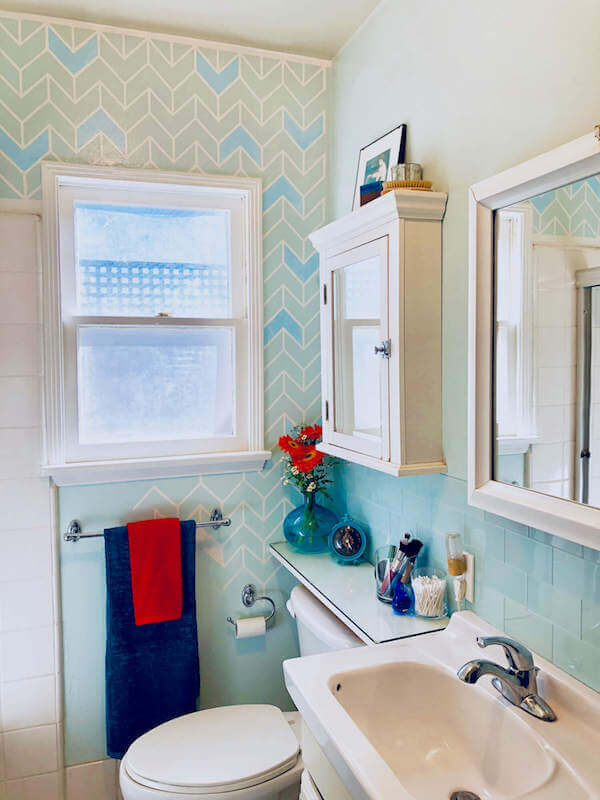
Mini-Makeover “After” the new tile and stenciled wall.
Hop on over to the post and video to see how I created this stenciled wall!
NOW, WATCH THE HOW-TO VIDEO!
What we LOVED about Aspect Peel-and-Stick Tiles:
1. They’re BEAUTIFUL: we were super impressed by the beauty of our tiles. The color is rich and the shine is excellent.
2. They’re REALLY sticky: adhering these tiles was a breeze thanks to their stick-to-it-iveness! We’ll let you know how they do in a year or so, but we’re pretty confident we’ll have good reports.
3. The material is quality: and made from 50% recycled materials (100% recyclable) so they earth-friendly.
4. NO grout: for beginner and seasoned tilers, this is a fantastic benefit to peel and stick. There’s no need to buy extra supplies or tools, or take the extra steps to prepare, apply and wait for grout to dry.
Note: You MUST be VERY level and plumb with your lines, because there is no adjusting and “faking it” like you can do to a certain degree with grout. (On the other hand, anal retentive DIYers will rejoice!)
Overall, this was a fun, medium-difficult project. For a first-time laying tile, I’d say it was quite successful, especially since I had my wonderful Cousin Tom helping me shoot video and offering his knowledge and expertise in carpentry. Funny thing is, he, too was a tiling virgin, making this project a true adventure in DIYing!