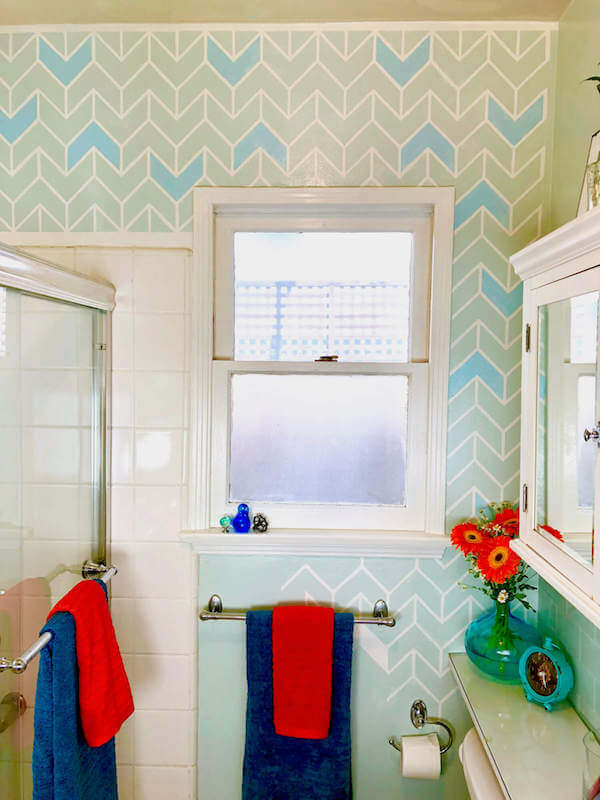
The after all dolled up!
This is a sponsored post that contains affiliate links.
HOW-TO VIDEO BELOW!
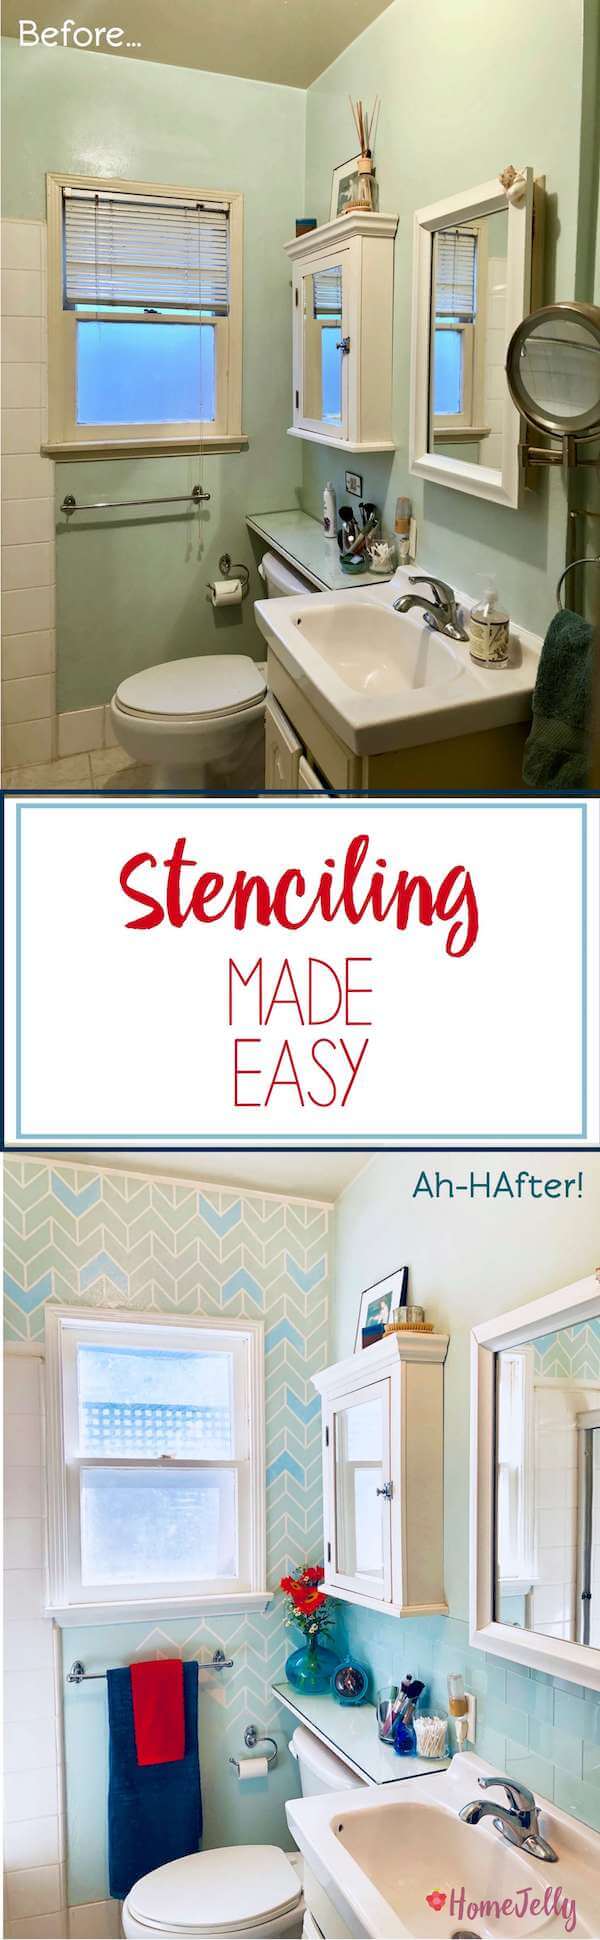
It’s been twelve years now that my hubby and I have lived in our current home. It’s an 840 square foot, 1948 beach bungalow, and it’s got really good bones. What it doesn’t have is two bathrooms.
Blah.
Be that as it may…
The two of us have done quite well navigating a nearly airplane-sized abode, so I thought it was time to give it a little refresh and re-energize it with a fun, patterned feature wall using a stencil.
Yep. Stencils – are – back!
There are some fabulous designers creating some seriously cool and on-trend patterns, one being a shop I found on Etsy called Stencils Lab. Here are a few of my favorites:
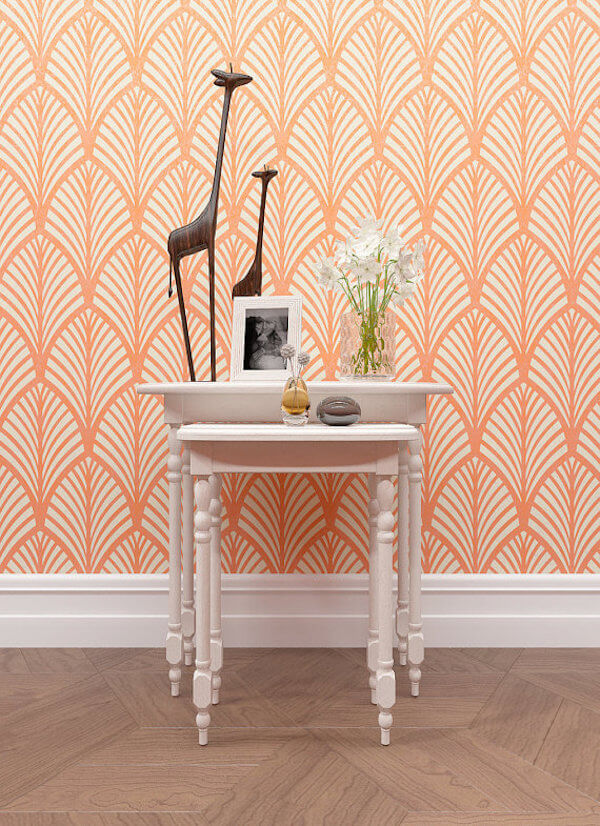
Art Deco all over stencil. source: stencilslab.com
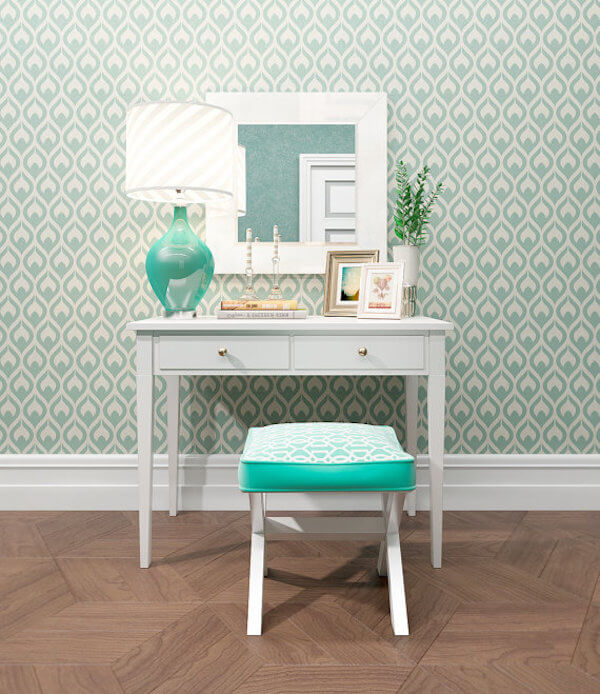
Floral Pattern Wall Stencil. source: stencilslab.com
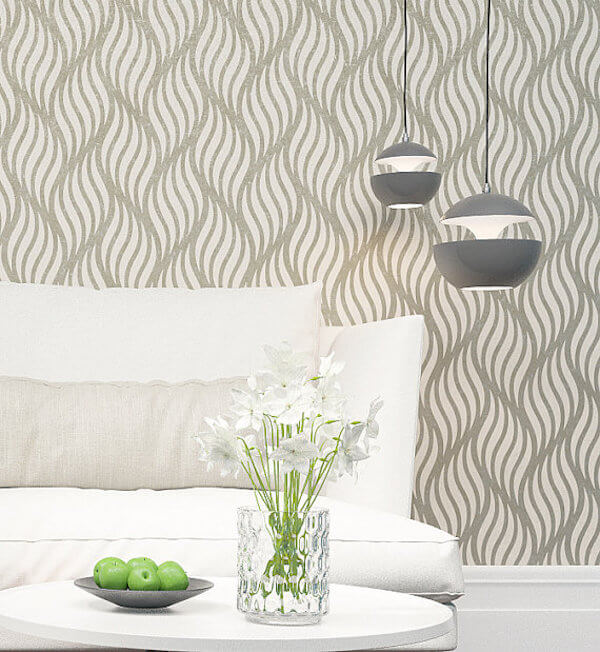
FLORA wall stencil. source: stencilslab.com
They even make floor stencils like this beauty:
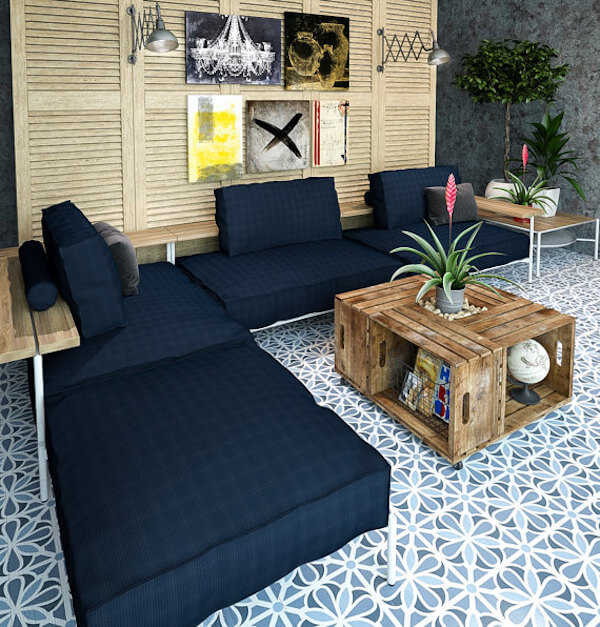
Floor Decor Tile Stencil. source: stencilslab.com
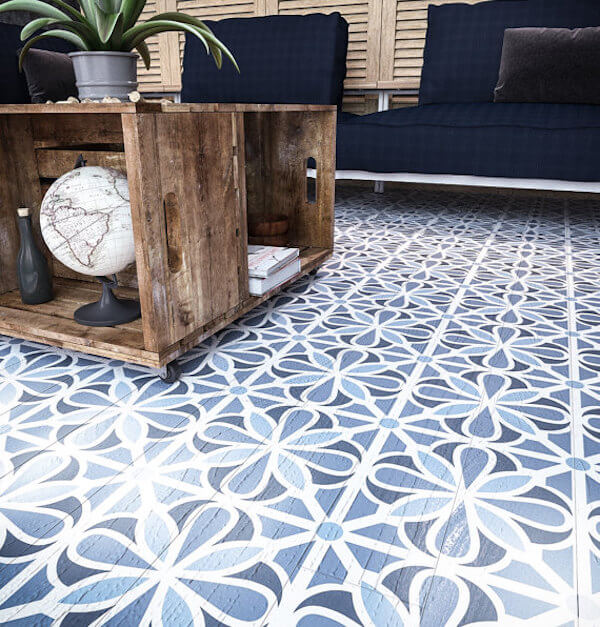
Floor Decor Tile Stencil closeup. source: stencilslab.com
For those of us adventurous DIYers, I thought it would be fun to create a step-by-step how-to and video to make this super doable. Enjoy!
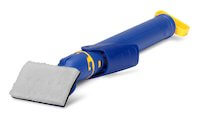
Supplies:
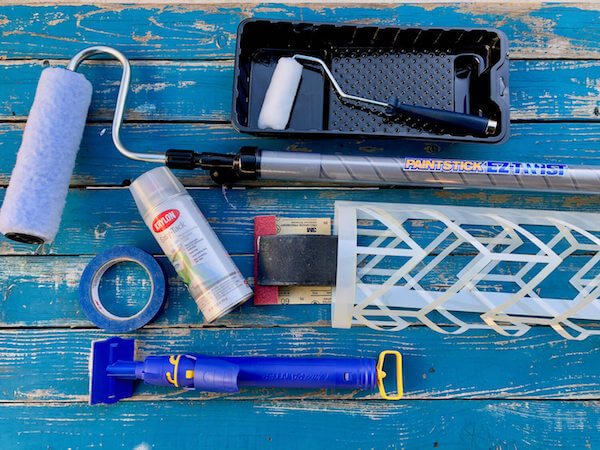
Stenciling supplies.
• stencil
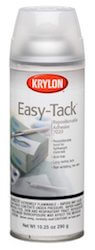
• adhesive spray (Krylon Easy-Tack, re-positionable)
• sandpaper (P150/P180 grit)
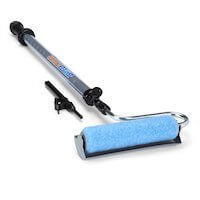
• HomeRight PaintStick EZ-Twist
• interior latex paint (for bathrooms, semi-gloss is recommended)
• small paint brushes (for touch-ups)
Instructions:
1. Prep your walls. Lightly sand walls so new paint will properly adhere. Also, patch any holes and tape off walls and ceilings to avoid unwanted paint splotches (yuck).
2. Paint main wall color. Decide what color you want as your main color through your stencil. Then, use HomeRight’s QuickPainter to paint around windows and edges of walls. Use their PaintStick EZ-Twist to paint the remaining surfaces in minutes. Visit my PaintStick EZ-Twist tips article on HomeRight’s blog.
3. Decide where to begin stenciling. Do a dry run and mark where you’ll add your stencil. Starting at the top and/or where the wall is most visible is a good choice.
4. Apply adhesive to stencil. Be sure to apply the adhesive to the ENTIRE stencil to avoid blotchy results.
5. Place stencil on wall and begin painting. Be sure all edges are pressed down. DIY TIP!!! This is VERY IMPORTANT! Before applying the paint, make sure your brush or roller is ALMOST DRY. This is called a “dry” brush technique. (Full disclosure: in all my excitement about using a stencil for the first time, I failed to read the designer’s directions on this, resulting in here-and-there, blotchy results. This made touching up necessary adding, most likely, HOURS of added work…DON’T FORGET THIS STEP!!!).
Fewww. Learning curves can be brutal.
6. Paint using the following techniques: for large areas, use a roller or sponge and gently roll or dabble, then finish with a swirling technique for crisp edges. For small/detailed areas, with a brush, use the swirling technique. Again, your brush should mostly be dry. This may take a few coats. Carefully peel off the stencil when finished.
7. Overlap stencil onto previous pattern, then continue painting. Make sure paint is dry to the touch before applying overlapped stencil. Also, it’s a very good idea to spray adhesive each time you lay it down to avoid blotchiness.
8. Touch up any blotchy spots. Yep. I’m now an expert on this. If you followed these instructions, you should only have a few spots here and there.
Now, watch the HOW-TO video!
Thanks again to Oleksander Bovtenko of Stencilslabs.com for supplying the stencil for this project. Here’s just a little backstory on this talented designer:
“I had humble beginnings in the stencil business as a street artist in Times Square selling spray paint art. During that time I learned a lot about stencils, paint, and business. From there I worked up from hand cutting my stencils to building my own one of a kind stencil cutting machine. StencilLAB is currently based out of Austin Texas. We’ve been making stencils for the past five years and plan on making stencils for the next 100!”
Visit his shop to try your hand at stenciling! Have fun!