
Paper bag door monster.
This is post contains affiliate links.
Ya gotta admit…besides all the pumpkins and costumes, the other star of Halloween is our home’s front door. After all, that’s what’s being knocked on all night by trick or treaters, eagerly awaiting your appearance with candy bowl in hand, right?
Why not give them something to admire while they stand there holding out their plastic pumpkin pails and pillow cases? They’ll know you mean business with this three-eyed monster, and you’ll save money creating it by recycling your grocery bags (overall, this cost about $7 to make!). It’s what I call a DIY trick AND treat!
See also: How to Make a Halloween Newspaper Candy Corn Door Monster
Monster Door
Supplies:

Door Monster supplies.
• 6+ paper bags
• Scissors
• measuring tape or yard stick (not shown)
• packing or measuring tape
• pencil or sharpie
• dessert paper plates
• removable picture hanging strips
• Optional – stretchable cobwebs
• Optional – mirror (to hang inside the mouth – see our HomeJelly Reader’s version at the bottom of this post)
or mirror paper
Instructions:
1. Measure the dimensions of your front door: using your tape measure, find the length and width of your CLOSED front door and write it down. Note: be sure to measure the part of your door that appears when closed. The paper will last longer if it isn’t being creased and mashed by the frame.

Remove handles and open bag.
2. Remove handles and open bag (see photo above): after carefully detaching the handles (if yours have them), start with the opening of the bag and begin opening the bag at the seams. Note: the first one is a little tricky, just keep at it and follow the natural lines of the seams…seriously…it’ll work!

Remove rough edge.
3. Remove the rough edge: cut off the bottom edge of the bag. You can then measure the width and length to see how much paper you have to work with per bag.

Measure length and tape paper bags together.
4. Measure length and tape bags together: knowing the length of your door, pull out your tape measure, then tape your bags together. The trick is to get to the last bag and tape it in place so that it measures exactly the length you need.

Measure width and draw cutting line.

Cut along lengthwise line.
5. Measure width, then draw & cut along cutting line: knowing the length of your door, measure and mark the cutting line onto your taped bags, then cut.

Place where you want the eyes.
6. Place where you want the eyes: now that you have your paper bag perfectly custom sized, turn your plates upside-down, then place your eyes (paper plates) where you’d like them to go on your paper bag. Note: there are no rules here…if you want 1 or 4 eyes…that’s up to you!

Turn your paper plates upside-down. Measure inside height of eye balls. Here, we see, from inside of the lip to the other, measures about 6 1/4″.

Measure inside width of eye balls.
7. Measure the inside height and width of the eye balls: to achieve a “peek-a-boo” affect, be sure to measure about 1/4″ inside the edge on the top and bottom of the plates (measure 1/4″ inside the outer edges of the two outside plates as well). Then, using these dimensions, mark an “x” on your paper bag for the center top and bottom measurements, as well as an “x” for both sides.

Sketch peek-through hole for eyes.

Cut peek-through hole for eyes.
8. Sketch peek-through hole for eyes then cut out: draw an arched line from “x” to “x”, creating an oval for the “peek-a-boo” hole, then cut.

Glue edge of paper plate and place onto black card stock paper.
9. Glue edge of paper plate: glue along the plates highest edge, then turn it over and place onto black card stock paper.

Trace iris and pupil on back of sparkle paper.

Peel and stick sparkle paper into place.
10. Measure, then peel and stick sparkle paper eyes on to paper plates: use anything close to the size eyes you want for your monster. The peel and stick sparkle paper makes it easy to place the iris and pupil anywhere you wish!

Tape black paper and eye balls onto back of paper bag monster.
11. Taper black paper onto paper bag monster: position the eyes where you want them to show through the “peek-a-boo” hole, then tape it into place.

Measure and cut out mouth.
12. Measure and cut out mouth: if you have a colored door, cutting out your mouth will have a fun effect. Note: if you have a white door, you may want to just draw a mouth or add colored paper to the backside like you did with the “peek-a-boo” hole.

Cut out teeth, glue and/or tape into place.
13. Cut out teeth, glue and/or tape into place: cut out any size and number you wish to adhere to the monster. You can first glue it to the back of the paper bag, but for sure tape it to make sure they stay in place. Note: be creative and shape your teeth however you wish. Note: pointy teeth are more scary, where rounder teeth are more cute.

Door monster closeup.
14. Nail, use mounting putty or tape onto door: adhere your finished monster to your door – you may want to use painters tape in small doses, but be sure it won’t take the paint off your door. Mounting putty works great, but you may need to keep an eye on it and squish the monster back into place from time to time. Be sure to cut out holes for the deadbolt lock and door knob. Optional: add cobwebs for a more scary/dramatic look…boo!

Door monster

Door monster with “Home Spook Home” stacked planters.

Door monster, finished!

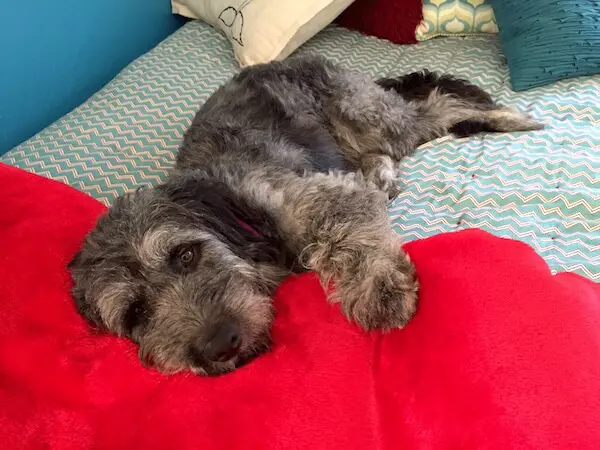
Klunkers guards his door monster.
HomeJelly Reader…Did it!
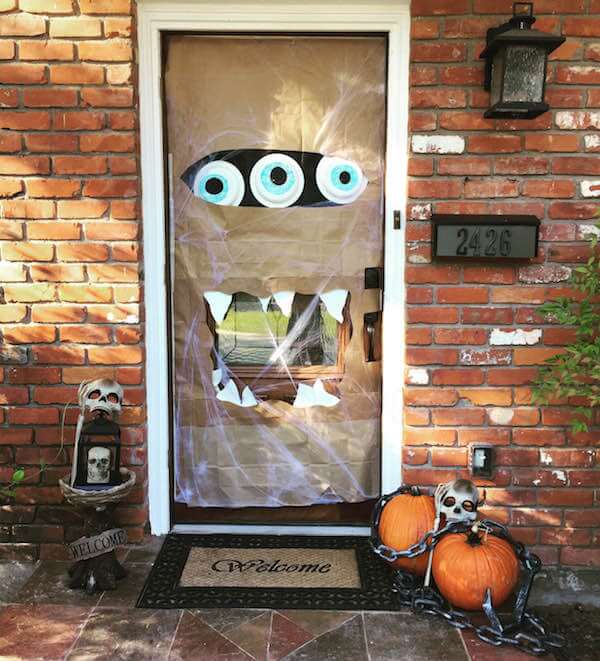
We’re so thrilled with HomeJelly reader, Maryam Tabatabai’s version of our monster door…

Monster door by HomeJelly reader, Maryam Tabatabai.
Bonus TIP? Add a mirror inside the mouth so that little ones can have fun seeing themselves all dressed up! It also gives a creepy effect, don’tcha think?!? Congrats, Maryam, for your booootiful door decor!
What kind of monster will you invite for Halloween?
Photography by Skaie Knox, HomeJelly