I’m not quite sure why spring is the season of cleaning and fixing, but maybe it’s just in our nature, like the blue jays who flit about fluffing and tidying up their nests for summer. Any which way, when our friends at GREAT STUFF asked if I wanted to try out some of their spray foam products, I knew it was an opportunity to fix some of our home’s unwanted holes, big and small, ones we’d been living with waaaay too long. Take our kitchen vent. Well, it’s not so much a vent as it is a heat sucker and a duct that coughs up grime and dirt…oh, and I’m a bit embarrassed to confess, a mouse and rat access portal (yikes!).
Mmm-hmm. This was not a home improvement task I was looking forward to. But, after pulling on my “big-girl panties”, I began by pulling off the very dirty and ineffective screen cover. Upon removing it, I found leaves, dust, dirt, grime, droppings (yech!), and even a dead mouse. Thank goodness I was raised by a farm girl! I was startled, but it was only a mouse…that was laying dead on the screen that sat right above our stove (cue, skin crawling). Another tip I learned? For short people, we need to drag out our step stools or ladders once in a while and make sure to look and wipe down those high places like tops of fridges and mounted microwaves. Here’s what ours looked like (and this is why it was time to shut this vent for good!):
I consider myself a tidy house keeper, but when I found this…ugh! I had myself a big ol’ piece of humble pie. Once I discovered how disgusting serious this open and useless vent was, I did a quick check around the rest of our house to see if I could seal up any other openings that might be letting in dirt and drafts. Check out this handy list from GREAT STUFF of where you might find cracks and crevasses in your home…plus, take a look at these six DIY air sealing tips and projects. Note: see GIVEAWAY info. at the bottom of this post.
So, these were the products I decided to use for our kitchen vent, a hole in our garage wall, and for cleaning up tools and other areas. Note: be sure to read the directions on safe handling and wear safety goggles and gloves.
The kitchen vent: here’s how it worked…
After scrubbing the screen cover clean-ish, I used it as a template and traced its edges onto a 1/4″ piece of wood.
I then cut out the new panel, sanded its edges, and painted it the same color as the ceiling to help it “disappear”.
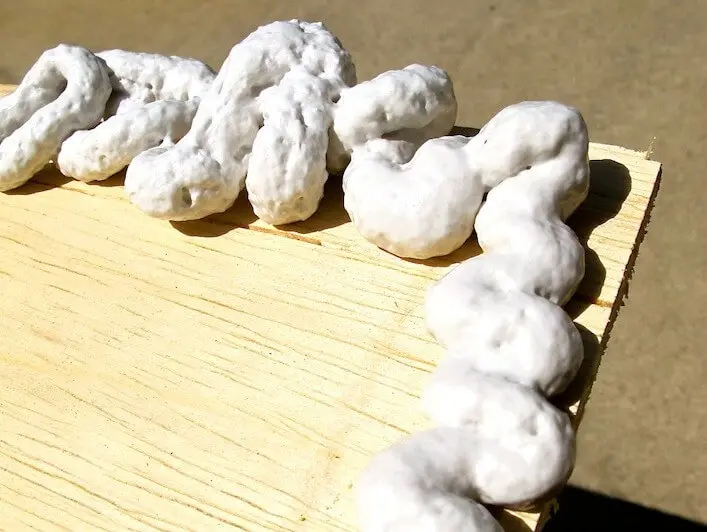
I shook up the can for about 30+ seconds, then applied the GREAT STUFF Pestblock to the back and outside edges of the panel. This would both help seal and keep out any unwanted varmints (not that there’s any wanted varmints or anything!).
Just to make extra sure this hole stays sealed, I plugged the cracks with more foam. Note: this part was pretty fun…kinda like icing a cake…uh…kinda. I then let it cure overnight.
The next day, I spackled the edges for a finished look, waited about two hours and sanded smooth.
To finish, I painted over the spackle. Yay! Clean and done!
The next home improvement project? There was a hole in our garage, so I used the GREAT STUFF Gaps & Cracks to seal it closed.
When it came time to clean up, the work wipes worked wonders! Not only on the dirty tools, but on my stainless steel kitchen stuff, too! Excellent!
GREAT STUFF™ GIVEAWAY!
To win ONE of 5 GREAT STUFF Packages for DIY Home Improvement, simply leave a comment BELOW answering this question:
Where in your home do you have holes, cracks and/or crevasses?
To DOUBLE your chances…subscribe to our newsletter!
Giveaway will end SUNDAY, MAY 5th at Midnight, PST.
This is a sponsored post brought to you by GREAT STUFF. The opinions are completely my own based on my experience.
All photography by Skaie Knox, HomeJelly


