
Trinket-filled tanenbaum.
I don’t know what’s gotten into me this year. For the first time ever, I wasn’t clambering to get to the Christmas tree store (er, Home Depot) to pick up my usual 6′-ish tall Noble Fir.
Which some say is the “Cadillac” of Christmas Trees.
Nope. I had a whole other idea to gather all my scrap wood and bits of reclaimed wood I’ve collected over this past year, and turn it into a fabulously “green”, trinket-filled tanenbaum!
So I did!
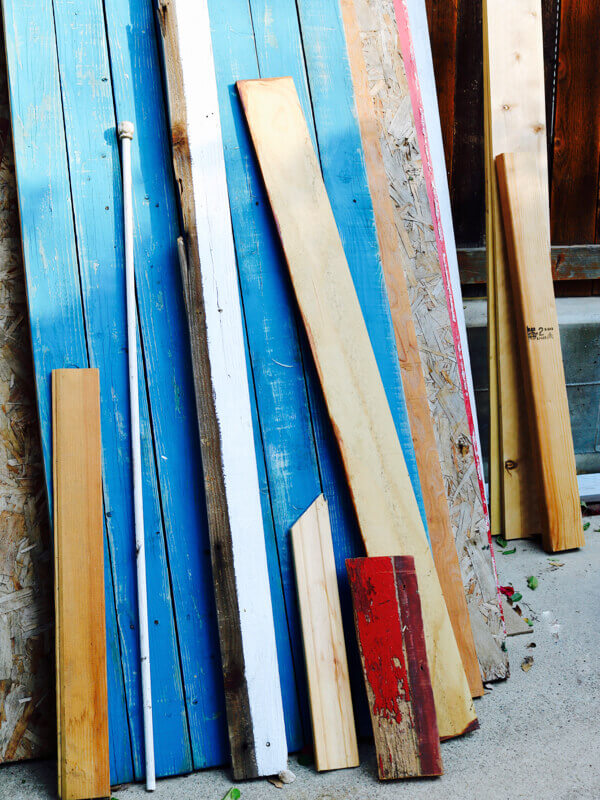
Reclaimed and scrap wood ready for Christmas.
Supplies:
• scrap/reclaimed wood – approximately 2-3″ wide, varying lengths
• jigsaw/table saw (I use the fabulous BladeRunner X2)
• sand block & sandpaper (P60 for rough edges, P120 for a finer finish)
• drill
• dowel
• wooden beads
• tree trunk piece for the base (available at most craft stores or Michael’s)
Instructions:
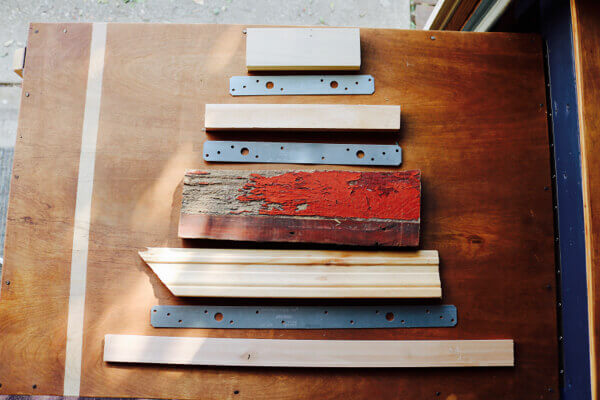
1. Choose your wood scraps. The more different they are, the better.
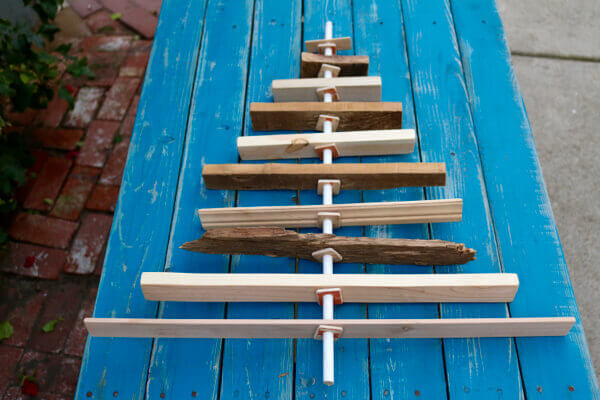
2. Cut them from smallest to largest in the shape of a tree. Sand the edges smooth.

Measure bigger pieces to cut into the size width you want.
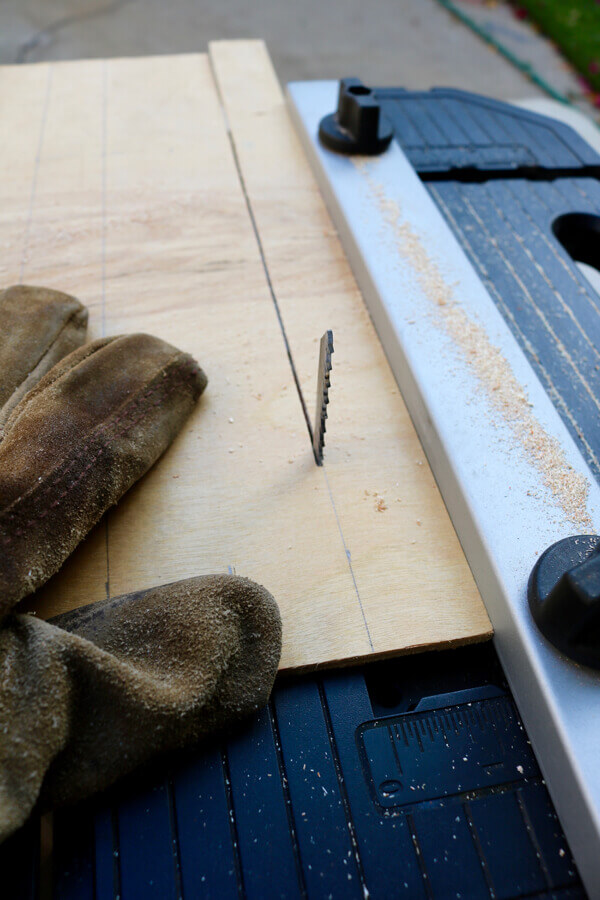
Cut your pieces.
Cut into the shape of a tree.
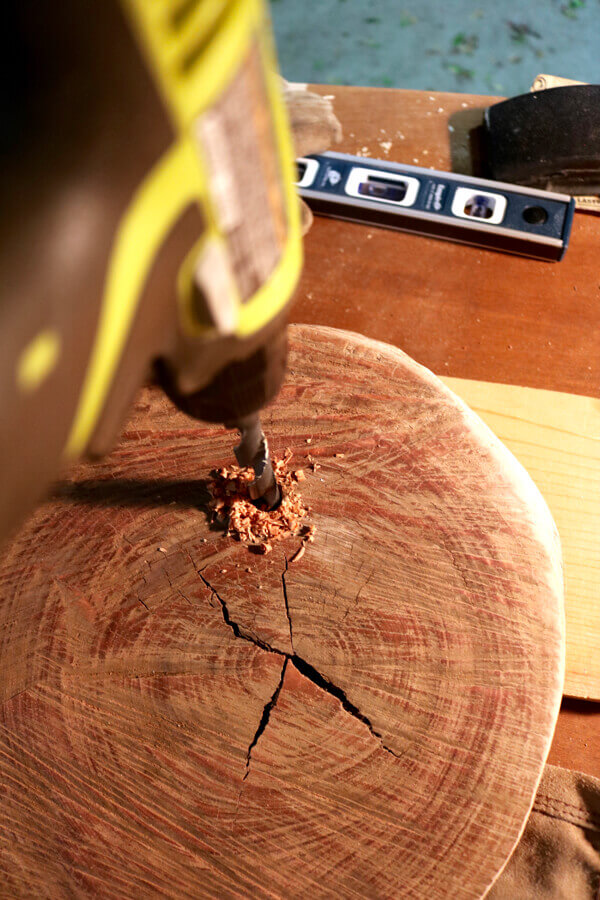
3. Measure the width of your dowel, then drill a hole through each wood piece. Sand rough edges smooth.

Find the center of each wood piece.
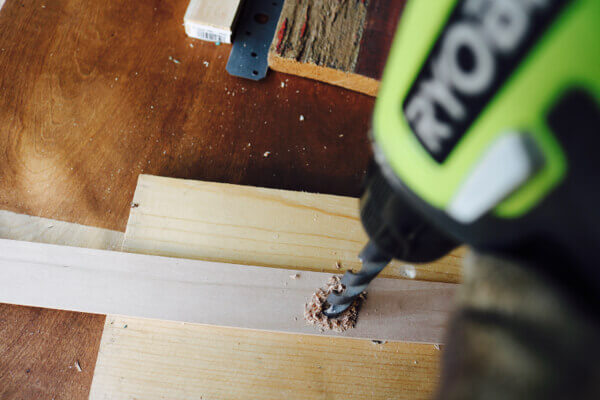
Then, drill your center holes.

Drilled holes ready to assemble.
4. Drill wooden beads. Note: if you’d rather cut more wood pieces that can eventually stack upon each other to make the entire tree, you can skip step 4.
5. Assemble your tree. Place a bead in between each wood piece. Note: again, skip the beads if you’d like only wooden pieces.
Assemble your tree.
Insider note: With mine, I actually cut flat pieces, sanded their edges, then drilled them to be placed under each wooden slat. I later realized I could have just cut more wood to skip this step entirely. Oh, well…Oh, Christmas tree!
6. Drill a hole in the base of your trunk base, then place the tree into the hole. Note: if you’ve cut your own trunk base, be sure to sand it smooth before drilling.
Sand your tree trunk piece smooth before drilling.
Drill base hole.
7. Top your tree with a bead or star or whatever you wish. Done!
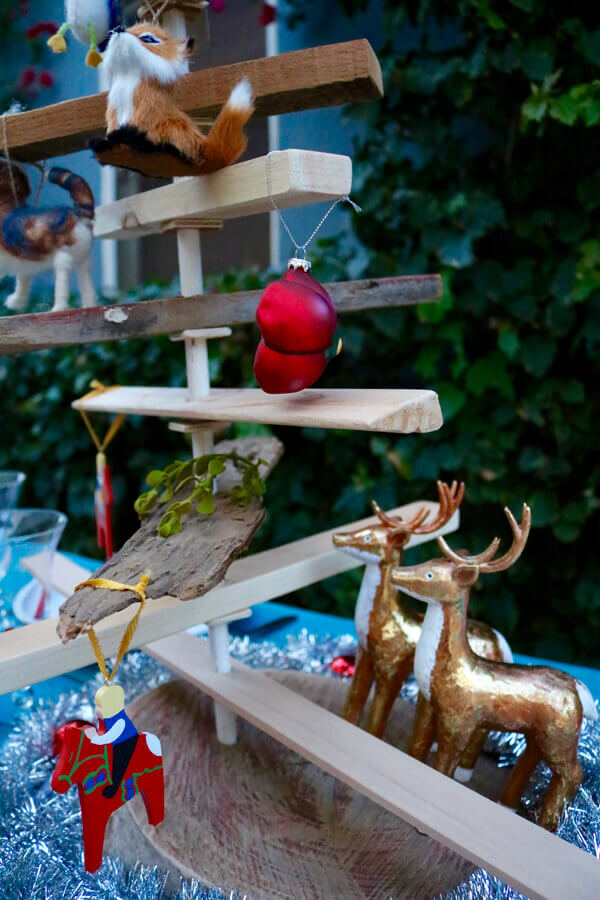
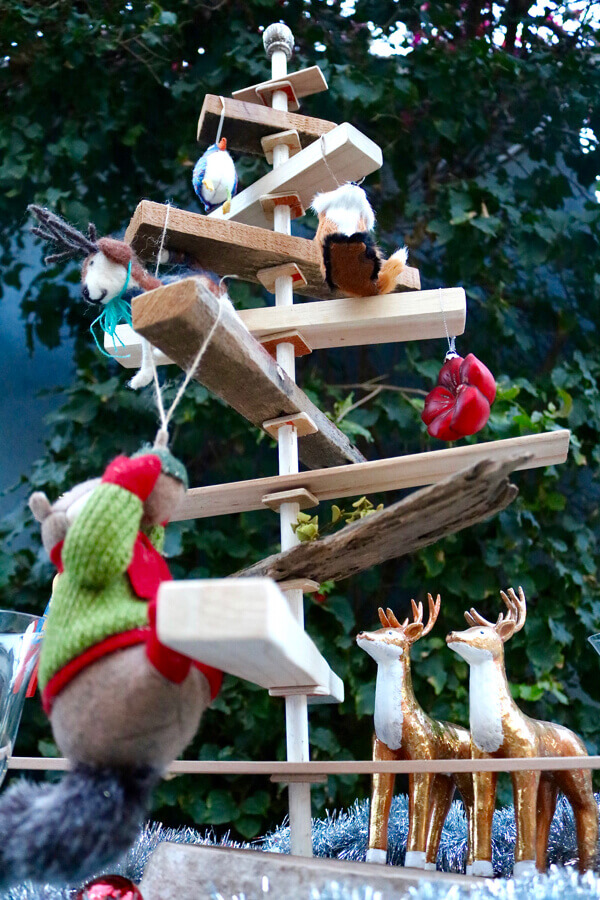
Reindeer watch over the ornament animals.
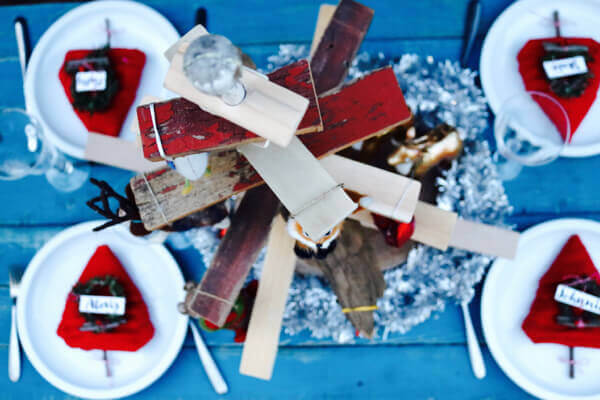
Aerial view.
Add interest, dimension and something quirky to your Christmas decor.
All photography and video by Skaie Knox, HomeJelly