
This post contains affiliate links.
Sometimes you’ve got to take matters into your own hands. Case in point: we were tired of our old carpet that wasn’t standing up to the wear and tear of an active family with three dogs, but didn’t want to blow our budget on flooring. So, we laid our own with common materials available at the hardware/lumber store, and, of course, DiggersList.
We first laid a plank version on the floor. Then, for the larger area in the living room, we went with whole sheets.

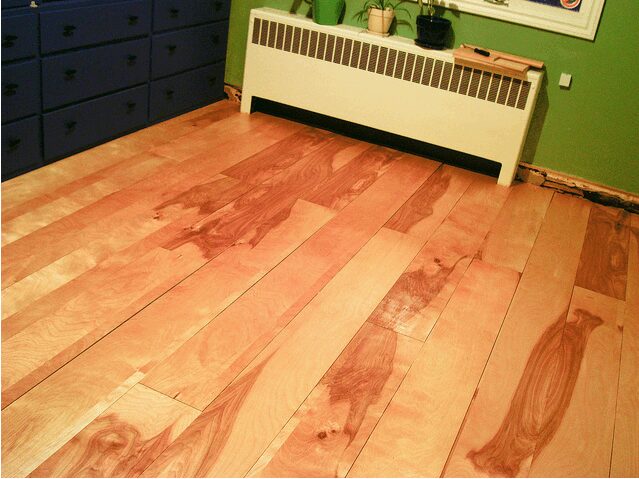
Our beautiful new living room floor.
Supplies:
• 8 x 4 1/2″ to 3/4 ” birch veneer plywood – Be picky and look for interesting graining, this will be your new floor.
• Liquid nails or another adhesive for laying wood flooring
![]()

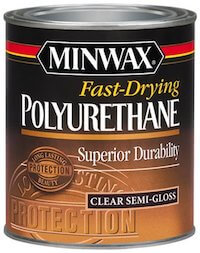
• polyurethane – durable high traffic formula
• pliers
• hammer
Instructions:
1. Demolition and Preparation: rip out the existing flooring.
2. Remove carpet staples: (This next step is probably the most important!) Be sure to pull every staple and make sure every nail in the subfloor is flush. There is no underlayment or padding, so your floor will not lay level and will wear if you do not remove every obstruction.
3. Make the planks: if you decide to lay the floor in planks, you’ll need to decide on a width and then rip the plywood on the table saw accordingly. We ripped our wood into approximately 1′ wide sections to get an even amount of planks from each sheet of plywood.
4. Apply polyurethane: industry standards suggest three coats. If you’d like to be extra thorough, you can apply a sealer for the first coat followed up with the polyurethane to finish it off.

Newly laid birch wood flooring in the bedroom.
Update!
Four years later…the floors have held up nicely. The planked floor has held up the best with very little wear and tear. We used a sealer on that floor that definitely cost me some brain cells. The living room floor which we put down in full sheets has shown some scratches, not from our dogs or toddler, but from moving some furniture. I used a more organic sealer on that floor hoping to save my brain, but the other sealer is really better and we’ve talked about going back to re-seal the floor, but haven’t yet. Our house takes a beating and for the cost of doing it, we’ve been very happy with both and get tons of complements on the floors.
Birch wood flooring photos courtesy of Meg.