
Adult table centerpiece.
I actually pulled it off.
I was in charge of decorating this year’s Thanksgiving tables, and, with the help of some of my sister-in-law, Whitney’s accessories, I think I did a very nice job. My plan? I wanted to use as much of nature as possible, spending as little as possible, all the while creating something special with long-lasting potential.
As you’ll see below, we had three tables: The head table, the second adult table, and the proverbial kids’ table. Each needed some kind of centerpiece to begin with, along with sprinkles of interest and color. I also thought it would be fun to wrap each napkin with a multipurpose napkin holder/name plate/Christmas ornament (which, of course can be used for the upcoming Christmas parties/dinners as well!).
Finally, to get to know one another better, and because there were guests some of us didn’t know very well, I added a fun question for each person to answer while we ate…a fantastic conversation sparker that kept the room’s energy festive and flowing.
As a self-taught and budding home decor nerd, I was pleased to learn that Lonny Magazine agrees with my table setting design process. I’ve included their “10 Simple Steps to Create Amazing Tablescapes” below, as an additional takeaway from today’s post. Here now, are some photos I snapped off of our Thanksgiving table decorations just before we sat down to eat.

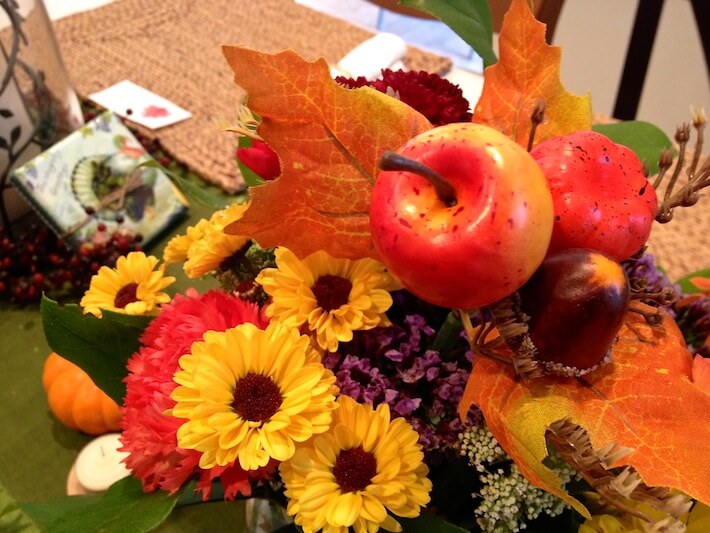
Bouquet closeup.
FLOWERS: My sister-in-law’s ex-husband, Todd was sweet to bring her a wonderful bouquet of flowers that added perfectly (and within budget!) to my “nature” themed tablescape (above and top photo). Note: to keep across-the-table-conversation going, cut stems short enough for a low and bountiful arrangement.

Thanksgiving canvas hostess gift keepsake.

Thanksgiving canvas hostess gift.
HOLIDAY DECOR KEEPSAKE – I always like to bring something for the hostess, especially when she has accommodated 17 guests. So, with the help of HomeJelly contributor, Bridget Johnson’s canvass keepsake how-to, I was able to decorate and gift this beautiful table accessory at the same time!

Turkey pumpkin centerpiece.
PUMPKIN-TURKEY CENTERPIECE: Recycling pumpkins is fabulous, and this one fit in deliciously with the natural elements of all the tables. All it took was our Halloween pumpkin, a pine cone, some felt and googly eyes, a few beautiful tree branches with autumn leaves, glue and a drill. Who knew?

Wood piece candle holder.
NATURAL CANDLE HOLDERS: I had some left over wood pieces from my napkin holder/name plate/Christmas ornament project, so I thought they would work great as tea candle holders. Sweet.

Kids centerpiece.
KID’S TABLE DECOR: The kids’ table was a blast to decorate. I created some fun crayon holders (to use on their activity pages place mats) by cutting a piece of branch about 4-4 1/2 inches long, then drilled six holes about 1 1/2 inches deep. I then wrapped it with felt and tied on a leaf with some twine. Leftover pumpkins from Halloween worked double-holiday-duty and picked-up pine cones whispered that Christmas was coming next!

Conversation starter.
CONVERSATION SPARKER: wonderful tip to keep the conversation going amongst your guests is to include a conversation starter question. I found several sites that offered free downloads with cute autumn themed paper. You can do the same for your Christmas and Hanukkah guests as well!

Adult head table setting.

Adult table “B” setting.

Kids table setting.
I had so much fun putting this all together, with much thanks to my mom, Lois for her wonderful help. In the end, memories were made, especially for all the kids (which, to me, is incredibly meaningful), and the specialness of this holiday was had by all!
Ten Simple Steps to Tablescaping:
For more fantastic tips, follow Lonny Magazine’s ten simple steps to create amazing tablescapes, and leave your guests in awe all year long:
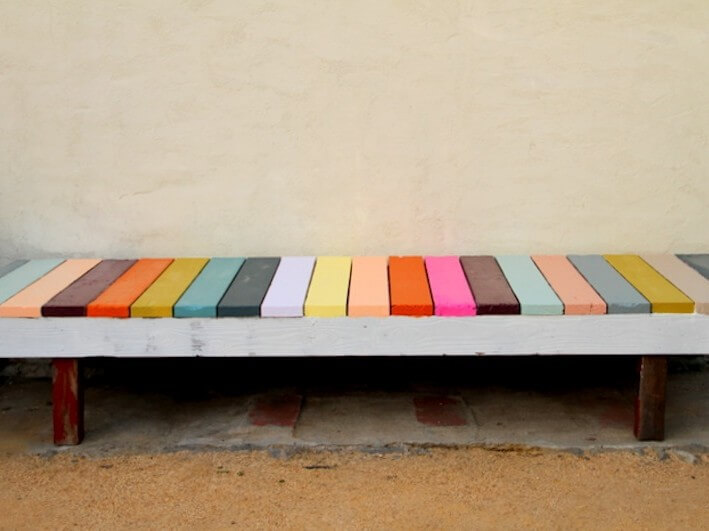
1. Consider a Color Theme: Choose your color theme carefully, remembering that sometimes a burst of color carefully arranged on a neutral background is all you need to create a compelling tablescape.
2. Use Local Materials: Combine mementos and local materials in order to personalize and create your very own, unique and distinct tablescape.
3. Mix Styles and Patterns: You’ll create a powerful style statement by combining bold patterns and prints. This technique is fun and you’ll love the results.
4. Try One Standout Piece: Build a tablescape around a single standout piece. Remember it’s essential to give show-stopping items room to breathe.
5. Less is More: Sometimes the saying is true, less really is more. Try going for a more subdued display, arrange smaller, subtle pieces on a neutral tabletop.
6. Throw an Unexpected Twist: Arrange neutral-tone items on a boldly patterned tray to create a surprising twist. This will give off a fun, yet classy look.
7. Or, Stick to a Theme: Try arranging collections of like items together for maximal impact.
8. Or, Really Stick to a Theme: There’s strength in numbers. As Andy Warhol proved, almost anything arranged in a grouping of more than six can produce a strong design impression.
9. Consider its Functionality: Trays, baskets and bins supply easy, functional anchors for tablescapes. Plus, they help you stay organized in the process.
10. Mix Materials: Combining patterns and materials will create an eclectic setting. When stacking books, place a standout volume on top.
All photography by Skaie Knox, HomeJelly