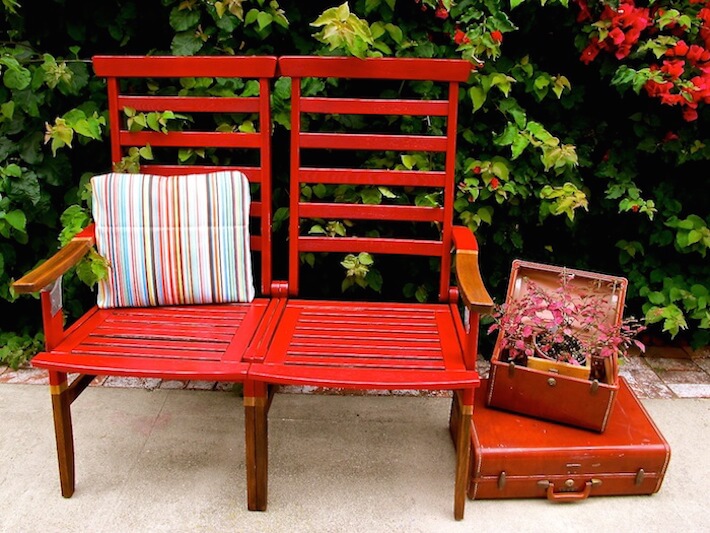

Bench with wheels.
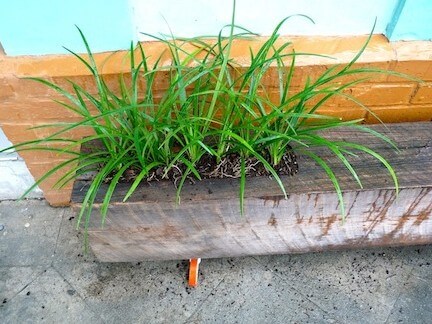
On a recent trip to New Orleans, I stumbled, or rather, almost tripped over this very cool, modern-looking repurposed ceiling beam planter. After composing myself, I noticed how I especially loved the jazzy, orange casters, giving it a modern “POC” (pop of color), also allowing its weightiness to be easily moved. The kicker? It also serves as a several seater bench, thus qualifying itself as the trifecta of furniture: multifunctional, decorative, and green!

Bench, close-up.
Here’s what you’ll need:
- Ceiling beam- approximately 8″ x 14″ x 5′ or 6′ long (find them on DiggersList or local lumber yard). Note: railroad ties could also be used as a smaller bench and planter (find them for $7 on DiggersList avail. in Nipon, CA, or $16.97 at Home Depot)
- Hand drill with 5/8″ drill bit
- Mortise chisel-1/4″ will do, but a 5/8″ will work faster. Note: the aim of this project is not to be perfect, it is to create a hole to be filled with dirt, so edges can be rough.
- Hammer
- 4 casters (orange or colored for a more modern look-check out coolcasters.com)
- Plant and soil
- Safety glasses
- Pencil and ruler
- Optional: plant-safe wood sealer and brush
- Optional: plastic sheeting
Here’s how you do it:
- Measure out and mark a rectangle approximately 1′ x 5″. Be sure to do so on one end of the beam to allow for ample seating.
- With safety glasses donned, start on each corner and drill down 6″ deep. Continue making drill holes along the marked edges, then drill across, blowing out the wood scraps as you go.
- After creating a roughly drilled out rectangle, use your hammer and pound the mortise chisel to clear out the rest of the wood. Note: again, the end result does not need to be perfect, edges can be rough and even uneven.
- Once you have the “hole” chiseled and scraped to your liking, drill three more holes all the way through for plant drainage.
- Before inserting the plant, turn over the beam and attach casters to all four corners.
- Insert soil and plant…voila!
- Optional: if you’d like to prevent wood rot, seal the inside of the planter with plant-safe sealer (i.e. SoySeal and Soy Guard), then line with plastic sheeting that has three holes to allow for drainage.
- Optional: If you’d like, seal the rest of the beam for a beautiful and lasting finish.

Mortise chisels ranging from 3/16″ to 1/2″ (not shown: 5/8″ chisel). Source: lie-nielsen.com
Note: for helpful tips on using a wood chisel, visit familyhandyman.com