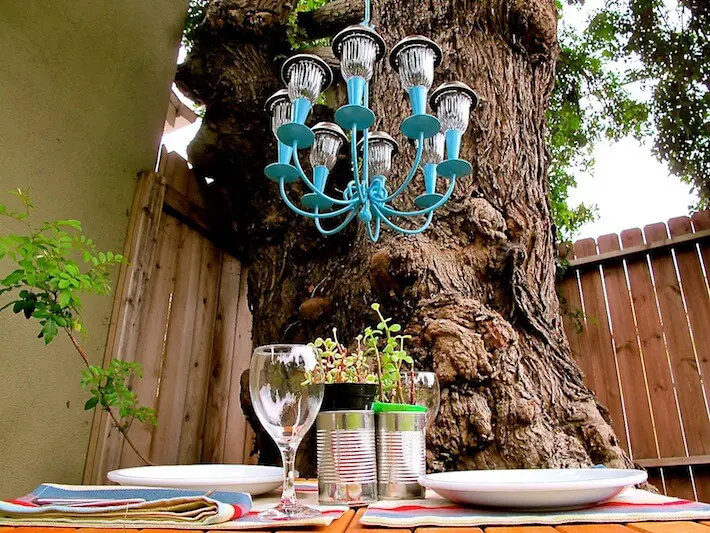

Solar chandelier by day…by night!
This post contains affiliate links.
I’ve never been accused of being a pack rat. I like tidiness much too much. However, there are some items I’ve held on to, even though this might go against my “recycle-donate-or-repurpose-if-it’s-not-used-after-a-year” rule. I don’t know if you’re the same way, but there are simply certain items that seem to beg not to be thrown out despite their dust-collecting existence piled atop a Christmas box or some camping gear.
Well, when it came to today’s how-to, I have to say I was right. Matt and I received this outdoor candelabra chandelier as an engagement present (so, that makes it about 8 1/2 years old). We used it a couple of times, but after having to scrape melted candle off our back deck, I pulled it down and stashed it in the garage. But, before I hit the “close” button on the automatic door clicker, I did make a mental note that read something like this…”One day, I’ll find another use for you, so hang tight, light.”
Fast forward eight or so years to last Wednesday when Klunkers and I passed our neighbor’s front porch down the street. This is what we saw…

Neighbor inspiration.
Talk about a light bulb moment! Or, rather, a solar light moment. Of course! How simple! From this distance, I immediately knew that I was going to upcycle my loyal and trusty candle chandelier into a solar one. Thank goodness I held on to it. I guess I’ll have to lighten up on pack rats after all (ba-dump-bump!)
Supplies:


Instructions:
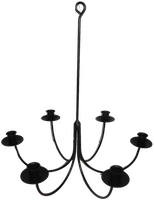
Step #1: after liberating our stored chandelier, I dusted and hung it up to be painted. Here, I used a cardboard box for a paint shelter, but there are also reusable shelter tents for DIY enthusiasts.

The before, before painting.
Step #2: because it would be out in the elements, I wanted the new paint to really hang on, so I primed it with white spray primer.

Priming the chandelier.
Step #3: using my new best DIY bud, the HomeRight Finish Max Sprayer, I easily covered the primed chandelier, giving it a wonderful sheen and even coat. Note: we used Gliddon’s “Lagoon” paint color.

Painted with HomeRight Fiinish Max Sprayer.
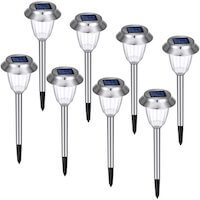
Step #4: I removed the stakes from eight solar path lights, then hot glued the tops to the candle holders.

Solar path lights

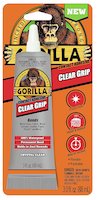
Place hot glue around the base of the solar light. UPDATE: instead of hot glue, it’s recommended to use Gorilla Glue or marine sealant. These are weather-resistant adhesives that will yield long-lasting results.

Hot glue solar lights onto candle holders.
That’s it! What do you think?

Solar lights charging by day.

Solar chandelier day picnic.

Romantic solar lit picnic.
If you’d like, check out our refurbished heirloom wicker chair using the Finish Max Sprayer.
Have you used solar path lights in a fun and unusual way? Tell us about it!
All photography by Skaie Knox, HomeJelly
This post was sponsored by