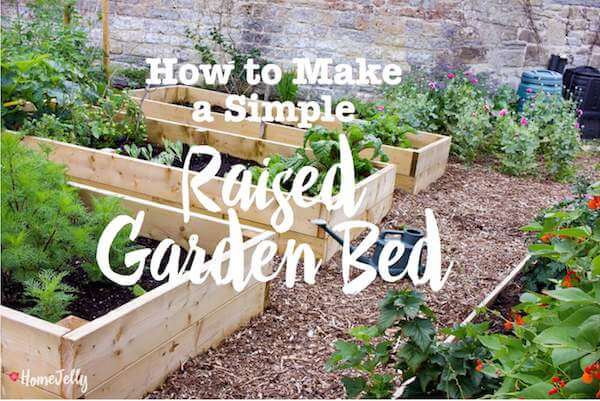
A raised wooden garden bed can be of immense help if you wish to grow vegetables or flowers, but are seemingly faced with the problem of limited space. Making a simple, raised wooden garden is incredibly easy and relatively inexpensive. With the right woodworking tools and materials, along with a reasonable degree of woodworking skills, you will be good to go. Here are some of the tools you must source when planning to build a raised garden bed:
Materials:
• Miter saw or a circular saw with blades
• Drilling machine
• Tape measure
• Screws for making joints
• Mesh hardware meant for the bed’s bottom frame
• 2-inch by 4-inch lumber
Instructions:
Making the bed.
1. Making the bed. A garden bed measuring 4-feet by 6-feet is considered ideal to support plants such as tomatoes. Regarding height, you should go for 6-10 inches since plants need considerable soil depth for their roots to spread and grow well enough. However, you can still define the size of your raised wooden garden bed as long as you are not limited in any way by the materials and tools at your disposal.
2. Measuring the right lumber dimensions. For this project, you can cut six 6-feet boards, six 3-feet boards and 10 10 inch posts. Use a tape measure to get the right dimensions of the lumber you have. Proceed to cut the desired dimensions using a miter saw. You should be cautious not to cut dimensions shorter than what you had initially planned. Remember, inconsistent dimensions can only lead to dimensional inaccuracy of the garden bed you are making.
You can use a router bit to create the right joints in the lumber you working on. For the best results insist on using a router table that can give the accurate level you desire.
3. Clamping the boards. Your next step should involve clamping together the right boards you intend for each wall. Have the corner posts placed on top of the wall boards. Make sure you flush the ends of 6-feet walls and proceed to set back 1 to inches from shorter walls’ ends.
4. Drill your pilot holes and attach the posts using screws you have. If you find it necessary to have additional posts, make sure you attach them too.
Proceed to make pilot holes and connect all the sides you have with screws so that they form a box shape. Make sure that the posts are placed on the inner part of the now box-shaped bed. The right garden bed is one whose components are firmly jointed. Using the right screws can insure the right attachment without the possibility of your garden bed becoming detached.
5. Prepare the location. Your garden bed location should be exposed to sufficient sunlight since that is a major requirement for growing healthy vegetables. Besides, you must make sure that the garden location is well-prepared. That means you should remove grass and loosen all other dirt that may prevent plant growth. Assuming that you are done with the location preparation, you will now be able to place the wooden garden bed you have made in the place you wish.
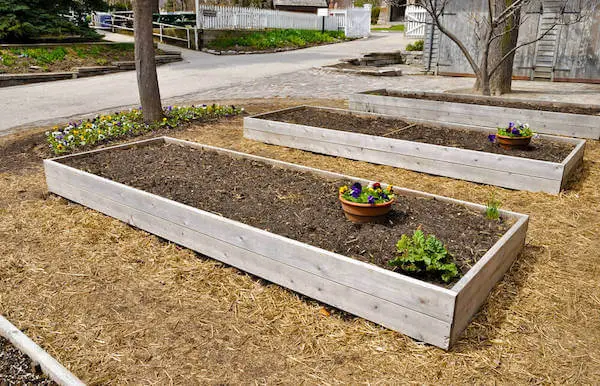
Prepare the location of your raised garden bed and make sure that you put a wide-mesh material at its bottom frame.
6. Before putting the garden bed in its right place, make sure that you put a wide-mesh material at its bottom frame. The mesh hardware is important since it helps to keep out weed growth and ensure that earthworms can still get in and assist in enriching the soil. Though untreated lumber has poor rot-resistant properties, you can staple it with rot-resistant plastic and ensure that it will work incredibly well for edible plants.
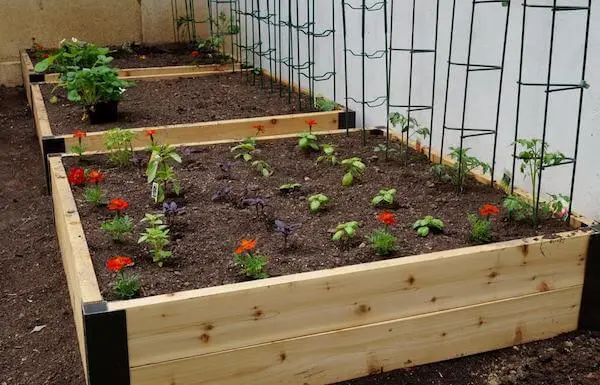
7. Placing the garden bed in the location you intended it for. Place the garden bed in the right location and make sure that it fits properly. It is recommended to set up the bed on the ground rather than a hard surface such as concrete. This will allow for proper plant root growth and good drainage
8. Fill the bed with nutrient-rich soil and place plants accordingly to fit the wooden garden bed. Enjoy!
Fill the bed with nutrient-rich soil and be mindful of plant placement.
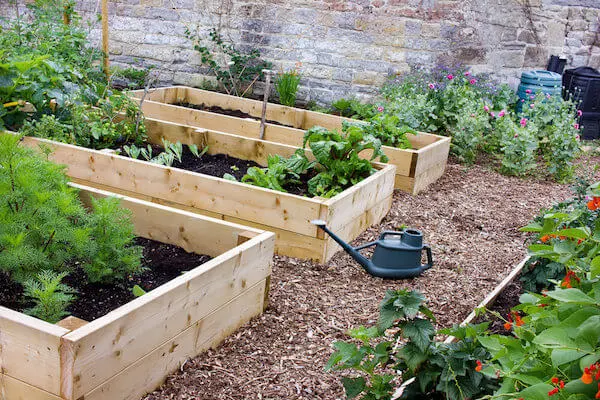
All photography by Danny L. Montgomery, for HomeJelly.