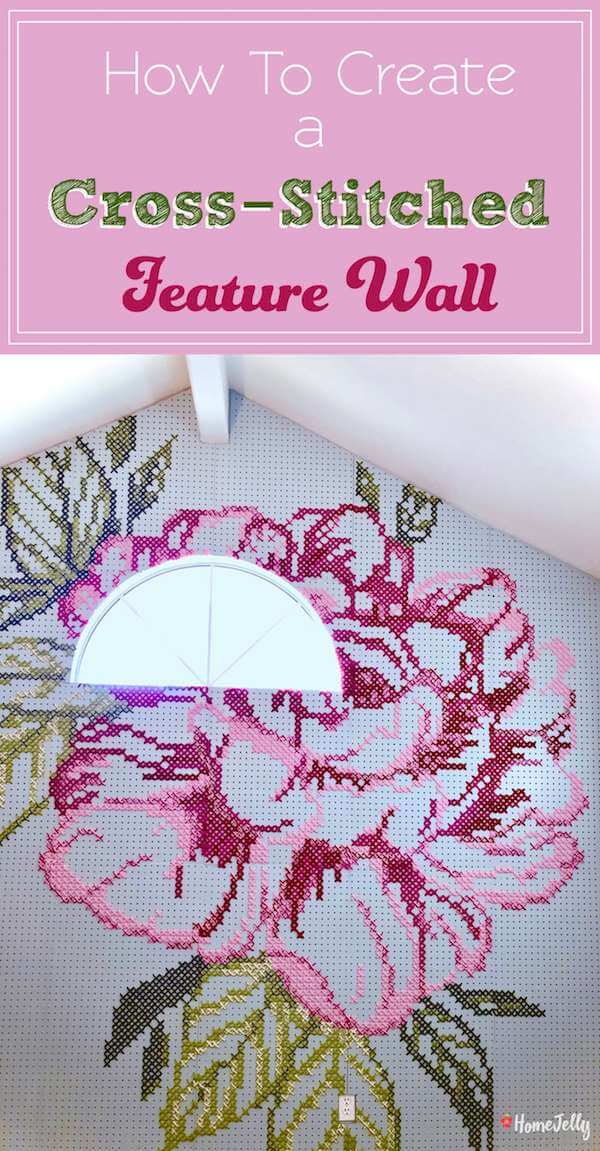
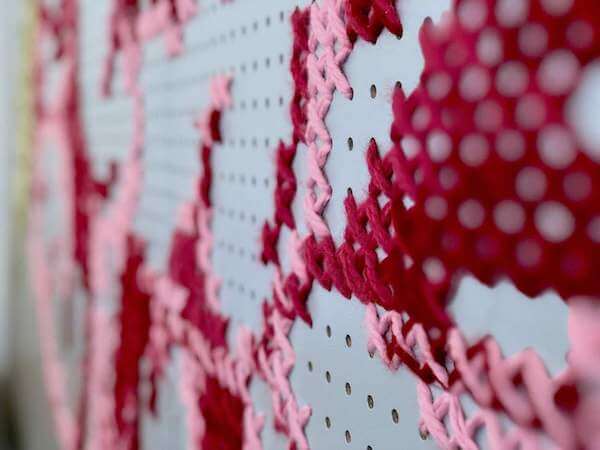
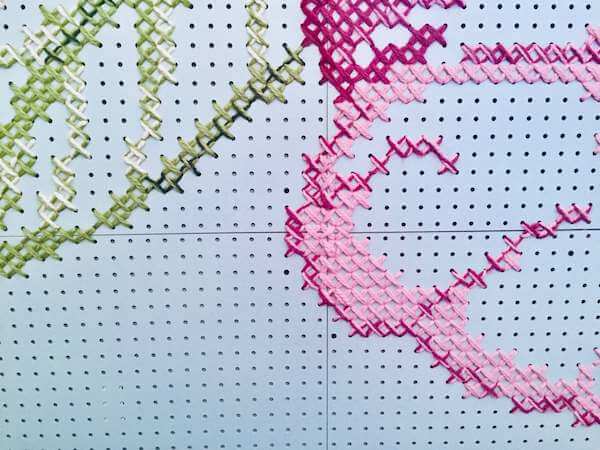
Cross stitch close-up. source: homejelly
~Scroll Down to View How-to Video!~
Editor’s Note: I was so excited when my cousin, Heide Janssen, showed me a recent project she was working on – a feature wall featuring her amazing cross stitch work. At first, I thought it was another one of her amazing pillow covers, but as it turned out, the result was much, much more!
It was a no-brainer to feature the how-to in a video and on HomeJelly – I know there are lots of ambitious DIYers out there looking to create something special and unexpected for their homes! Oh, and the folks at Apartment Therapy thought so, too and even wrote up a “Before & After” article on Heide’s wall!
Go big or go home.
When asked what inspired me to take on such a big project, I could only say, “I thought it’d look cool.” That being said, you should probably have some experience in doing cross stitch before taking on this project. If not, this may not be the project for you. However, if you’re looking for a challenge, check out this site for a quick cross stitch tutorial.
Here’s the breakdown on how it came together.
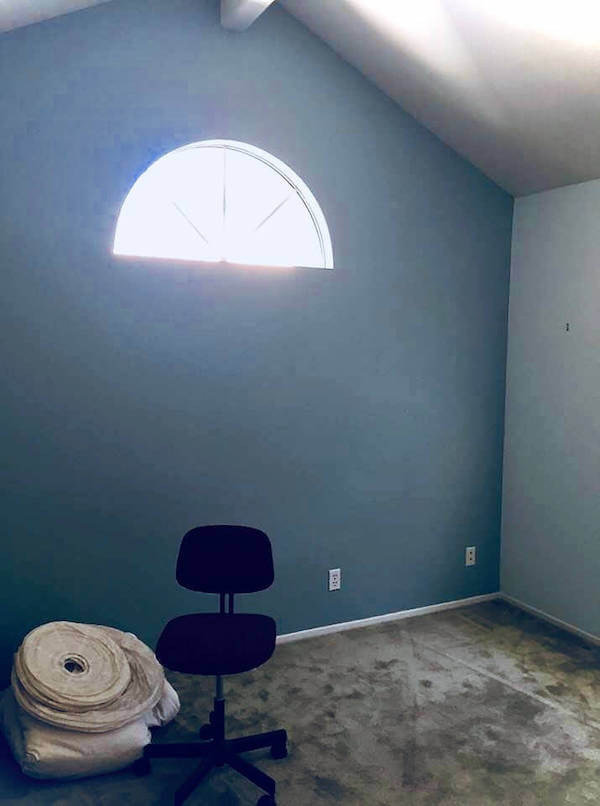
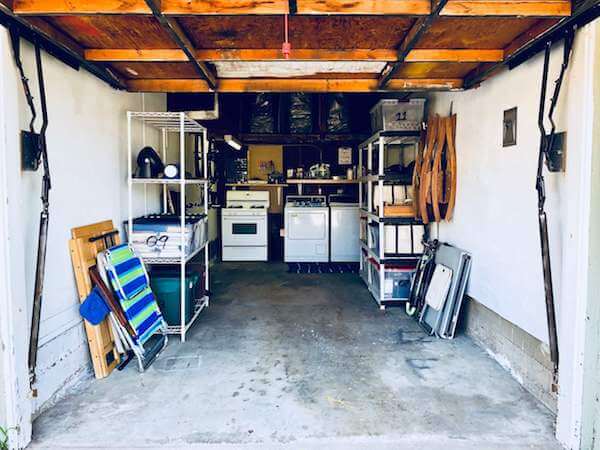
The “Before” office wall. Heide Janssen
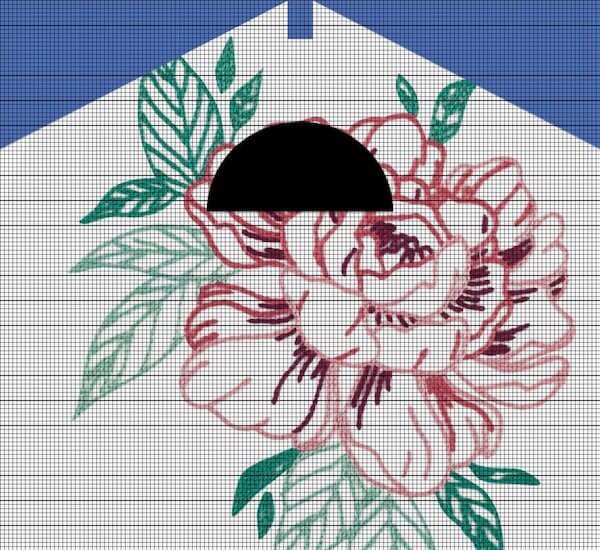
I have a spare room that I use as an office/TV room. It has a large 11ft x 12ft wall that was blank for a long time. In looking for cross stitch designs for another project, I discovered some large scale cross stitch that people were doing on pegboard. I decided to scale it up and fill the whole wall. This is the main piece that inspired the wall.
It only took about 10 days to complete. It took a day to paint the panels, a day to cut the panels. I was able to stitch one or two panels a day in the evenings. The install took two full days. It cost approximately $230: $150 for the panels and hardware, $50 for the yarn, $30 paint. My dad helped with measuring and cutting the panels. Other than that I did it all on my own.
Editor’s Note: I had to see this wall for myself, so I dropped by to take some pics and video a few days after she finished. As we were chatting about this project, Heide noted:
“I look at this wall and say, ‘How did I do this?!?'”
Like anything you’re passionate about…ya just figure it out!
Supplies:
• pegboard (measure for needed amount)
• measuring tape
• sand paper and sanding block (P100-P120)
• paint (use desired color)
• paint brush or paint sprayer
• jigsaw
• 2″ vinyl siding nails with heads (for temporarily mounting pegboards)
• tape
• scissors
• drill
• wall screws (to mount finished pegboards)
Optional:
• wood puddy
Instructions:
1. Measure the wall. Be accurate to the 16th inch. My wall was 11 feet high (at the highest point) by 12 feet wide.
NOTE: The holes on peg boards are 1 inch by 1 inch.
2. Buy your panels. I bought panels that are 2 feet by 4 feet. I needed 18 panels to cover the whole wall.
3. Choose a design and map it out on a grid that matches that size of your wall.

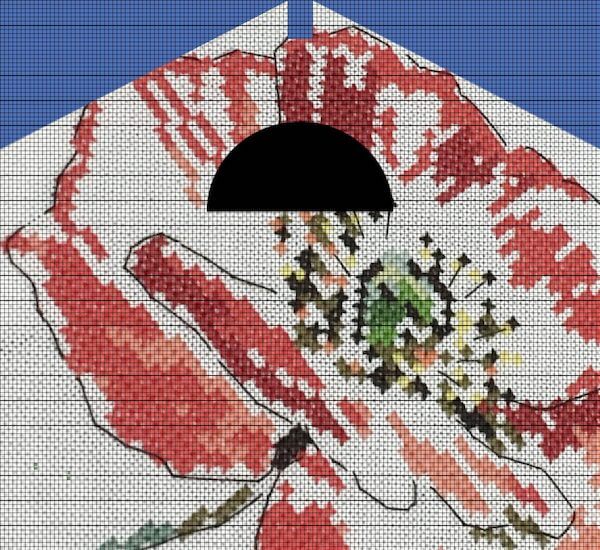

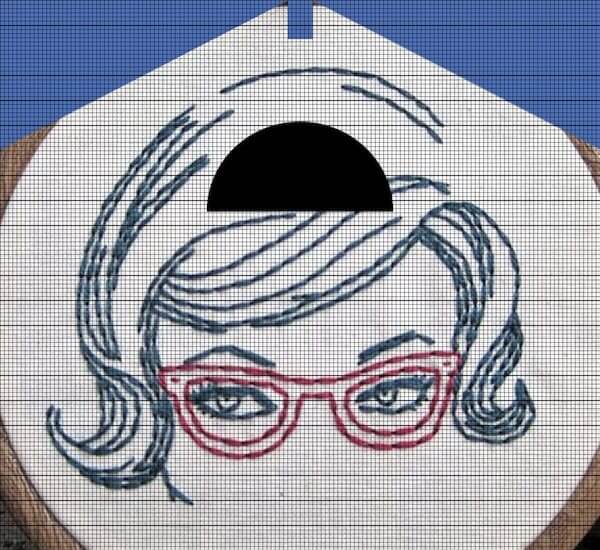
• As a part of the grid, you’ll want to make sure you have each panel clearly marked.
• For a 2 foot wide panel, 23 “x”s/inches will be on the panel and the 24th “x”/inch will be the “x”/stitch that connects 2 panels together. (Yes, if you are using multiple panels, eventually, you are going to have to sew panels together.)
4. Paint the panels.
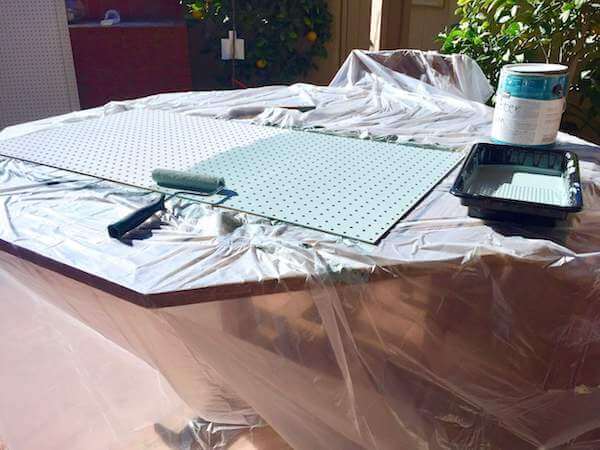
Paint your pegboards. source: Heide Janssen
5. Tack the panels up onto the wall to make sure they fit properly. Some panels will need to be cut using a table saw or jigsaw to fit. This is especially important when you have to cut out a space for a window and trim the angles for the roofline. ALSO, do not assume your wall is perfectly square. Houses settle and walls can get out of whack.
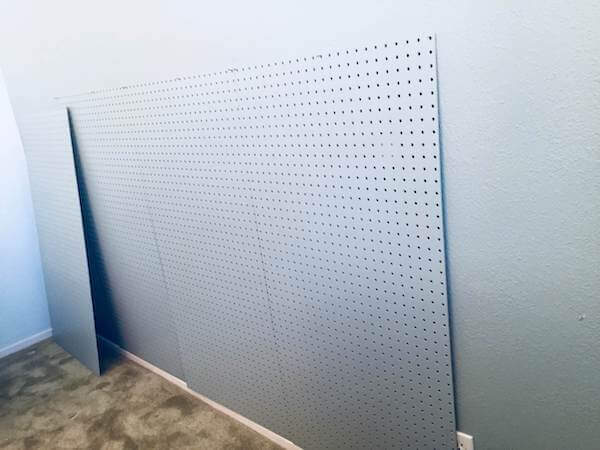
Temporarily mount pegboards on wall.

My Dad, Joe temporarily mounted the pegboards to make sure they fit in the space.
• I started by tacking up panels in the middle because I wanted a center seam.
• I used 2″ nails to put the panels in place. This also made it easy to put take the panels on and off. These also help later during the installation process to hold things in place while you are sewing panels together.
6. Label the panels. As you tack them up, make sure you mark them on the back so that you can put them back in the same place later.
TIME TO SEW! Once you have all of your panels cut, you are ready to sew.
7. Sew the design on each panel (see video).
• Remember: 23 stitches across each panel with the 24th for the seam. For the height, that’s 47 stitches high with the 48th stitch for the seam. I always had my seam on the right side and the top side when looking at the pattern.
• I used 2 strands of thick yarn. I taped off the tips of the yarn so that it was like the tip of a shoelace. This make it easy to thread through the holes on the peg board.
• It took about 6 hours of stitching per panel.
Time to Install the Panels!
This part of the process was the most difficult. I did it on my own and made lots of mistakes. I’ll walk you through my process, but know… it’s not perfected. You may find an easier way.
For ease of talking about the panels, we’ll use this grid as a reference and we’ll assume you have pieces of image on every panel.

Cross-stitch wall grid created on my computer. source: Heide Janssen
TIP! If your panels are going to start/sit on top of the baseboard, you may want to put a 2×4 on the ground to serve as a “floor” support for the panels to sit on while you are working on them.
1. Start on the left and sew panels together: Panels A1 and B1 while not attached to the wall. Then sew B1 to C1.
2. Take the A1-B1-C1 column and screw it to the wall on the left side only.
3. Sew together A1 and A2.
4. Sew together B1 and B2.
5. Sew together C1 and C2.
6. Then sew together A2 and B2, and B2 and C2.
7. Screw on the right side of the 1 panels and the left side of the 2 panels.
Continue doing this until all of the panels are up.
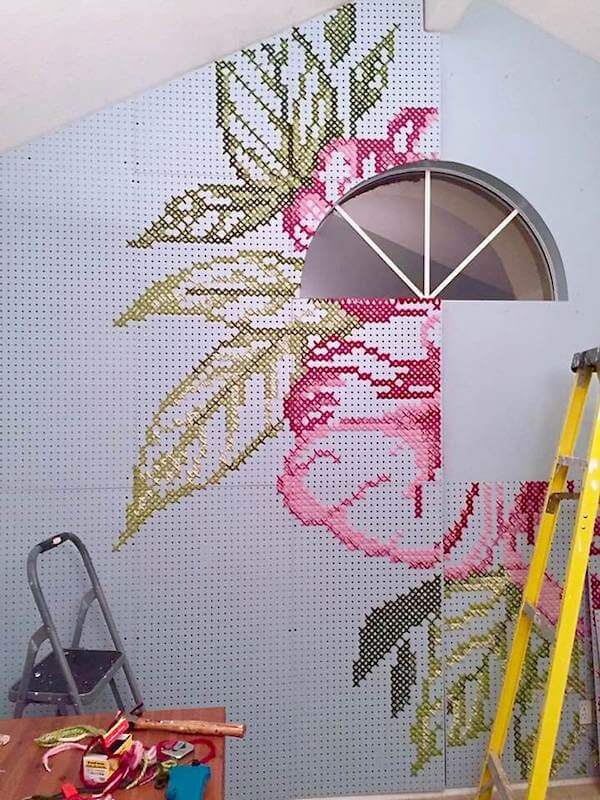
Middle of mounting cross stitch wall. source: Heide Janssen
Now the finishing touches
8. If you have space between any of the panels, fill them in with putty.
Spaces can be seen between pegboards. source: Heide Janssen
9. Smooth out the putty so that it dries as a smooth surface.
Puddy between pegboards. source: Heide Janssen
10. Paint over the putty with any excess paint you have.
Painting makes seams disappear. source: Heide Janssen
11. Also, paint all of the screw heads so that they “disappear.”
DONE!
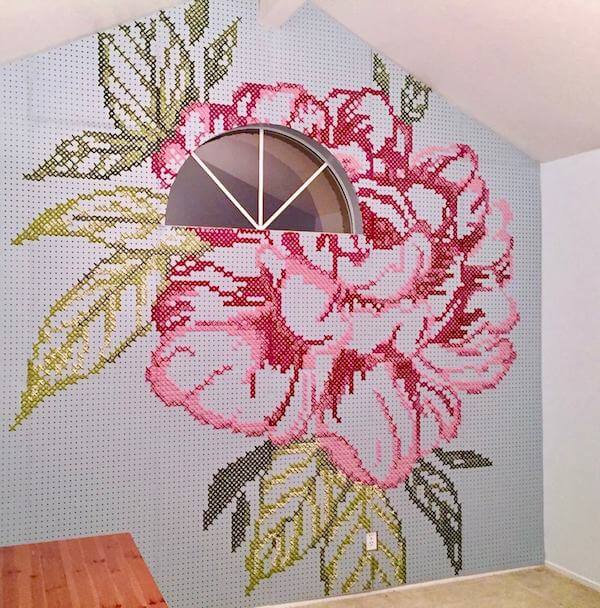
Finished cross-stitch wall. source: Heide Janssen
As for what I would do differently, I would get help with the installation. That proved to be the hardest part. Besides my dad helping with the initial tacking up of the pegboards, I did the rest on my own, which I didn’t need to do. An extra set of hands would have A) made it go much faster and B) would have helped me get the panels a little more square. I ended up putting putty between some of the seams because they didn’t quite line up once they were on the wall… that could have been avoided.
VIDEO: How To Create a Cross-Stitched Feature Wall
[mv_video key=”t03624yamhov7uyd7lvq” volume=”70″ aspectRatio=”16:9″ title=”How To Create a Pegboard Cross-Stitched Feature Wall” thumbnail=”https://mediavine-res.cloudinary.com/video/upload/t03624yamhov7uyd7lvq.jpg”]
I wanted to make a big statement on that wall — something that would reflect who I am and delight me. Next time, I might take a bigger risk with the image — choose something funkier/edgier. Since this was in a room that may eventually be converted into a guest room, I stayed with a more neutral/classic subject. I love that it makes a big statement. It really brightens up the room.
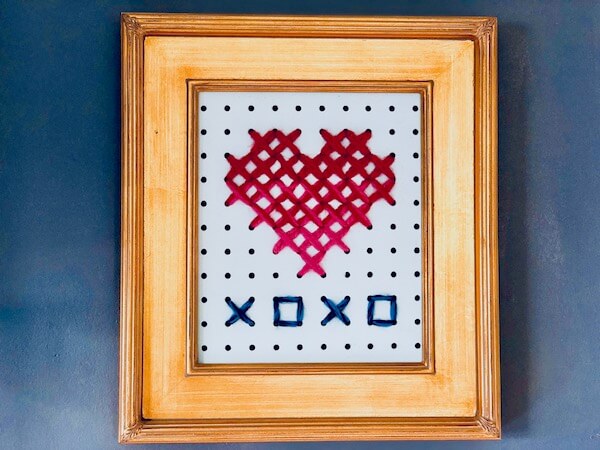
Update! For a smaller version of this…A Valentine Pegboard Cross Stitch!
If smaller cross stitch is more your speed, check out this smaller pegboard cross stitch Valentine pattern and how-to! Full instructions, pattern, supplies list and VIDEO tutorial included!
Pin It!
If you love this project and want to show it off on your Pinterest page, give it a pin! Thank you!