
Dressed up brass-leaf pots.
I don’t know how I haven’t made these gilded gems before. Thanks to one of my most favorite blogs, Design*Sponge, I learned just how easy it is! Still, somehow, from directions to reality, there’s no guarantee that the project will be a carbon copy of the original. Ah, who cares! I thought mine came out splendidly and are quite rustically elegant…just like I like my man!
Gold and/or brass over terracotta is such a chic way to glam up such an ordinary object. Place these pots anywhere in your home to add an unexpected pop of metal-meets-flora – a subtle, but confident design choice.
After deciding to give this project a try, I was delighted to find a perfectly sized small-medium pot at our local Habitat for Humanity ReStore (Gardena) for just $1.50! There were loads of them, but I didn’t want to get carried away…just lifted off my feet a little. I then took a wedding shower-gifted mini pot and used it as an experiment piece, later to add it to its big sister as a fabulous pair of glitter-girls! Succulents…you’ve never looked so brassy!

Plain terracotta pots.
Supplies:
• terracotta pot(s)
• paint brush (one for painting, the other for gilding)
• paint
• spray adhesive
• gold or brass-leaf sheets (I actually meant to buy gold-leaf sheets, but later realized I had bought brass…a happy accident indeed!)
• spray sealer (I used Rust-Oleum Painter’s Touch Gloss Clear)
Instructions:
1. Brush or spray on paint. Be creative and experiment with different brush strokes and applications…there’s really no wrong way of doing this.

Tape off and spray paint.

Or simply paint loosely wherever you wish.

If you’d like…first, experiment on a small pot.
2. Apply spray adhesive. Be sure to only spray where you’d like the gold or brass-leaf to stick.

Apply spray adhesive thoughtfully.
3. Gently press on gold or brass-leaf, then brush off excess. The sheets are super thin and delicate, so use the backing paper to help you apply it to your pot. Again, don’t sweat it…there’s no real wrong way to do this. You can apply more of the gold or brass-leaf, even the pieces you brush off can be reused to fill in any spots you missed. Exhale now!

Gently press on and brush excess gold or brass-leaf paper.
4. Sand to desired effect. This step is, again, subjective to your liking. Besides exposing the beautiful paint underneath the brass, I found that using super-fine sandpaper all over added another layer of texture and pattern to the pot…loved it!

Using super-fine sandpaper, sand to desired effect.
5. Apply spray sealer to lock in all that gold or brass! Don’t skip this step unless you want to find metallic flecks all over your home. Still, less is more, so go easy on the sealer…just a light dusting is all that’s needed. You’re done!

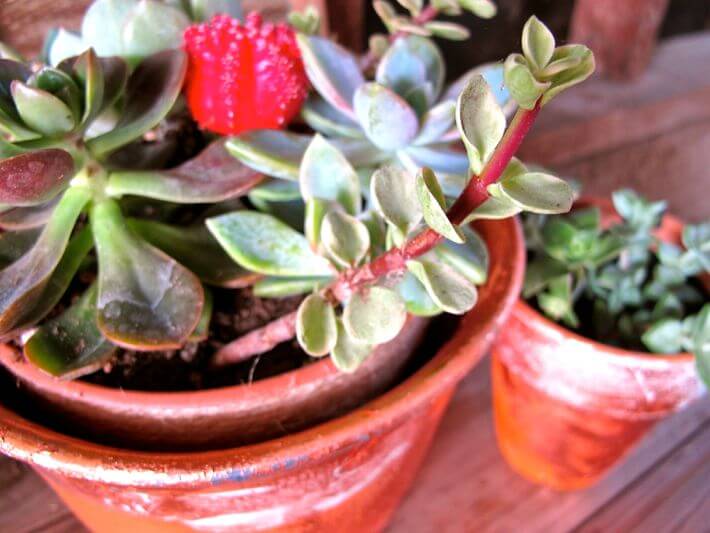
Lovely, rustic-elegant pots.

Finished brass-leafed pots.

Succulents looks especially lovely here!
What do you think of the brass…or would you prefer gold-leaf?
All photography by Skaie Knox, HomeJelly