
Framed faux succulents closeup still look real.
This is a sponsored post and contains affiliate links.
HOW-TO VIDEO BELOW!
Just when you thought adding greenery to your home’s interior couldn’t get any easier (cue delightful music and slideshow pictures of succulents sunning themselves in a kitchen window, stylishly hanging out on a bookshelf or keeping company with a stack of books on a side table), faux succulents and greenery have entered the building.
You might say…
Oh, NO! Not FAUX!
And my reply…
Oh, YES! Go FAUX!
Let me take it one step further.
Today’s post will offer you four unique ideas to DIY your own faux and fabulous planters, along with a video tutorial to make it even easier! Oh, and with the help of our sponsor, HomeRight, and their wonderful spray shelter, you can paint with confidence and without the mess and instantly fall in love! Check out my article on 4 reasons you should use a spray shelter to learn more.
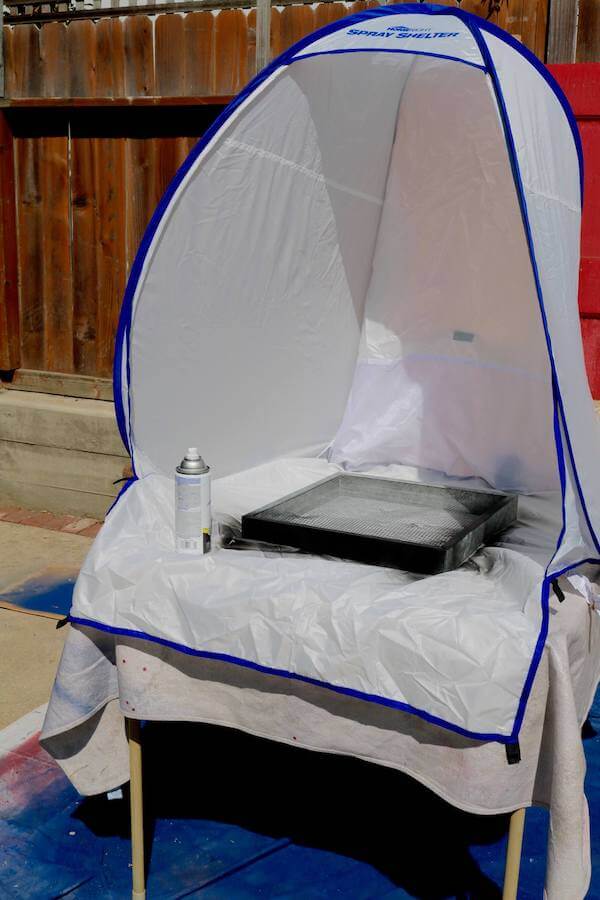
Spraying my succulents frame in the HomeRight Spray Shelter made painting neat and easy.
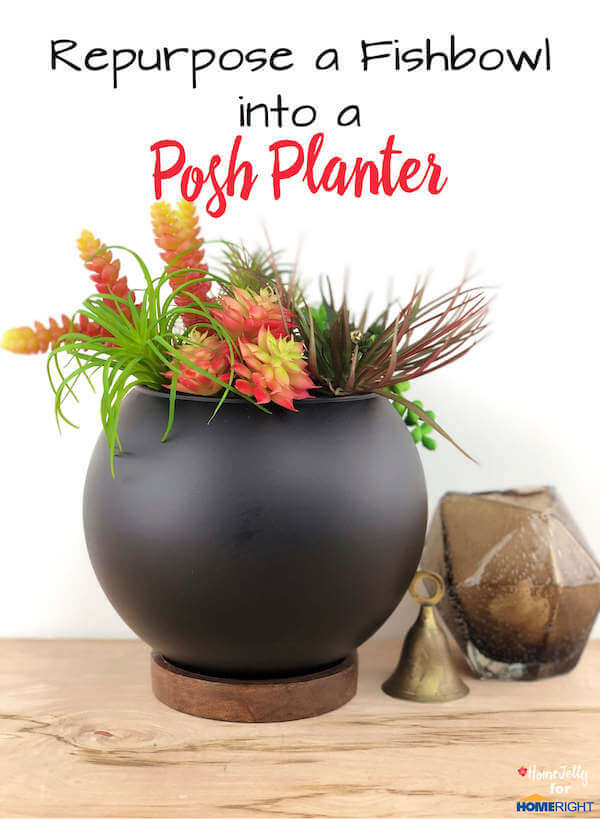
1. Fishbowl Planter
[mv_video key=”zaacxnvf5ukvznhuqxtf” volume=”70″ aspectRatio title=”Repurpose a Fishbowl Into a Posh Planter” thumbnail=”https://mediavine-res.cloudinary.com/video/upload/zaacxnvf5ukvznhuqxtf.jpg”]
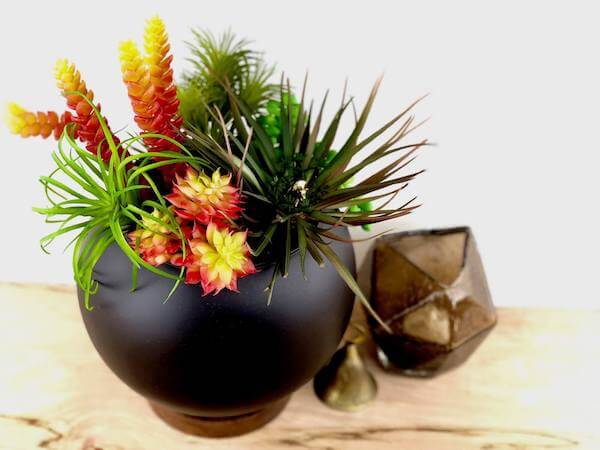
Mid-century modern style fishbowl planter filled with succulents is quite posh.
Supplies:
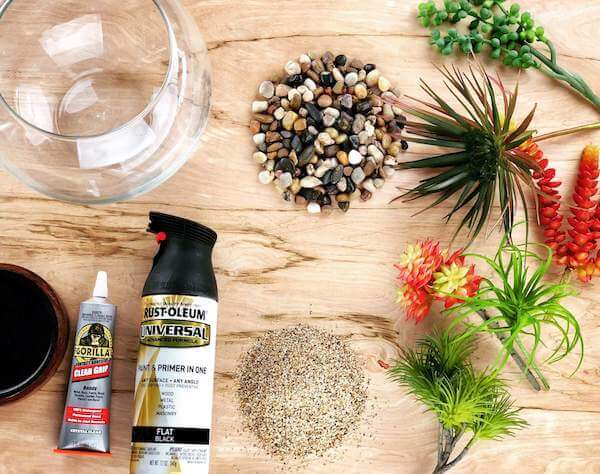
Fishbowl succulents planter supplies.
• fishbowl (the one we used was from a flower bouquet, but you can also find them at Michael’s for $7.99)
• tarp or newspaper
• Rust-Oleum Paint & Primer In One (we used flat black)
• candleholder base (the one we used in this project was also found at Michael’s)
• Gorilla Contact Adhesive Clear Grip
• plastic container (reuse any carton like yogurt, cottage cheese, parmesan cheese, etc.)
• decorative pebbles (available at any nursery or craft store like Michael’s…or river)
• sand (available at any beach, nursery or craft store)
• faux succulents (Michael’s has fabulous faux succulents, or Ellie Arts and Nearly Natural, on amazon)
Optional:
• HomeRight Spray Shelter, small (you’ll absolutely fall in LOVE with this handy piece of equipment!)
Instructions:
1. Paint the OUTSIDE of your fishbowl. Tip! Turn your bowl upside-down onto a couple bricks to keep the lip of the bowl nice and pristine. The spray shelter will keep dust and tree debris from blemishing the finish. Also, give it a couple coats to make sure there are no blank/open spots – that would ruin the poshness that is this planter! Allow paint to dry, a minimum of 2 hours.
2. Adhere the candleholder base. Glue underneath and around the EDGE of the bottom. If you only glue the center, your base will not stick. Apply glue to both the bowl and the base, wait 2 minutes (allowing the glue to activate), then stick together. Add a weight (like a stack of books or a brick) and allow to cure for 24 hours.
3. Place plastic container upside-down into bowl. This will help take up space so you don’t have to add so much sand or pebbles. It also helps cut down on the overall weight of your finished planter.
4. Add sand up to about 2 inches from the opening, then finish with pebbles on top. Since these are faux succulents, you can even add dirt or marbles or any other material to fill the bowl. Note: be sure whatever you add will hold the stems, though.
5. Add and arrange succulents into bowl. This is the FUN part! Tip: add enough so your bowl looks full and use different styles and colors for interest.
Optional: Add a little personality and humor with floral decor like spray-painted plastic toys or tiny trinkets or drink decorations…whatever melts your butter!
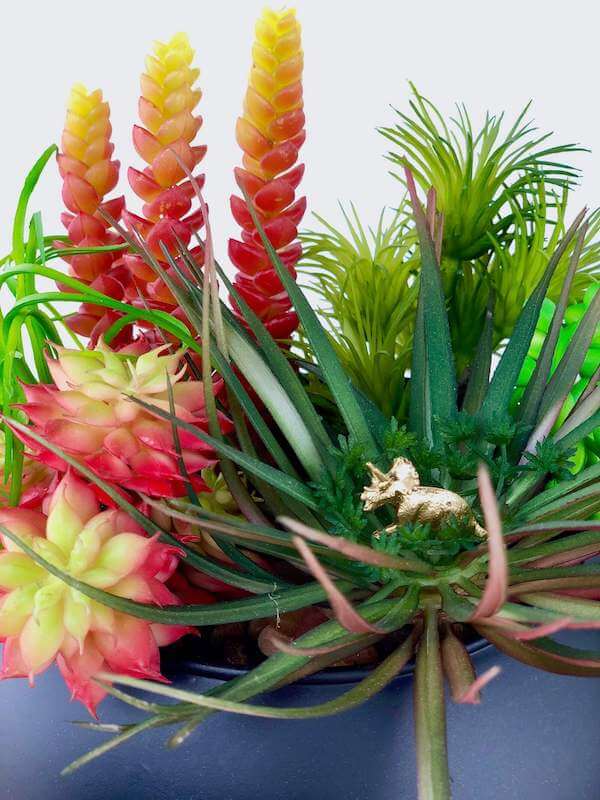
Floral decor detail adds whimsy and personality to your succulents. Can you see it?
2. Box Planter
[mv_video key=”iftgxhszmduzxhs9zc6z” volume=”70″ aspectRatio title=”Paint a Fabulous Faux Succulents Box Planter” thumbnail=”https://mediavine-res.cloudinary.com/video/upload/iftgxhszmduzxhs9zc6z.jpg”]
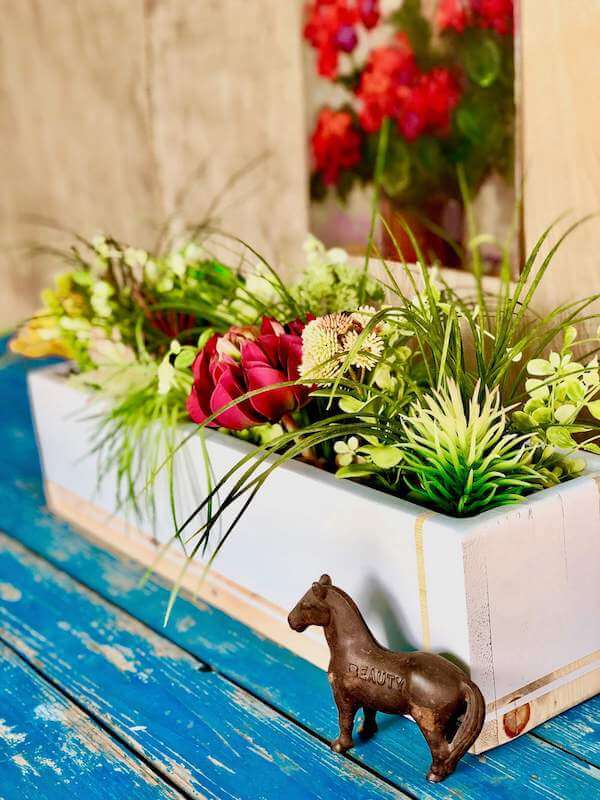
Boxed succulents planter painted, filled and finished.
Supplies:
• wooden or cement planter box (this one was found at Home Depot)
• hand/block or electric sander
• sand paper (P60 coarse, P120 fine)
• painters tape
• spray paint (we used Rust-Oleum Paint & Primer in satin white)
• tarp or newspaper
• packing peanuts (you can find these at any office supply store or shipping service)
• decorative pebbles
• sand
• faux succulents (Michael’s faux succulents, or Ellie Arts and Nearly Natural, on amazon)
Optional:
• HomeRight Spray Shelter, small
• screwdriver or electric drill (use if you wish to remove any hardware or handles)
Instructions:
1. Remove any hardware. I was going for clean and simple, so I removed the handles.
2. Sand all sides. Again, because I wanted to paint this box a smooth white, I sanded down to the raw wood – I liked the look of it better as well. Be sure to use P60 for to remove the top layer of stain or rough edges, then finish with P120 to make surface super smoooooth. Wipe off dust with a rag.
3. Tape your design. Go nuts! Be creative!
4. Spray paint. Because you’ll add pebbles almost to the top, you don’t have to be super careful about the top edges. If you’d like, paint however much you want. With faux greenery, you don’t have to worry about toxic soil…nice!
5. Fill almost completely with packing peanuts. Saves on weight and amount of sand and pebbles you’ll need to use.
6. Add sand up to about 2 inches from the opening, then finish with pebbles on top.
7. Add and arrange succulents into box.
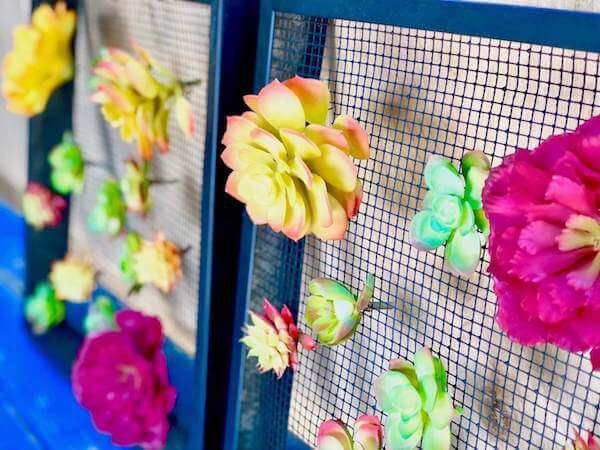
3. Framed Vertical Planter
[mv_video key=”t6jtkk83y1i7igk9vajt” sticky volume=”70″ aspectRatio title=”DIY Faux ‘n Fabulous Succulents Planters” thumbnail=”https://mediavine-res.cloudinary.com/video/upload/t6jtkk83y1i7igk9vajt.jpg”]
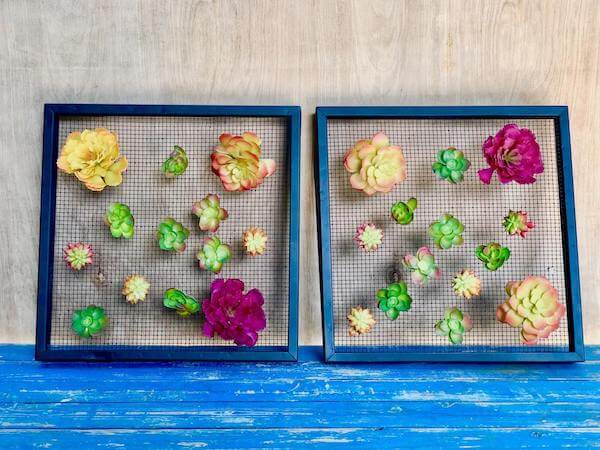
Framed succulents are graphic and beautiful.
Supplies:
• Picture frame or vertical garden frame
• chicken wire (enough to staple to the back of your picture frame, available at Home Depot or hardware store)
• Paint or spray paint
• Staple gun
• tarp or newspaper
• faux succulents (Michael’s faux succulents, or Ellie Arts and Nearly Natural, on amazon)
• floral wire
• needle nose plier (with wire cutter)
Optional:
• HomeRight Spray Shelter, small
Instructions:
1. Staple chicken wire to back of picture frame.
2. Paint. It’s okay to paint the chicken wire, as it will either be covered completely or it will be part of the overall look of your garden. If you’d rather keep it unpainted, paint your frame first.
3. Cut 7″ pieces of floral wire, then attach and twist to the bottom petals of each succulent (see video).
4. Attach succulents to your chicken wire or mesh. Arrange the flowers however you wish, poke the wire through, then twist with your needle nose plier. Finish by twisting around stem and bending so you can’t see from the front.
4. Stump Planter
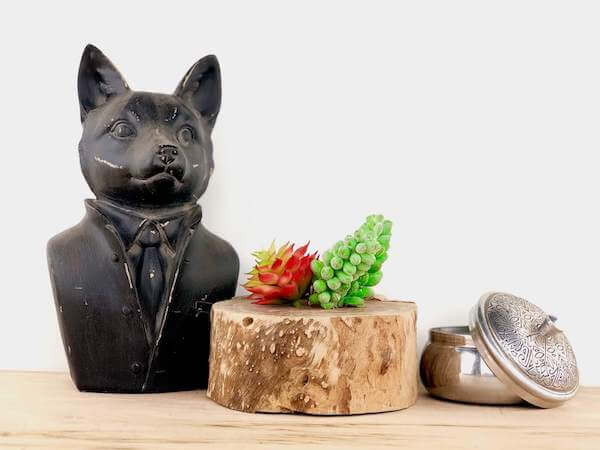
Stump succulents combines for real with faux.
Supplies:
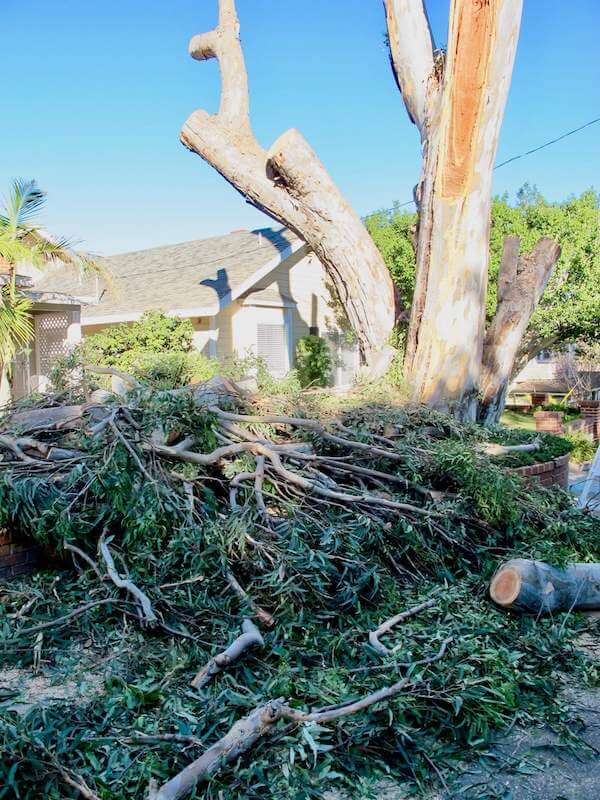
Neighborhood cut wood find.
• tree stump (our neighbor had a tree trimmed, so he let us have several big branches)
• hand saw or miter saw
• sanding block and sand paper
• drill with drill bits
• faux succulents (Michael’s faux succulents, or Ellie Arts and Nearly Natural, on amazon)
Instructions:
1. Cut a 5″- 6″ in diameter branch in lengths of 2″ to 6″ – whatever size you like. (I used a miter saw to make it go quicker, but a hand saw is totally doable). SAFETY NOTE: cutting branches on a miter saw is a bit tricky. Make sure your branch is fairly straight, pressed against the back plate on both sides to prevent kick-back. To be safer, you may want to use a hand saw and burn off a few extra calories.
2. Sand any rough edges. You can either remove the bark, or keep it. Either way, your stump planter will look fabulous!
3. Match the diameter of your succulents stems with your drill bits, then drill 1″ – 1 1/2″ holes. No need to add any glue, unless you want to make it permanent.
4. Add succulents! Note: What’s beautiful about this planter is, less is more. Allow the beauty of the wood to harmonize with your succulents. You’ll have a magnificent mashup of real and faux. Faux real!
This post was sponsored by I’ve teamed up with HomeRight and am proud to be one of their paid brand ambassadors. I also received a HomeRight product sample to use in this post and have included affiliate links to the tools and supplies I used in this project. My personal opinions are completely my own based on my experience. I wouldn’t have it any other way!