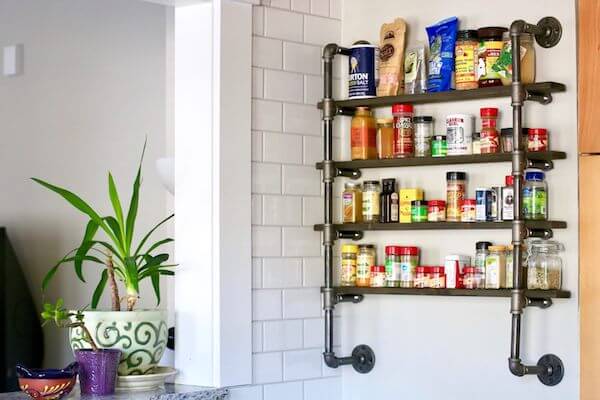
This DIY industrial spice rack is so charming. photo credit: Matia Angeline
Organizing has become all the rage these days, especially during this crazy era of the Covid pandemic. I mean, why not? With so much chaos and uncertainty out in the world, it only makes sense (and quite a healthy response) to tidy up our lives at home. That’s why, when my multi-talented cousin, Matia Angeline sent me photos of her recent DIY endeavor, I just had to share it with y’all!
She created such a charming industrial spice rack that’s not only architecturally interesting, it uses reclaimed wood AND it’s functional as well. I mean…who doesn’t love a triple-duty DIY project?!? Check out your local hardware store, big box store, or shop for your pipe fittings online.
Now then, with so much admiration and crafty respect, I’ll hand over the mic to Tia.
“For this spice rack I used pipe fittings found on a wholesale hardware site. It was super easy to put together and my girlfriend helped me make sure they were tight and lined up straight. For the shelves I used reclaimed wood my best friend had in her backyard that I sanded and stained. I stained in 2 layers, the first layer was a grey and the second was a deeper brown. I absolutely love how it turned out! My next step will be getting uniformed jars for all my spices.”
So simple! And, you still have room to make it your own. Choose copper or brass pipe fittings, or even spray paint the pipes a color to play nicely with your kitchen decor. Don’t you just love the flavorful style of this fabulous spice rack? Now, then…here are the supplies and instructions to make one of your own.
A spice rack with architectural appeal. photo credit: Matia Angeline
Supplies:
• (4) 3/4″ floor flanges
• (4) 3/4″ x 3/4″ 90 degree elbow
• (8) 1/2″ x 3/4″ x 3/4″ Tee
• (10) 3/4″ x 4″ steel nipples (vertical pipes)
• (10) 3/4″ x 3″ steel nipples (horizontal pipes)
• (8) 3/4″ x 1″ steel pipe caps
• *(4) 3/4″ x 3″ x 24″ reclaimed wood (or leftover)
• P60 sand paper
• sanding block
• wood stain or paint (choose a shade or color to your liking)
• (16) wall screws + anchors (if you don’t hit a stud)
• optional: (8) wall screws + anchors
*Note: the thickness, width and length of your spice rack shelves are totally up to you and your space needs. Adjust where needed.
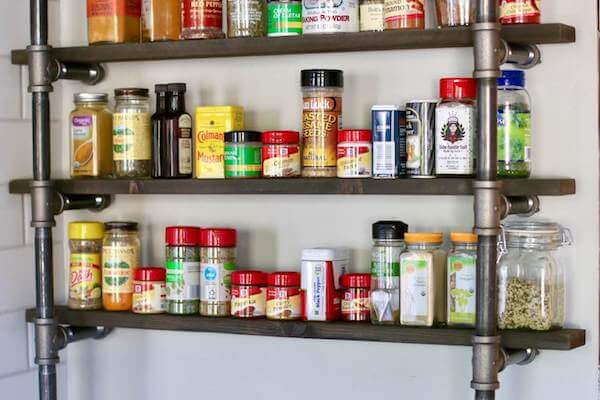
You can customize this spice rack to fit your space! photo credit: Matia Angeline
Instructions:
1. Sand and stain or paint wood shelves. Customize the stain or paint color and width of this spice rack – it’s totally up to you and your needs ‘n style. Set aside to dry.
2. Screw together vertical nipple pipes, elbows and tees. Start at the top with the elbow, then 4″ nipple, then tee, 4″ nipple, tee, 4″ nipple, tee, 4″ nipple, tee, 4″ nipple, elbow. Repeat for other vertical side.
3. Screw together horizontal nipple pipes and caps. Start at the top elbow and screw in a 3″ nipple, then floor flange. Next screw in a 3″ nipple to each of the four middle tees, then cap off with a pipe cap. Finally, screw in the bottom horizontal nipple to the bottom elbow, then screw on floor flange. Repeat on other side.
4. Mark screw holes onto wall. Enlist a helper to hold one pipe side so you can mark through the top floor flange screw holes onto the wall with a pencil. Be sure to mark ALL four screw holes. Using a level, do the same for the other side. Tip! If your level is kinda short (or you’re using your iPhone), use a yard stick or piece of wood to expand the length between floor flanges, then place your level on top.
5. Attach top floor flanges. Start with one side first, If you need the anchors, insert those first, then attach floor flange with screws. Repeat on other side.
6. Attach bottom floor flanges. Repeat the #5 steps.
7. Insert wooden shelves and spices!
8. Optional: if you’d like to secure your wooden shelves so they don’t shift or move, attach your straps over the horizontal nipples and screw into the bottom of each shelf. Donzies!
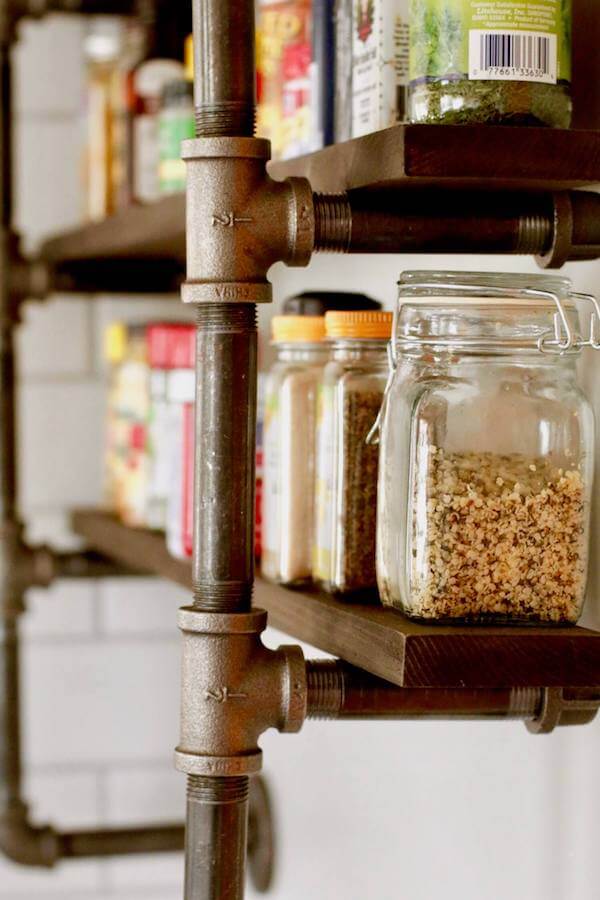
Such a stylish way to display your spices. photo credit: Matia Angeline
Thanks so much to Matia Angeline, you totally rocked this DIY! To see more of her talent, visit her instagram page. Besides DIYing, Matia is a Minneapolis based fire performer, dancer and creator. She currently dances with Dolls of the Wild, a new dance collective exploring the wild within through immersive creation and also perform with Celestial Circus Productions which provides top tier entertainment with flow arts, fire performance, circus arts and more.
PIN IT!
If you like this project, PIN IT to your board to save and DIY later! Meanwhile, have a look-see at our other DIY HOW-To pins!