Who doesn’t want to be hip, right? Admittedly, I’ve always thought I was a “cool chick”, ya know. But…uh, yeah. As soon as the hipster scene hit, so did my ego. I just couldn’t wrap my head around the culture and seemed to fumble in the dark with things like how to post on Twitter and Facebook with that je-ne-sais-quoi-ironic humor all the “kids” seemed to be able to do with total ease.
Well, like all good things, keeping it simple has always been my guide when navigating uncharted waters. So, with that, as one of several sprucing-up-my-steps projects, I came up with this new, personalized painted pot (which, by the way, was a curbside freebies…yes!).

Curbside freebie terracotta pots.
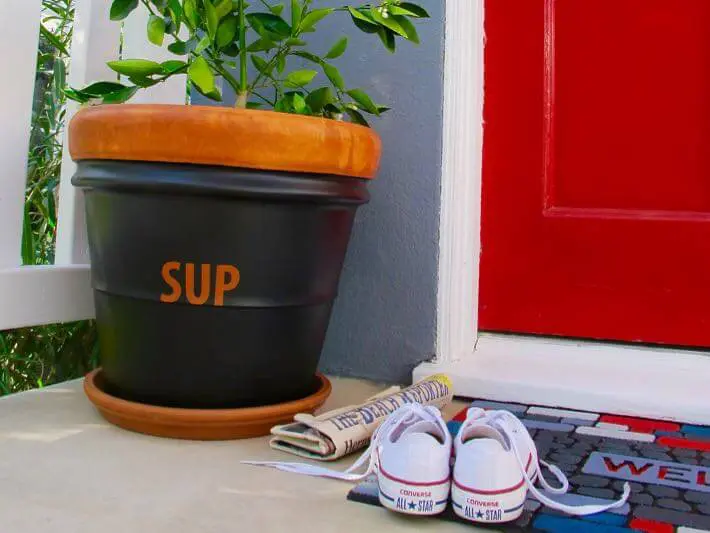
I wanted to use this pot to greet guests, but I didn’t want to go the “hello” route (a bit “on the nose” and overdone in my opinion). Instead, I reached deep to find the remainder of any cool factor I might have left and decided on the lazy, less-is-more salutation: SUP.
Supplies:
• terracotta pot
• Thompsons Water Seal Multi-Surface Waterproofer
• spray paint – (I used Rust-Oleum’s paint and primer, flat black paint)
• painters tape
Instructions:
1. Cover the inside and outside with a coat of water sealer. This will lessen (if not eliminate) peeling of the paint on your pot. A lessons learned from my “Home Sweet Home” stacked planters project. Those bad-boys peeled within a few months and I had to re-do them again. Allow the sealant to cure for at least 24 hours.

Spray coat of Thompson’s Waterseal for waterproofing pot.
2. Tape off the top edge of the pot. I used small increments of tape on the lip, so to make a more accurate line.

Tape in small increments for better angle and cleaner line.

3. Apply your removable stick-on lettering. Go nut! Have fun with whatever saying you want. But…try and be original. It’s all about showing off your (and your family’s) personality to the neighborhood!

Add removable lettering – have fun!
4. Cover pot (and stick-on lettering) with two coats of paint.

Spray on a good coat of paint and primer.
5. Before the paint dries, remove stick-on lettering. If you don’t, you may pull off some of the paint around the lettering and have to start all over again. And you know you don’t wanna do that.

Before paint dries, remove stick-on letters.
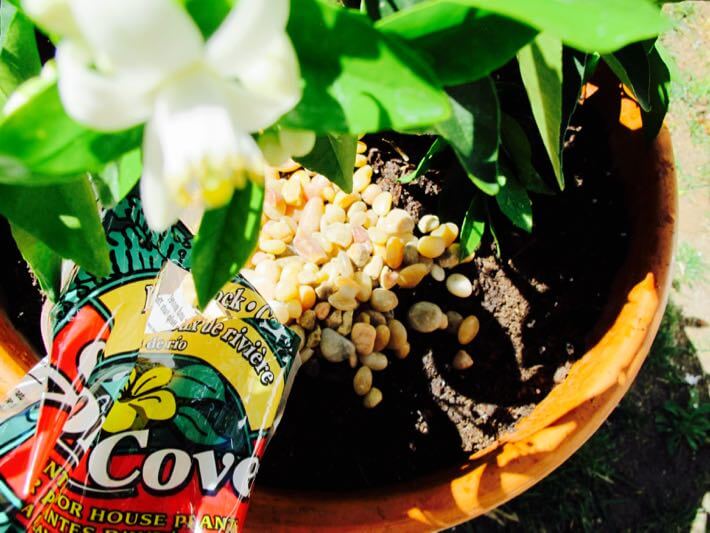
6. Allow the paint to cure 24 hours before planting. The options for plants is endless! See our potted orange tree post if you’re as practical as I am!

Modern pot is super easy to create.

Matte painted pot looks modern and personalized.
Now it’s Your Turn!
What saying would you want on your pot?
All photography by Skaie Knox, HomeJelly