
Ho-Hum Doormat – Before.
UPDATE!
Scroll down to see HomeJelly reader, Amy Caffarella’s made-over doormat! It’s awesome!!!
—————————————————————
As I was preparing the projects list for my Spruce Up Your Steps for Spring series, I knew I had to do something about our doormat. You know the ones. The $26.97 Home Depot standard rubber mats that you buy, mostly because you need something to wipe your feet on, and also because it looks O-kay.
(Or, more like…ho-hum.)
Well, after a couple years of wear and tear, its “Welcome” had worn out its…er…welcome. I’ll say one thing, though, the mat itself was still perfectly functional. It just needed a bit of a makeover!
Thanks to Pinterest, I discovered a wonderfully made-over mat using paint. And, seeing I was trying to do my springtime sprucing up with as little pummeling to my pocketbook as possible, I decided to go for it. Not only would I be reusing our mat, but also some leftover paint and gloss I’d bought for previous projects.
Bam! This one’s a freebie! And, if I do say so myself, this once, ho-hum mat now gives off some serious welcoming swagger, prompting guests to say, “HELLO!”
Supplies:
• sponge or small brushes (if using sponge brushes, you’ll need one per color you’ll use – I used 5)
• interior/exterior paint (leftover or you can buy the 8 oz. sample jars at Home Depot for $2.94)
• Rust-oleum gloss clear general purpose spray paint (interior and exterior use)
Instructions:
Optional step: Create a color map for your mat’s design on paper or computer. This made painting the accurate pattern SO much easier!
2. Clean and dust mat.
3. Using your color map (or creative genius), paint your mat. Crazy as it sounds, I only used one coat of paint! Allow to dry 2-3 hours.

Using my iPad to paint my design!
4. Spray with clear gloss. Allow to dry overnight.

To protect your newly painted design, spray a clear gloss coat and allow to dry.
You’re done!
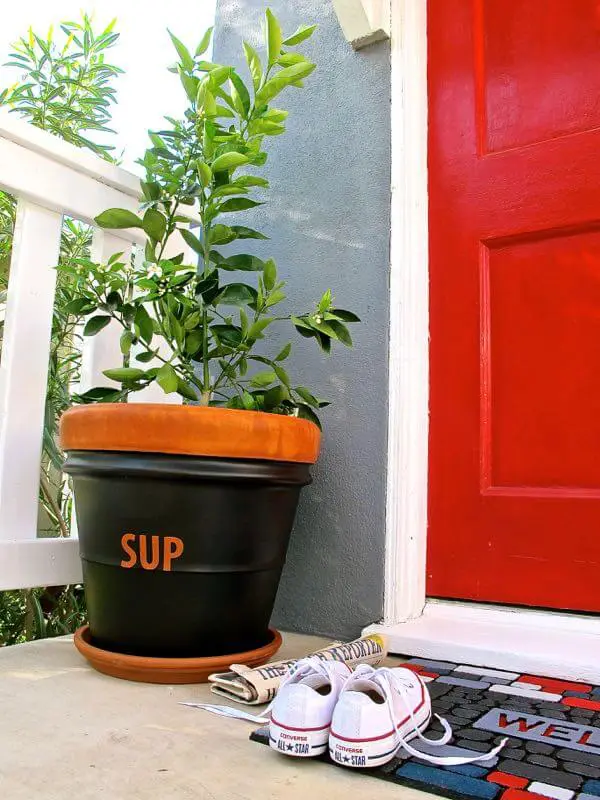
Here is the result of this super easy, super reused, and super inexpensive project that welcomes guest all over again!

Doormat makeover…ho-hum to HELLO!

Spruced up…check!

Our made over mat now pulls in all the colors of our home’s exterior!

A truly welcoming mat.
Now it’s your turn!
We’d love to hear what you think about this project! Please leave your comments below!
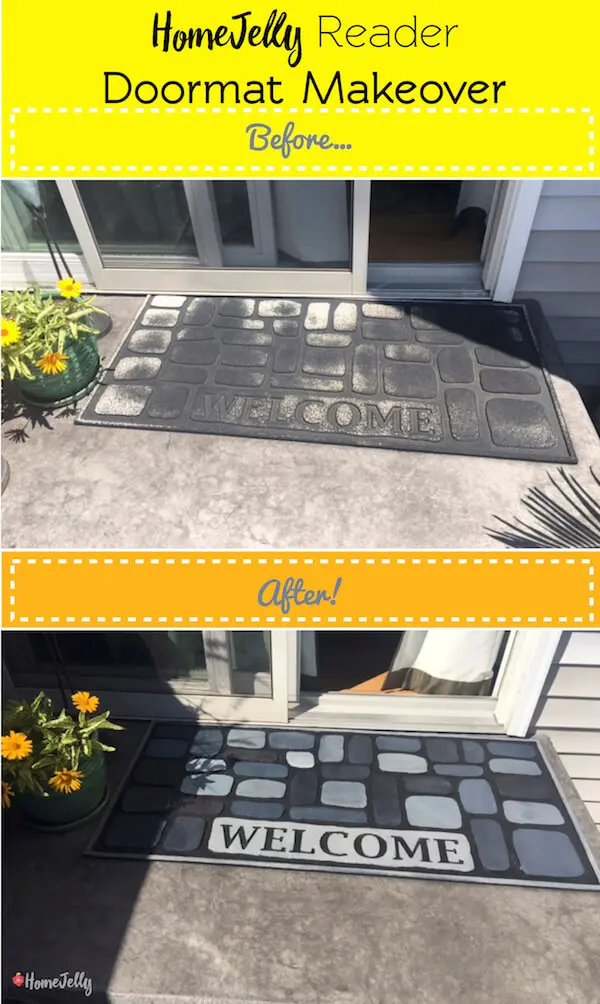
HomeJelly Reader Doormat Makeover!
HomeJelly reader, Amy Caffarella, decided she’d DIY her own doormat makeover. Isn’t it fantastic!?!
AMY: I am from Pennsylvania. I am a sustainability engineer and love the idea of extending the life of my doormat. The mat structure was sound, it was just lacking in aesthetics. It only took an hour to do the painting, even though I shaded each block using only black, white, and a little bit of blue paint to mimic the look of slate. Would have been even faster without shading!
I used acrylics and sealed it 3 times with the clear gloss sealant spray. For larger spaces, I found applying the paint from the paint tube directly to the mat and then spreading with a foam brush worked best. It looks even better now than new. It was an instant gratification project: huge change for little effort! It’s a refreshing reminder that with a little elbow grease, you can keep items out of the landfill in a “take-make-waste” society. Thanks again for the great idea. Onto my front doormat… 🙂
All photography by Skaie Knox, HomeJelly